In Dying Light 2, Easter Eggs can also be useful. We’ll show you what the demonic rubber ducks are all about in this guide.
You want to feel like Darth Vader for once and let your opponents float in the air with a Force choke? Then the developers at Techland have something for you. In Dying Light 2, you can gain exactly this ability by completing a wild Easteregg scavenger hunt complete with grim rubber ducks and Doom levels.
That’s a lot of groundwork, but in return you can stun your enemies in the future in the best Star Wars style by dangling them in the air in front of you. It should be said in advance, however, that this is more of a fun gimmick than a really useful tool. The blueprint is extremely expensive to produce and its durability is very low.
You can find all our other guides and articles on Dying Light 2 in our overview:
Dying Light 2 Beginner’s Guide: 9 Tips We Wish We’d Known Before
All locations of the five rubber ducks
To become a Sith Lord, you must first find five rubber ducks that are scattered throughout the world of Dying Light 2. The only requirement for this is that you have completed the main story mission Transfer and thus regained control of the VNC Tower.
Location 1
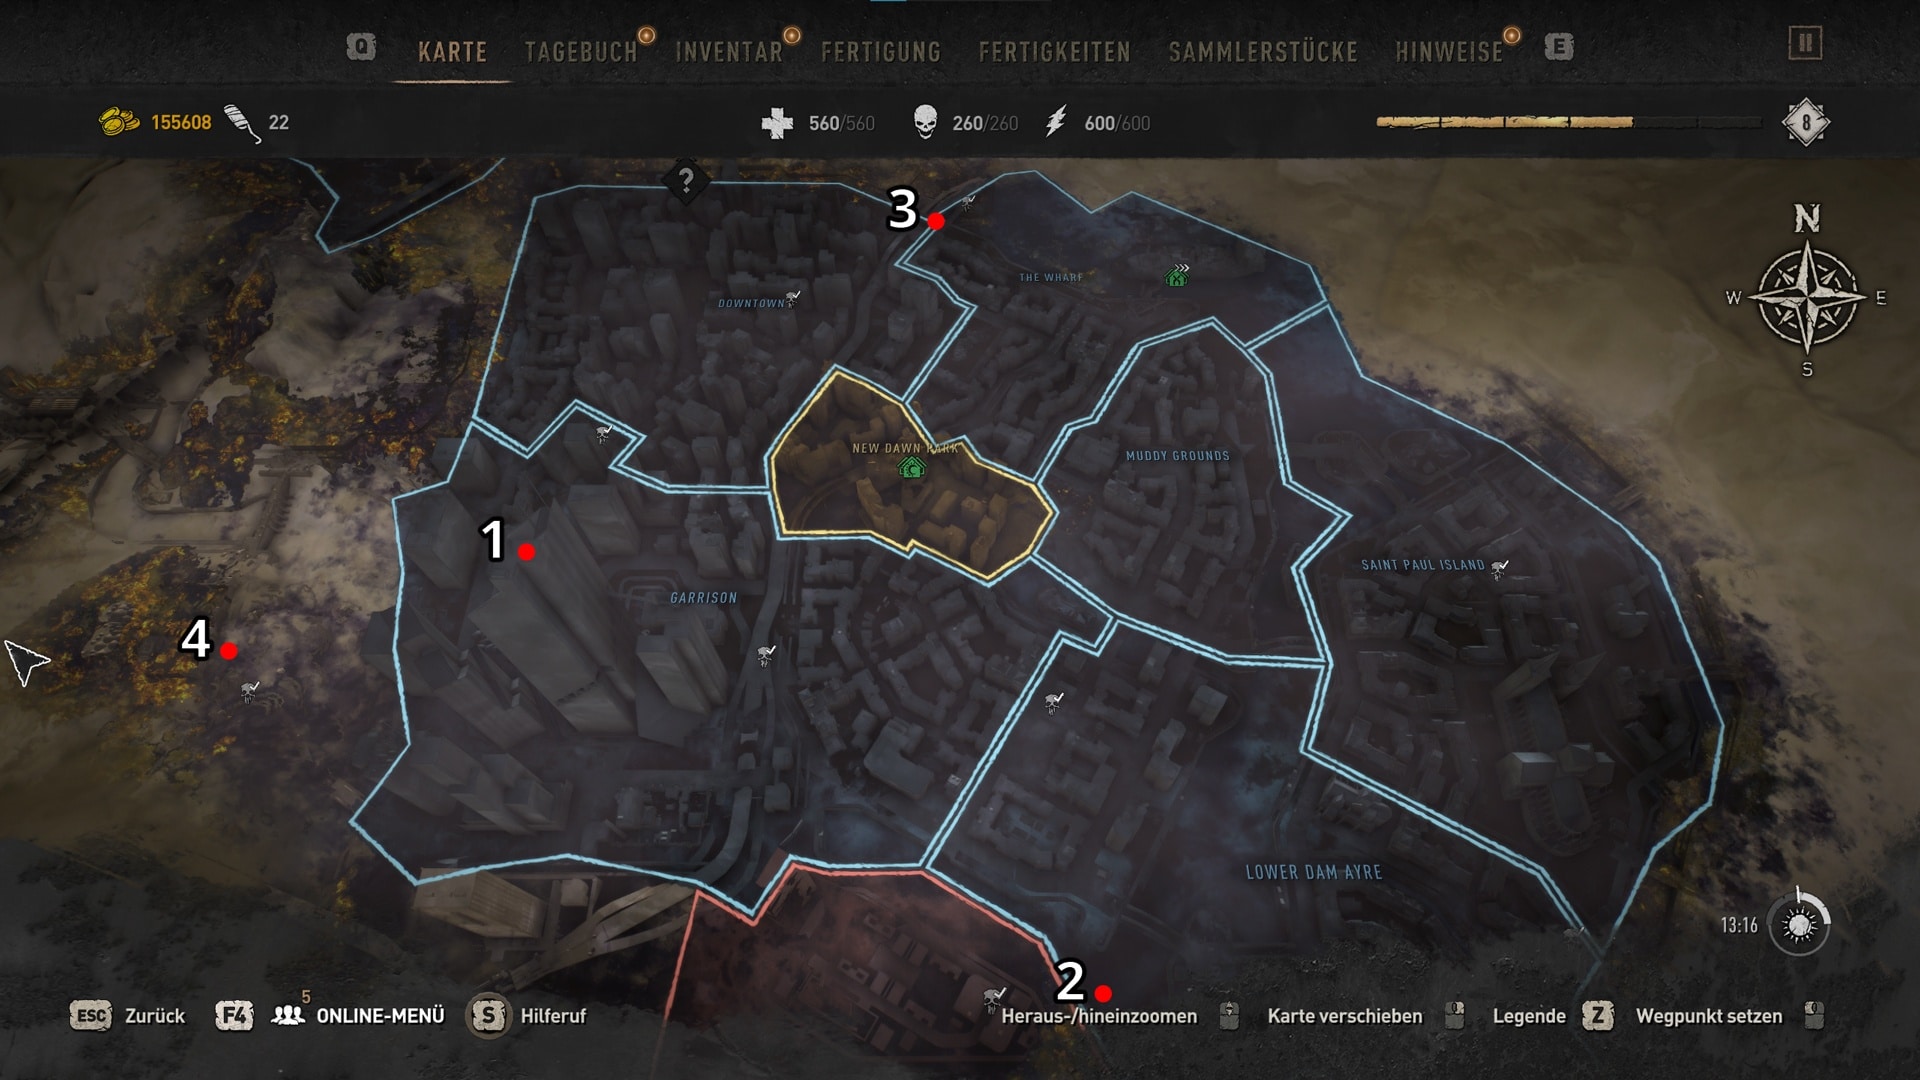
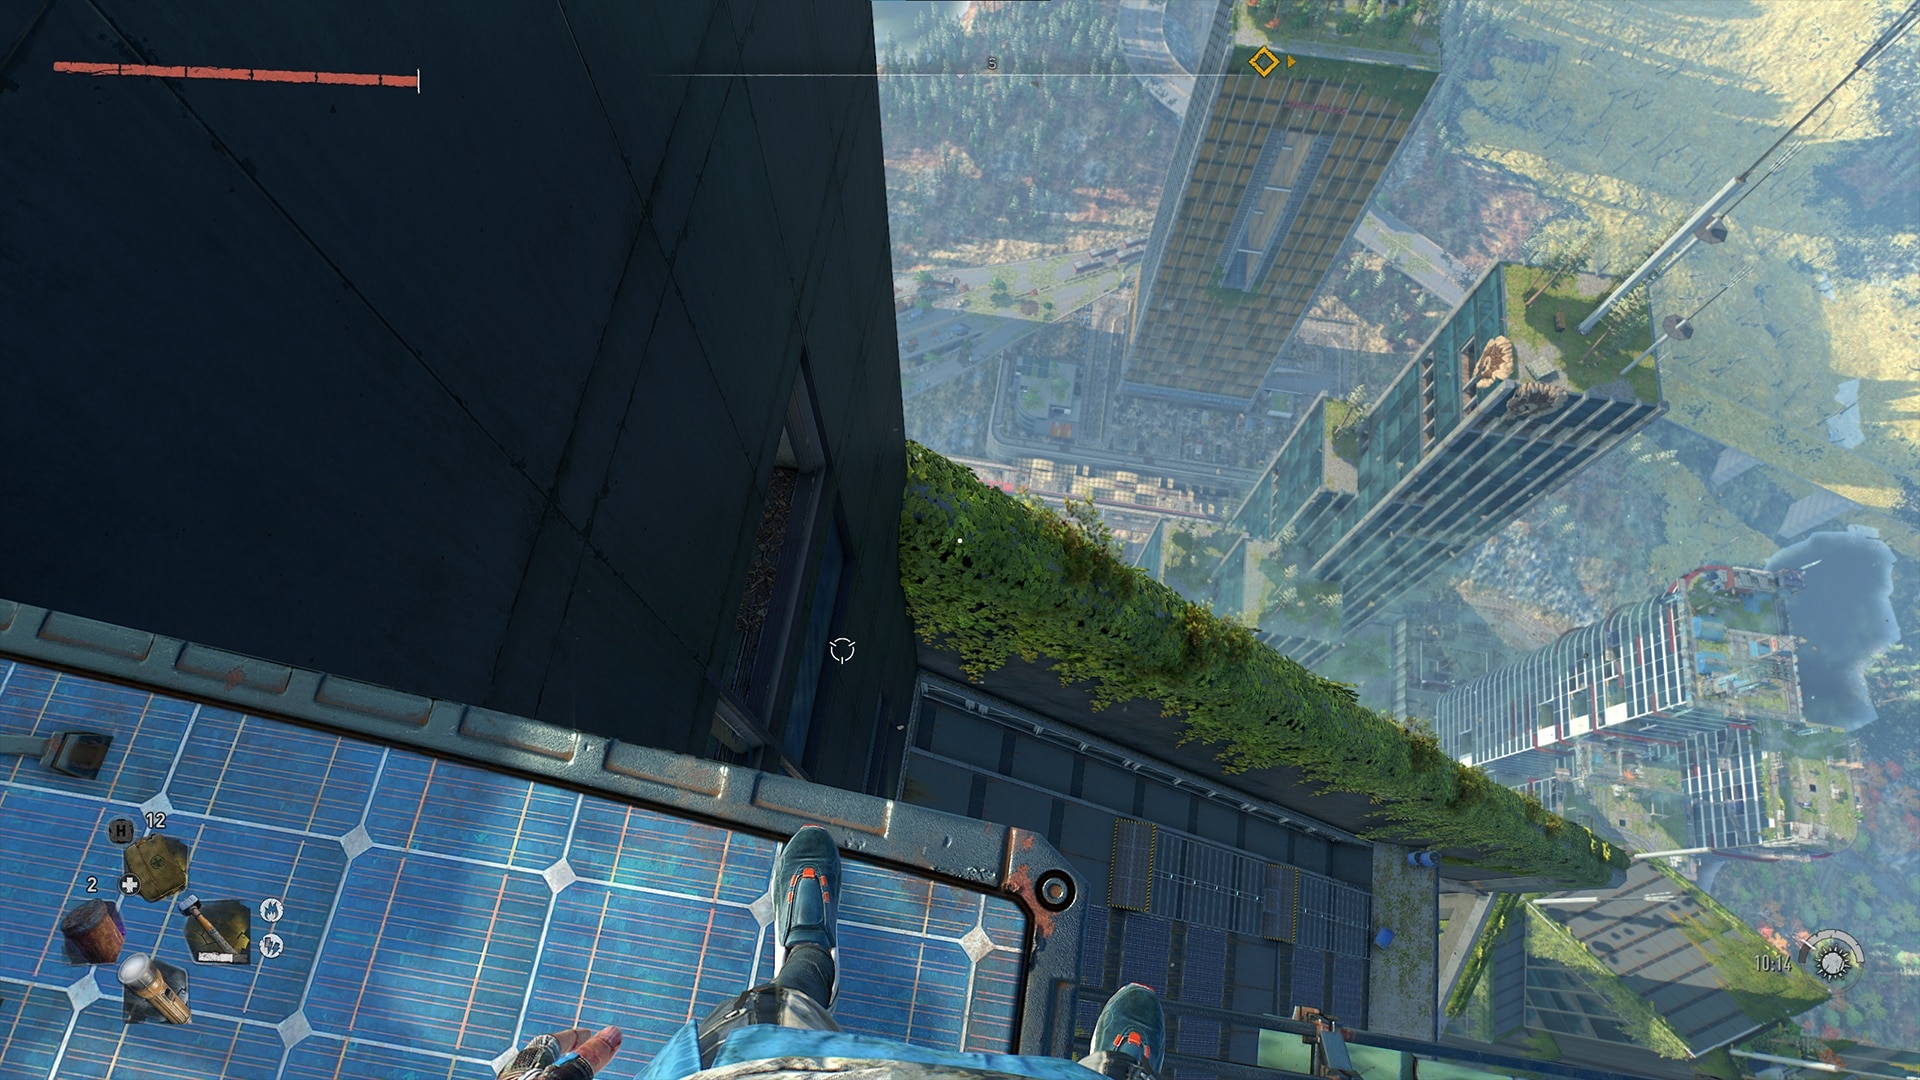
For the first rubber duck you have to get on the roof of the VNC tower. You can easily reach it by lift after the Broadcast mission. Once there, run to the left and stand on the solar panel where a piece of the fence is missing. Turn 180° and you should see a broken window two floors below you.
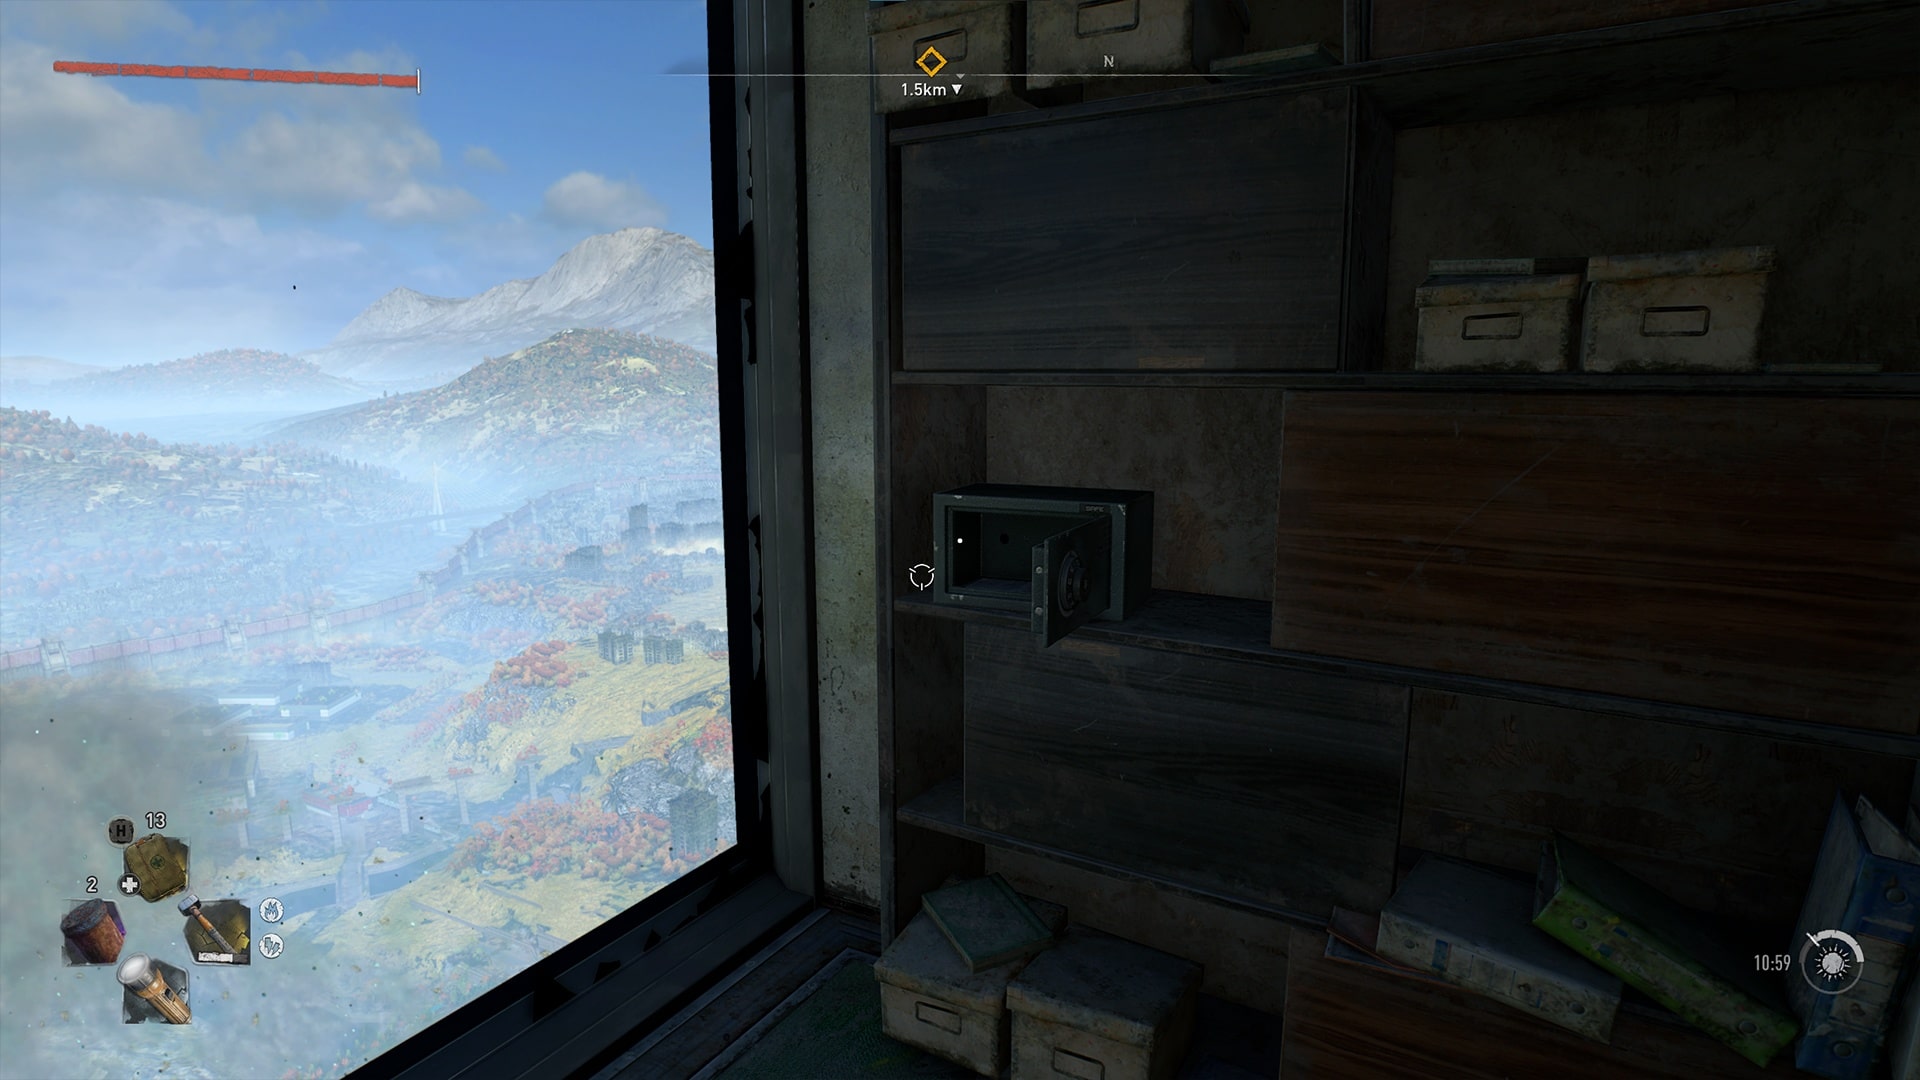
Once inside, you will also be rewarded with an inhibitor and another crate full of valuable loot. More important, however, is the bloody envelope on the desk. In it you will find a riddle for the safe opposite you in the cupboard. The solution is 666.
Location 2
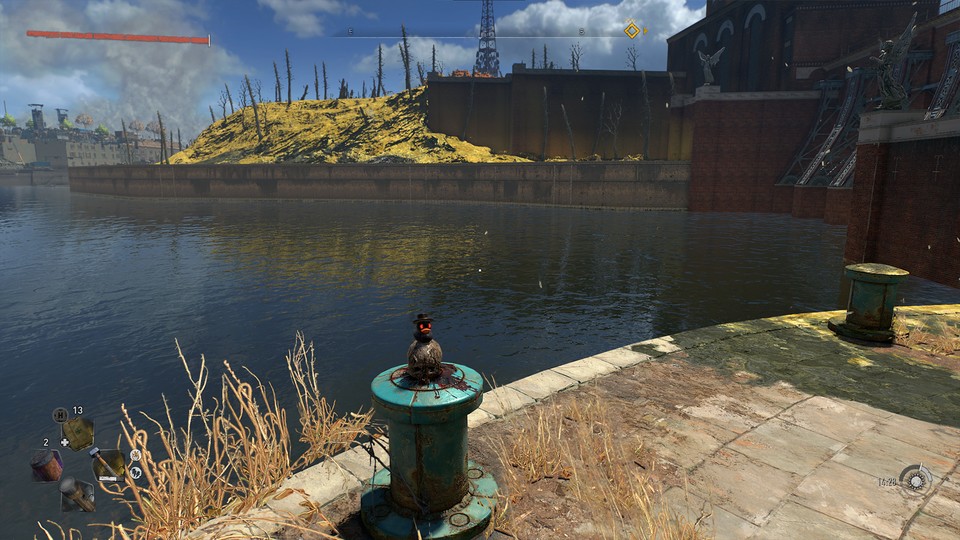
Travel to the underground: south ring in Lower Dam Ayre and turn right as soon as you run out of the exit. Cross the river and run left until you reach the bend. Once you climb the ledge, you should find the vicious rubber duck on the blue pedestal.
Found 3
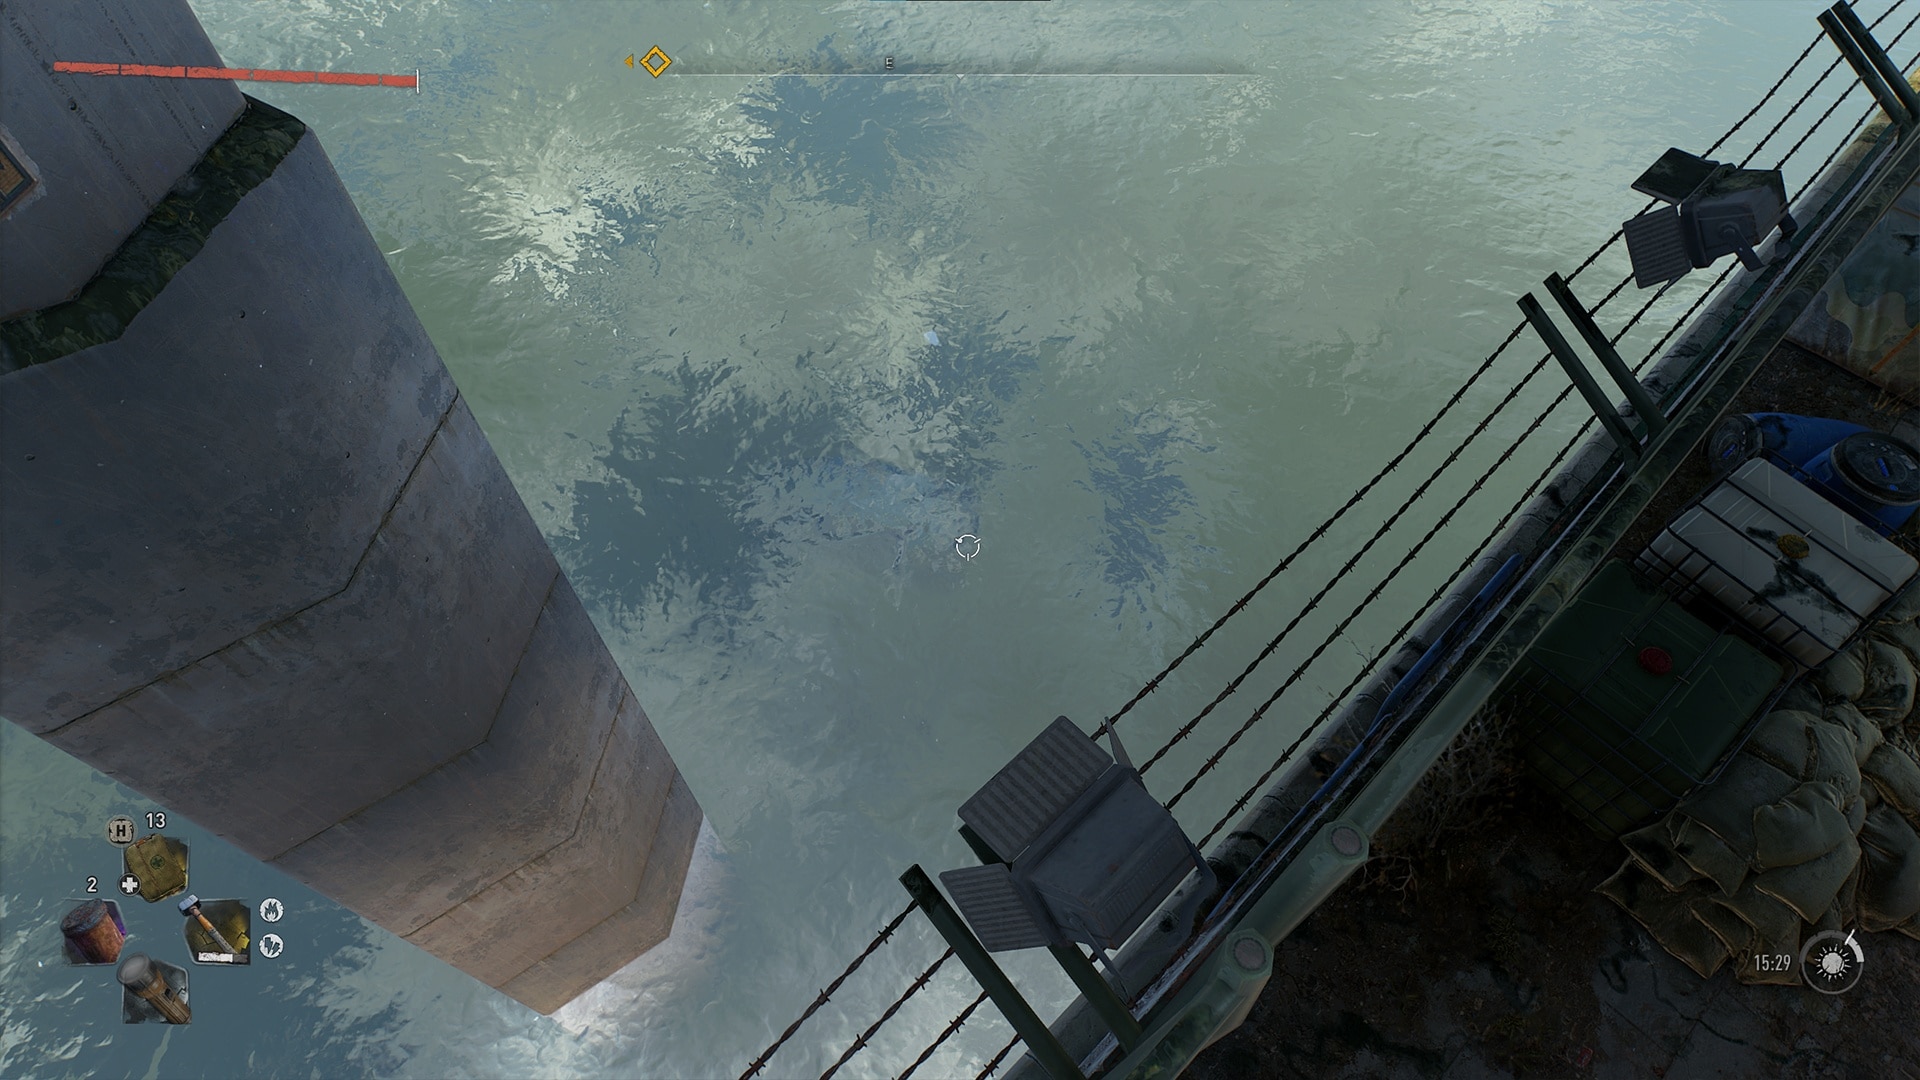
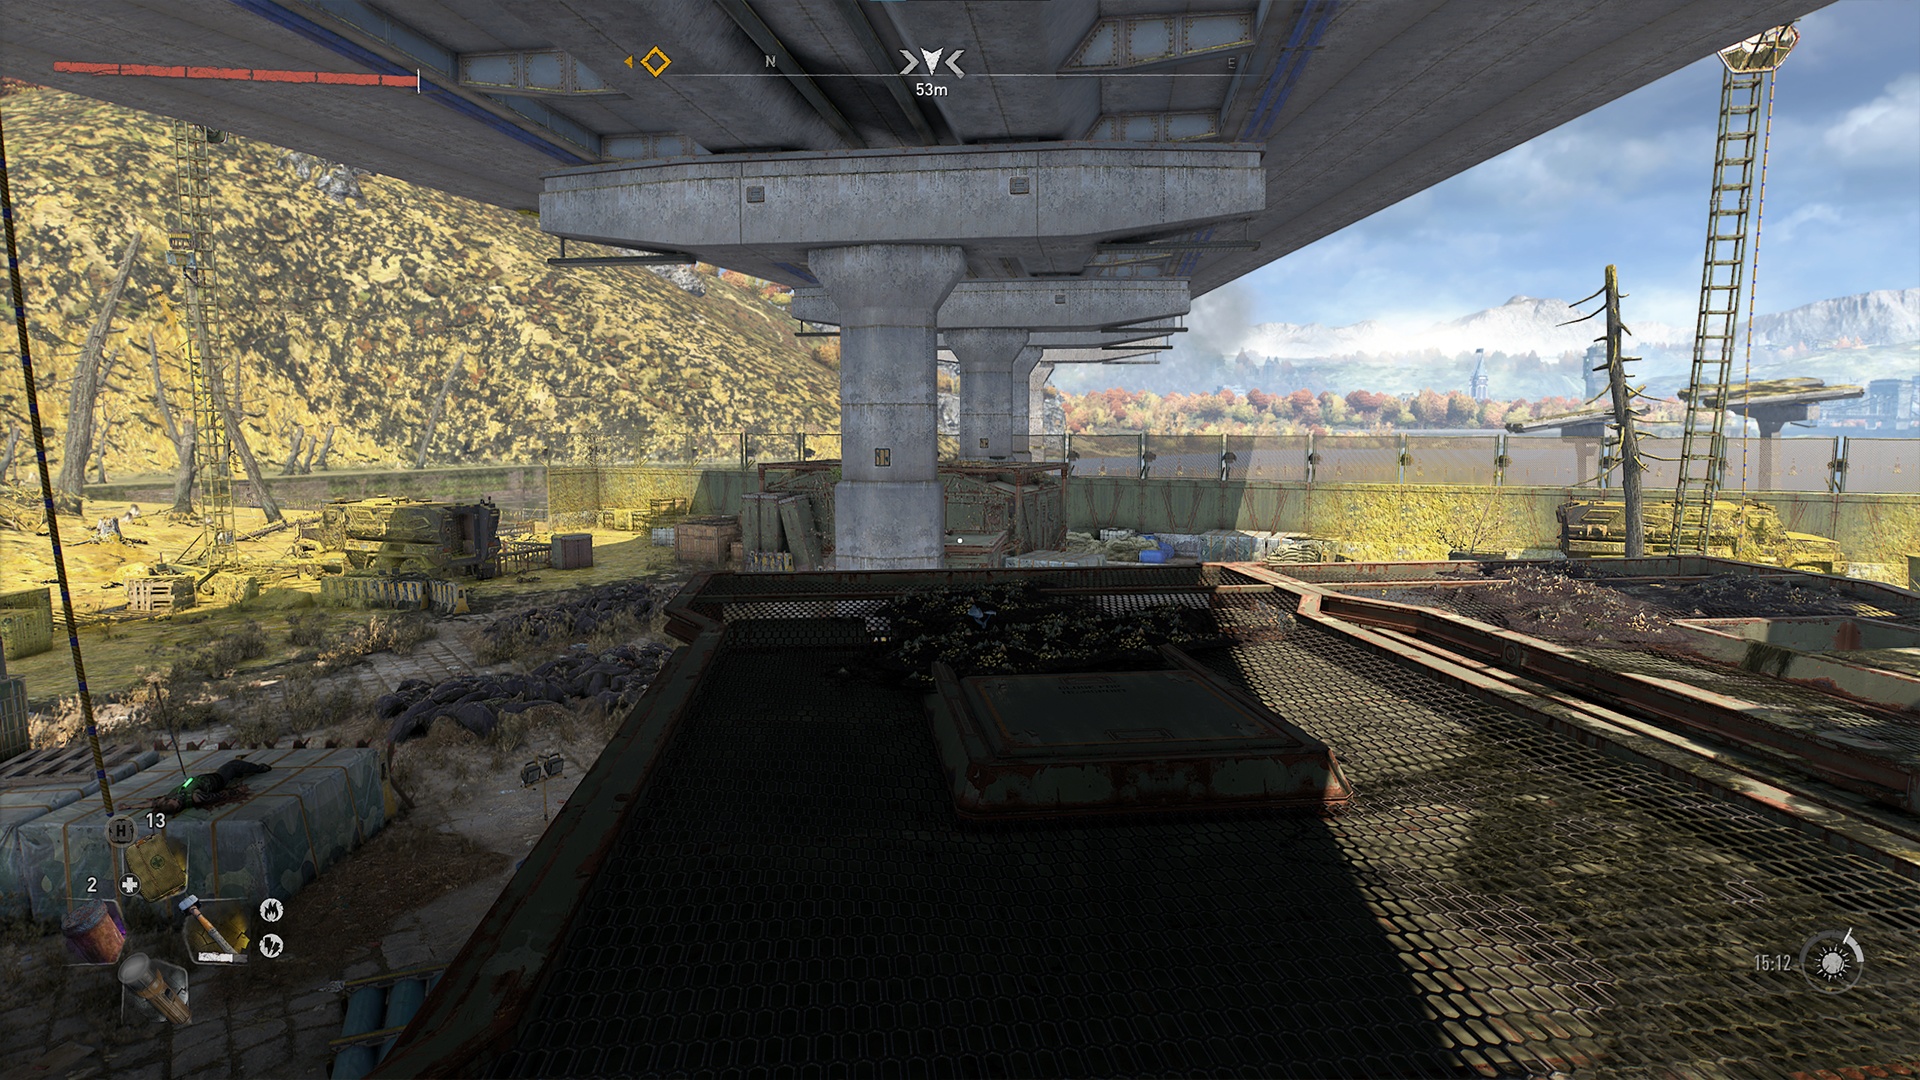
Use the quick travel point Subway: Waterside in The Wharf area. To the far north is an arena where you will encounter a GRE anomaly. If you don’t want to fight this, you should make your way during the day. Cross the arena and climb the fence at the other end so that the pillars of the bridge are right in front of you.
Now you just have to jump into the water and pick the light lock on the boot to get to the next duck.
Location 4
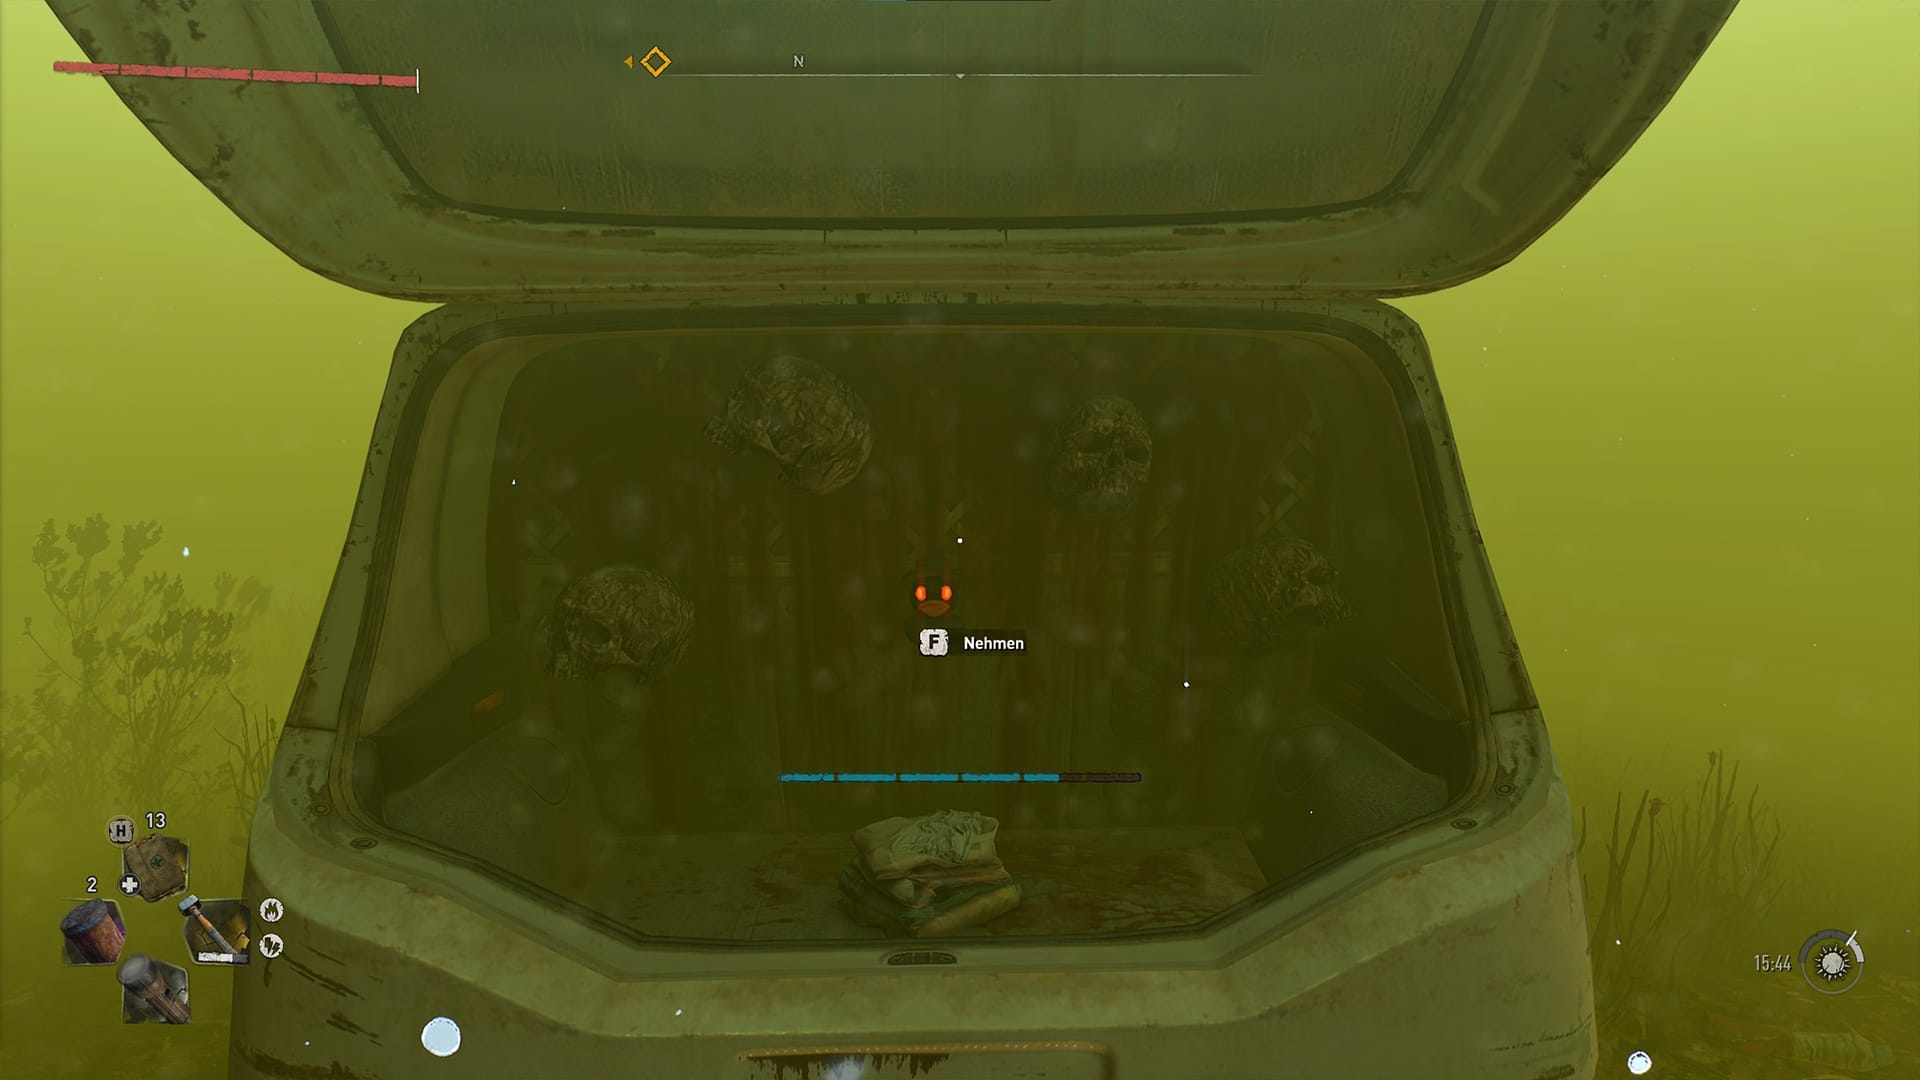
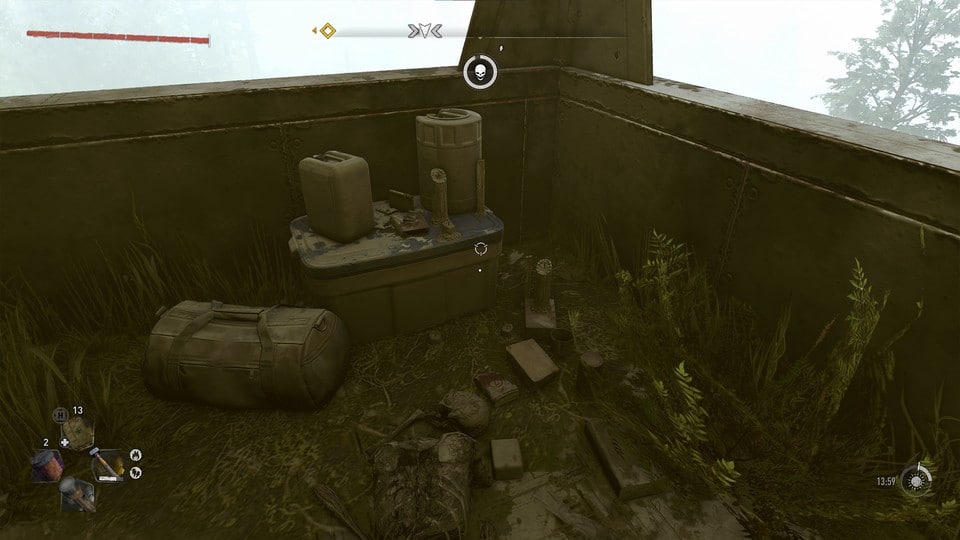
The last duck in the Central Loop is at the observatory. Enter via the eastern entrance, turn 180° and climb the left observation tower of the wall. The duck is located on top of a freezer box.
Found location 5
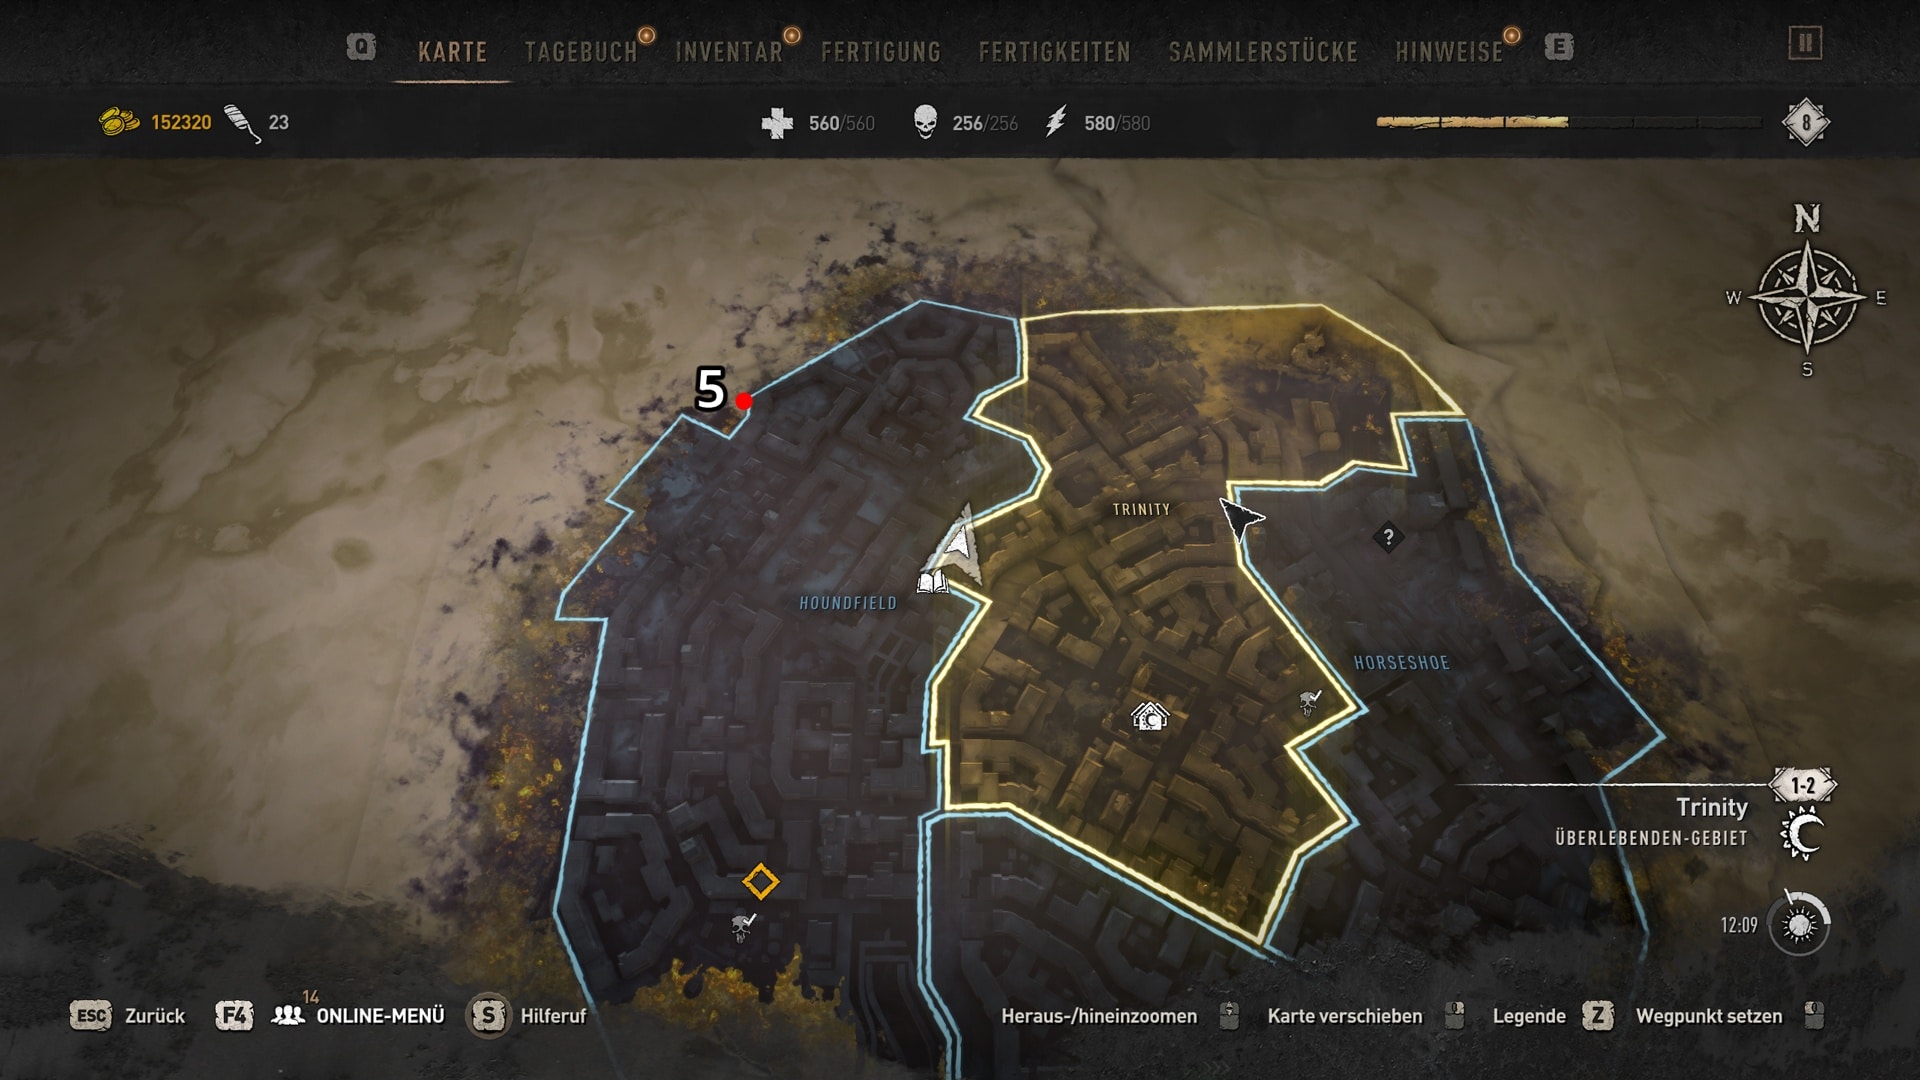
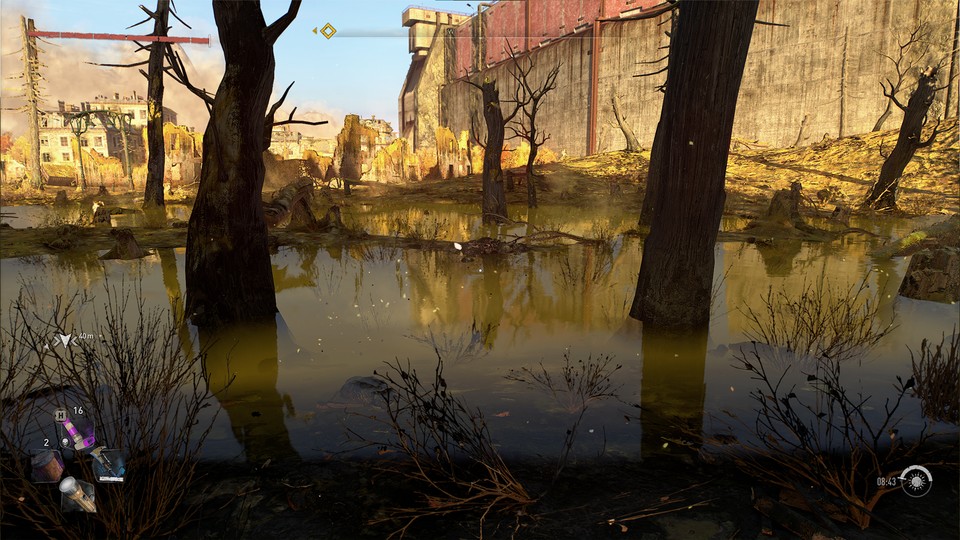
Travel to Old Villedor and head to Houndfield. Northwest, at the edge of the map is a contaminated small pond. In the middle is a small piece of land where the duck is in the middle of a circle.
The Ritual
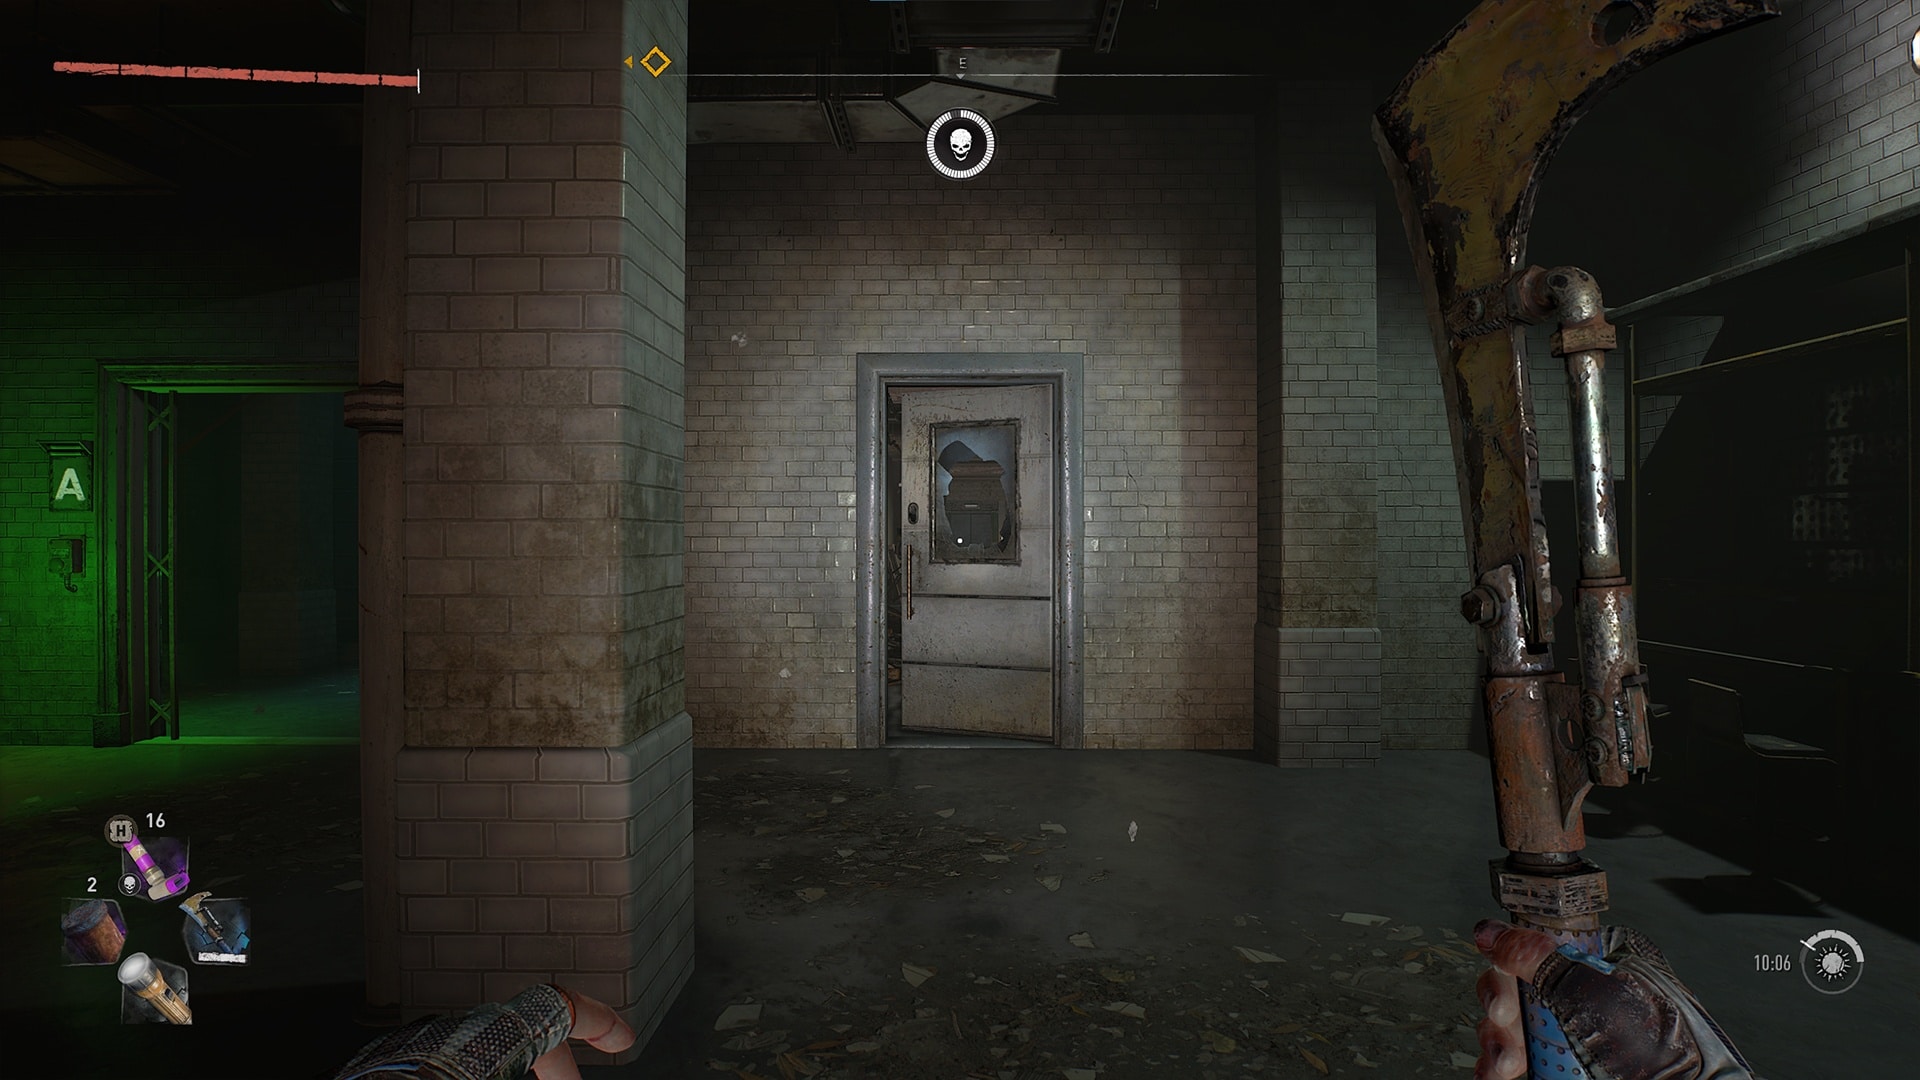
Once you have collected all five ducks, go back to the VNC tower. This time, however, into the cellar vaults. Just follow the path after coming out of the lift. Swim straight through the flooded corridors until you reach a half-open door.
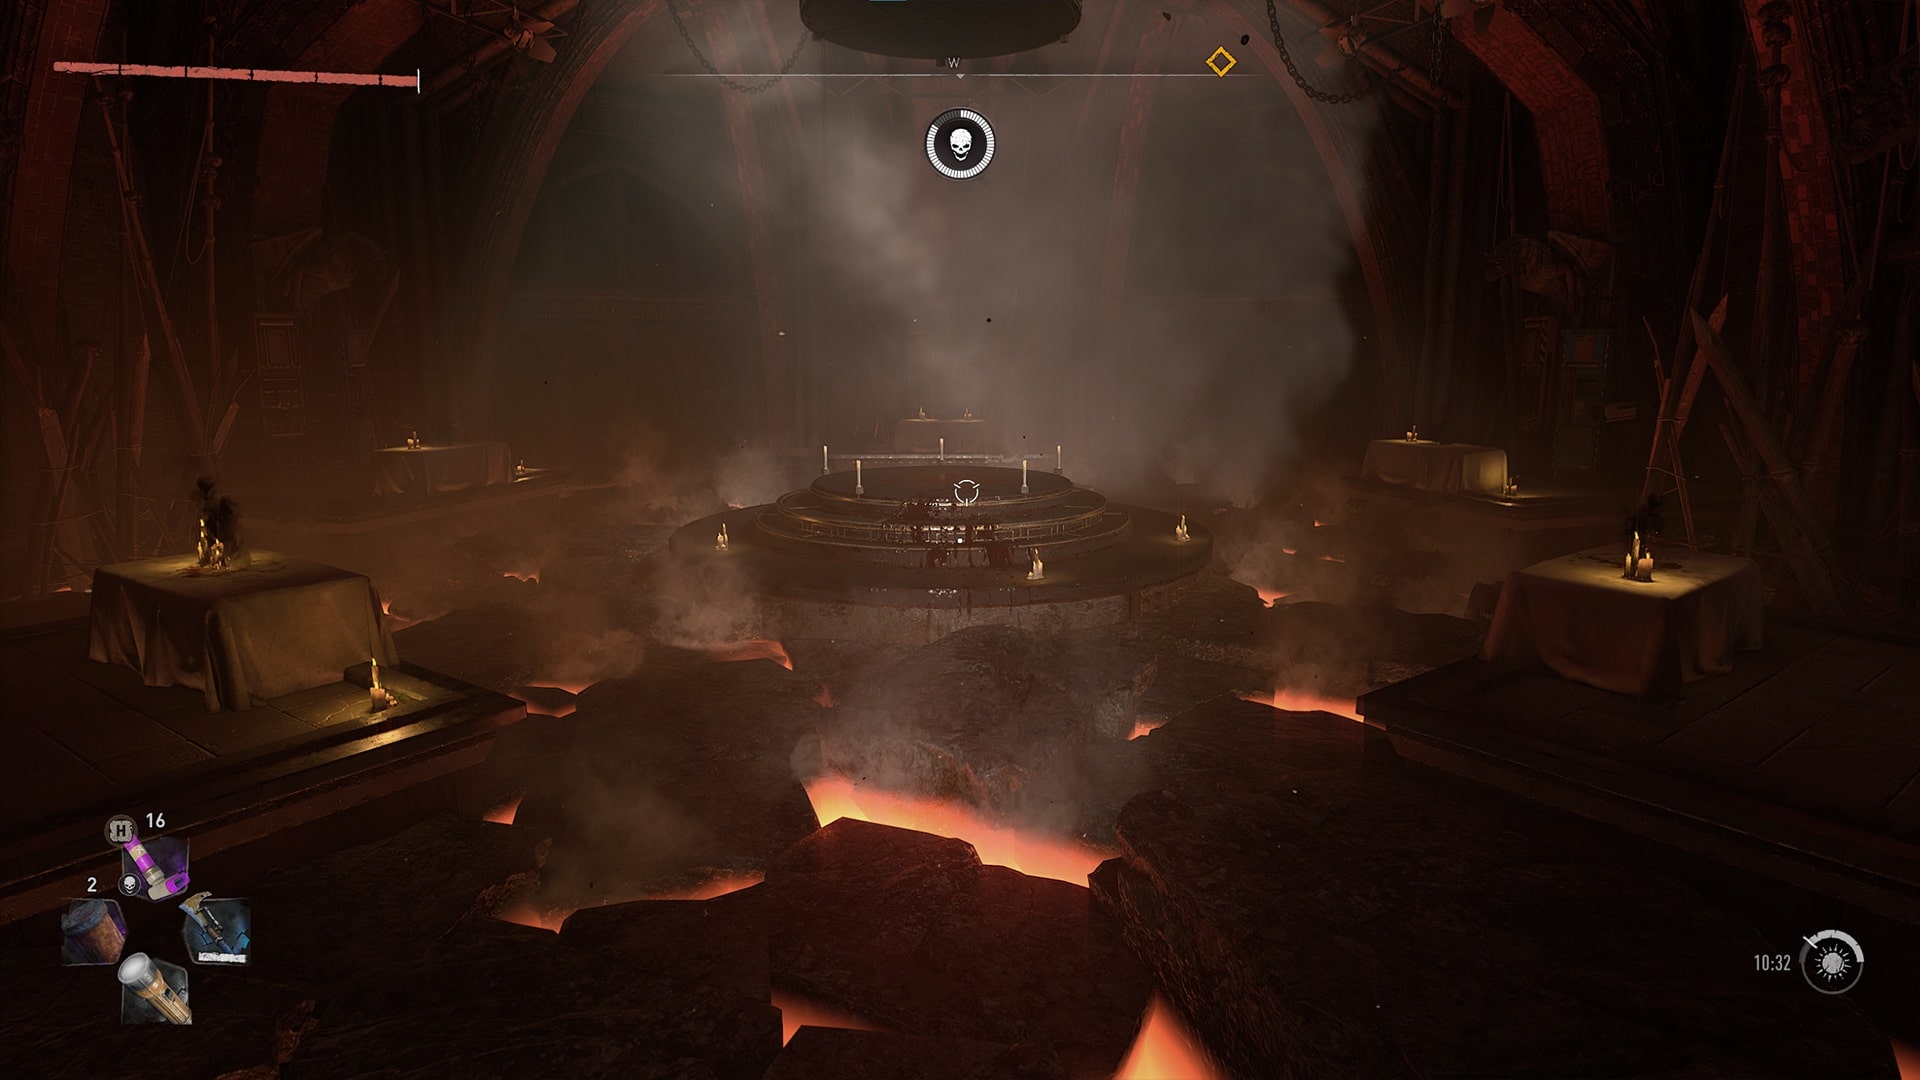
Open it and take the lift at the end of the corridor towards the ground floor. Now you have to place all five ducks on the altars to turn on the power supply. The next step is to plug all the cables into the opposite generator.
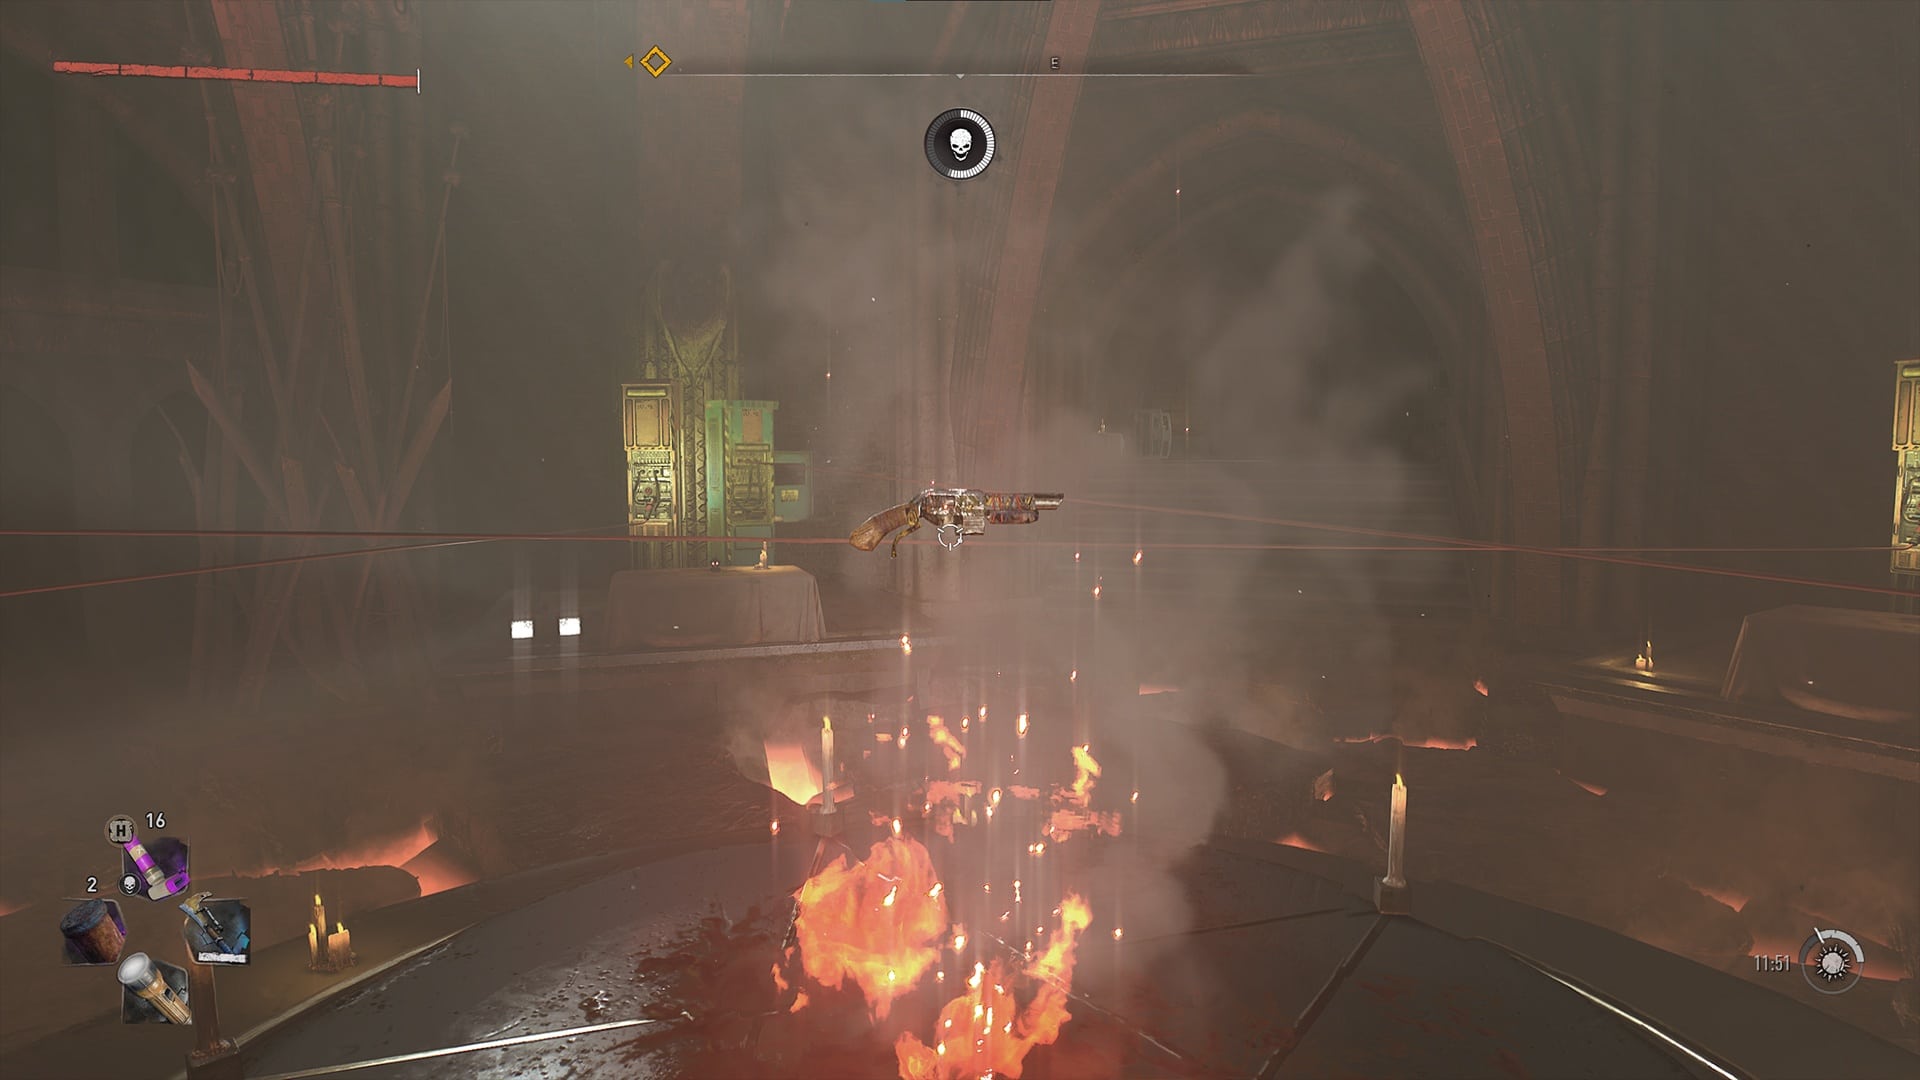
If you have got the right generator, you will also get a clear audio signal. Once all the cables have been laid, a weapon or challenge will appear in the middle of the pentagram.
Important: You do not have to complete this challenge with a medal to get the blueprint. You only have to get to the place where it was found and collect the blueprint. However, as the challenge is not too difficult, you should not miss out on the skill points that you get for a perfect completion.
The Doom Challenge
In the challenge, you have to collect five packs within 2:30 minutes. You will be given an extremely powerful shotgun with infinite shots, but you should not spend too long with the zombies, as they keep spawning.
The first package is directly in front of you. Collect it and run straight ahead until you come to the room with the green liquid. There you first take the left corridor, which shines reddish from a distance. On the one hand, you will find the blueprint Mistress-Sword here (a clear allusion to the Master-Sword from Zelda) and on the other hand, you will also find the second package here after climbing up the ladder.
Drop back into the room with the green liquid and run down the right corridor to its end to pick up the third package. On the way back, run past the left wall until you reach a spot you can interact with. This will open a secret passage to the room containing the blueprint for the power handle, as well as the fourth package.
Now run all the way back to the beginning and this time run up the escalator to get the last of the five packs. Once you are back in Villedor, you can now open your crafting menu and make the blueprint Dying Soldier.
Cyberpunk weapon in Dying Light 2: If you haven’t found the Cyberpunk 2077 allusion in the form of the role-playing game’s Mantis Blades, we’ll provide you with all the answers in a separate guide.
Have you discovered any other secrets yet? Let us know in the comments what else the world of Dying Light 2 is hiding.

