Minecraft regularly receives new content and is becoming more and more complex. Our tips highlight the most exciting new features for you.
For over a decade, the block sandbox Minecraft has been one of the most popular games and is regularly expanded with new content. It’s getting harder and harder to keep track of it all. If you want to enter or re-enter Minecraft in 2022, our separate guide for newcomers will help you.
In this guide, our Minecraft expert reveals the most important tips for the new update 1.19 The Wild. Here you will find information on the new blocks, the new biome, frog lights and the allays.
Table of Contents
What the new trees and blocks can do
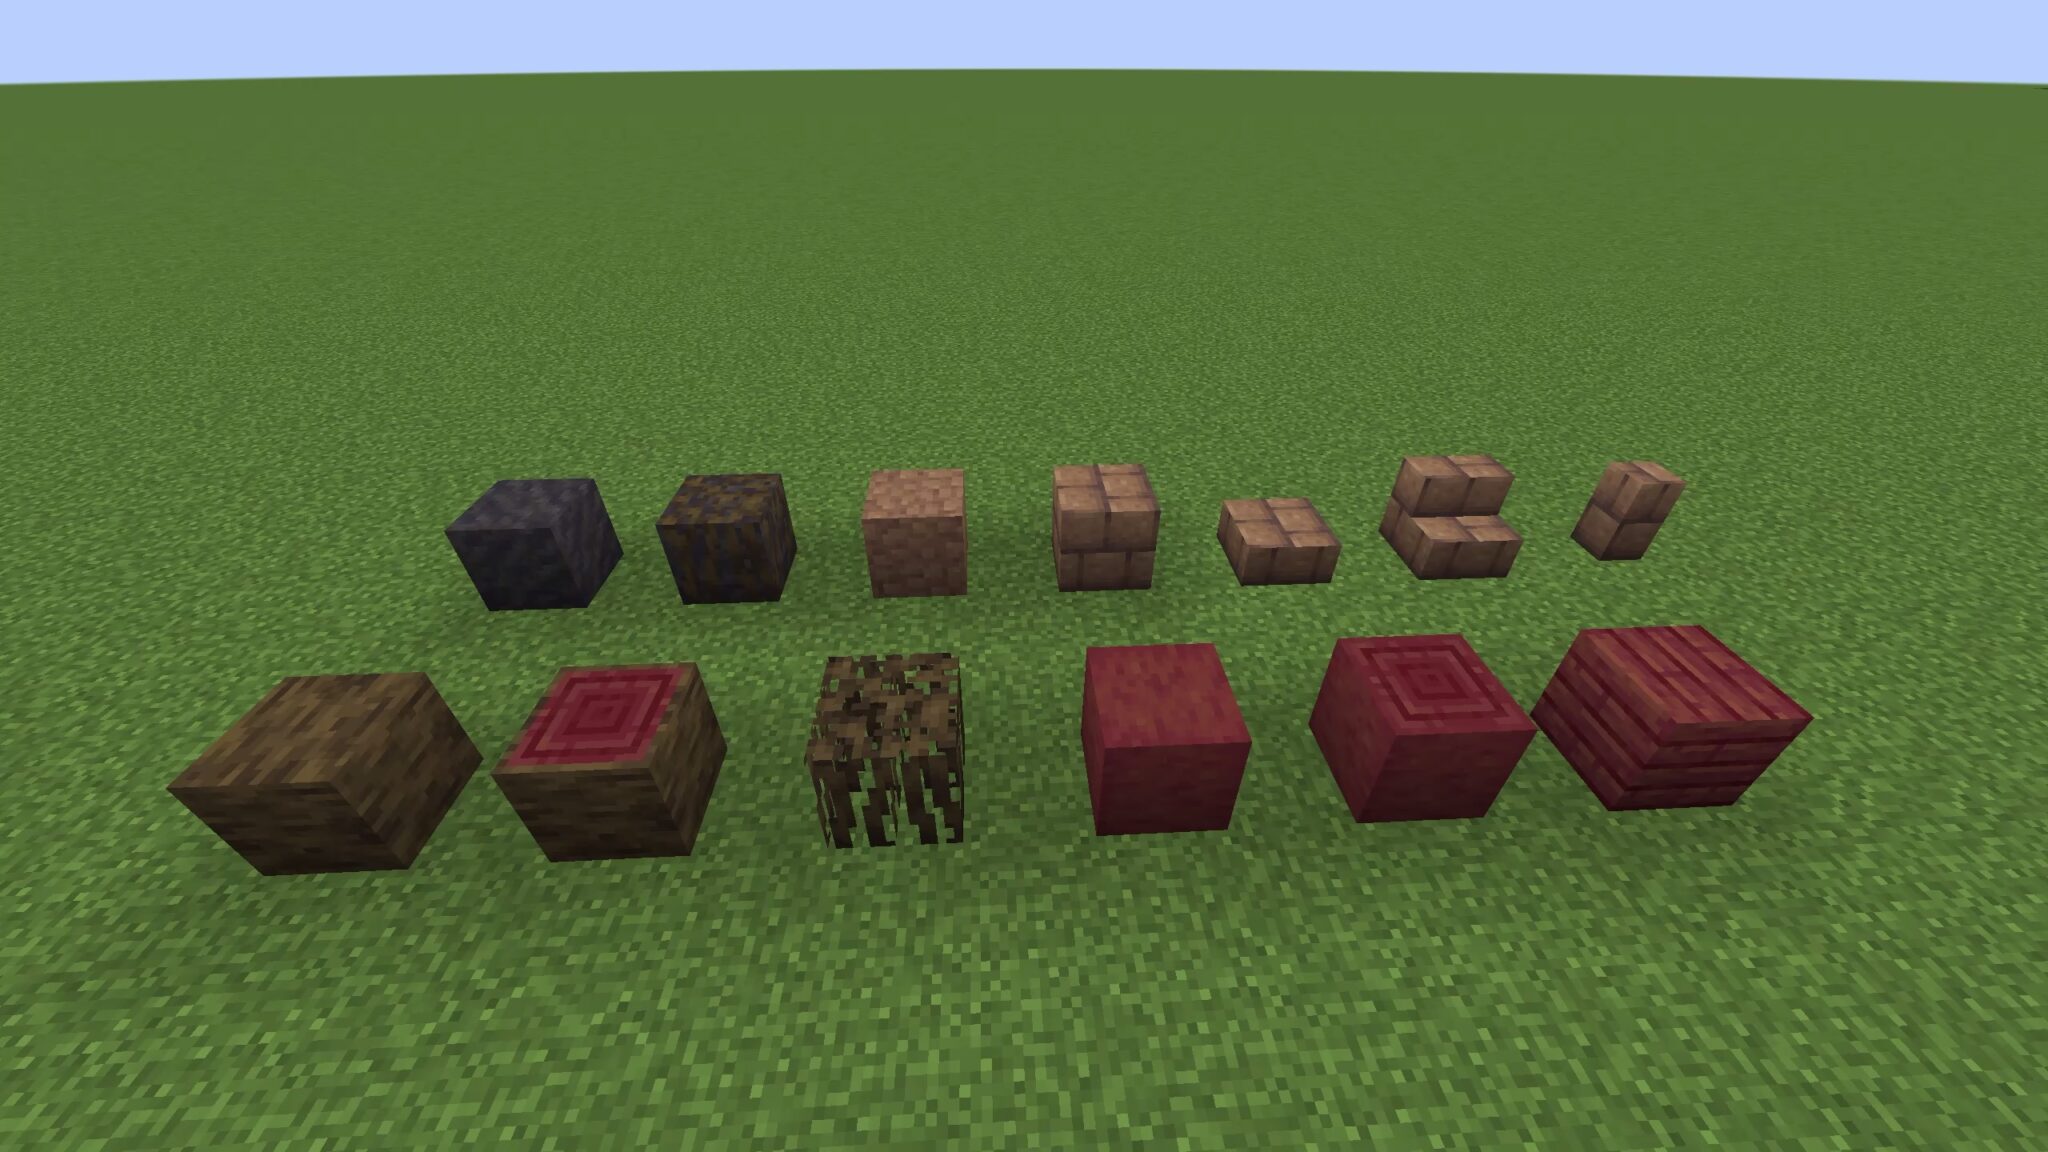
With version 1.19, new trees move into the world of blocks: the mangroves. Mangroves are found in the mangrove swamp. They generate on the land and in the water. The bark is dark brown and the wood reddish.
Their seedlings grow from the leaves and have five stages of development. You can apply bone meal to the mangrove leaves with a right click. The same applies to the other growth stages. By the way, you can plant the seedlings both above and below water.
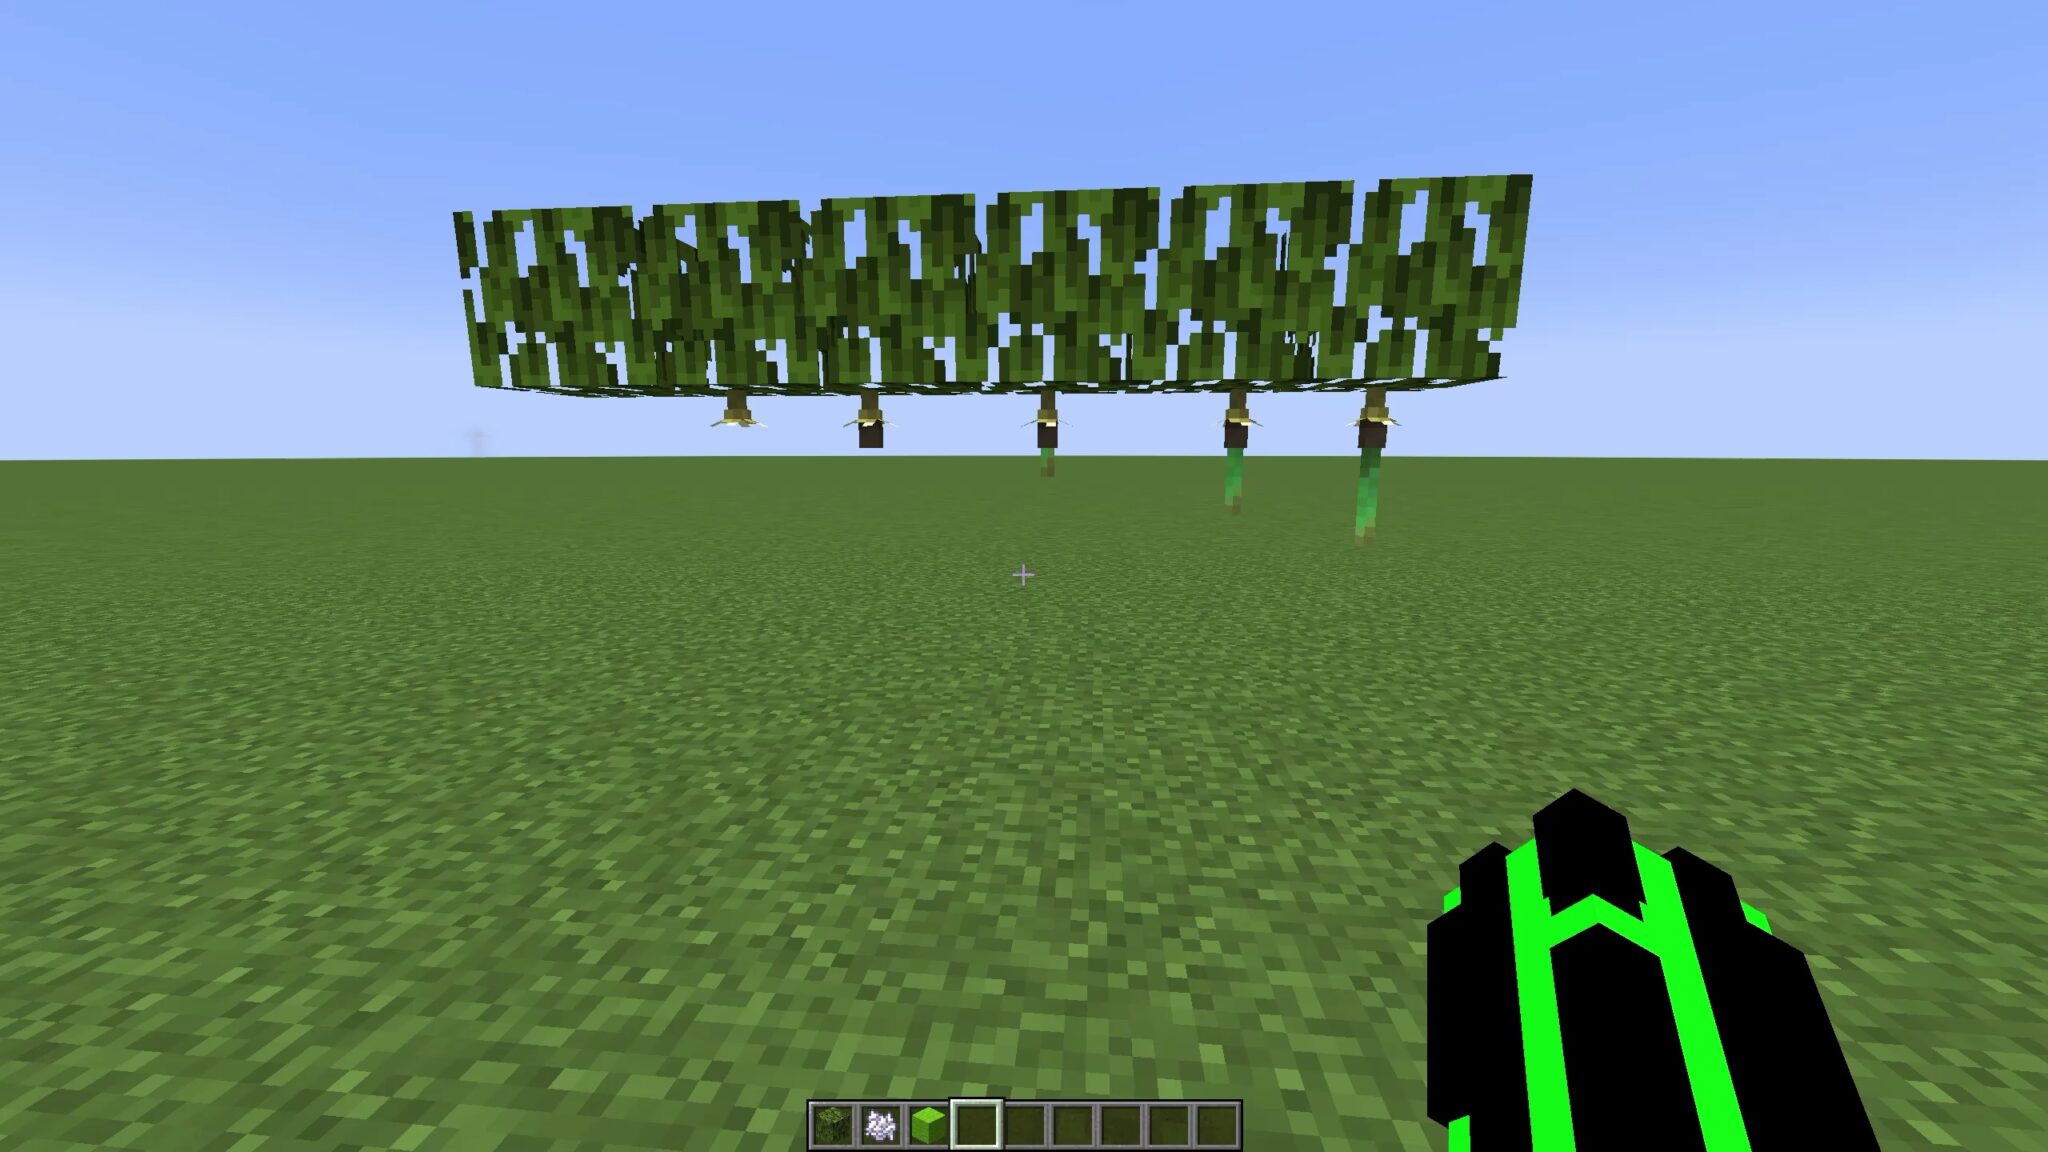
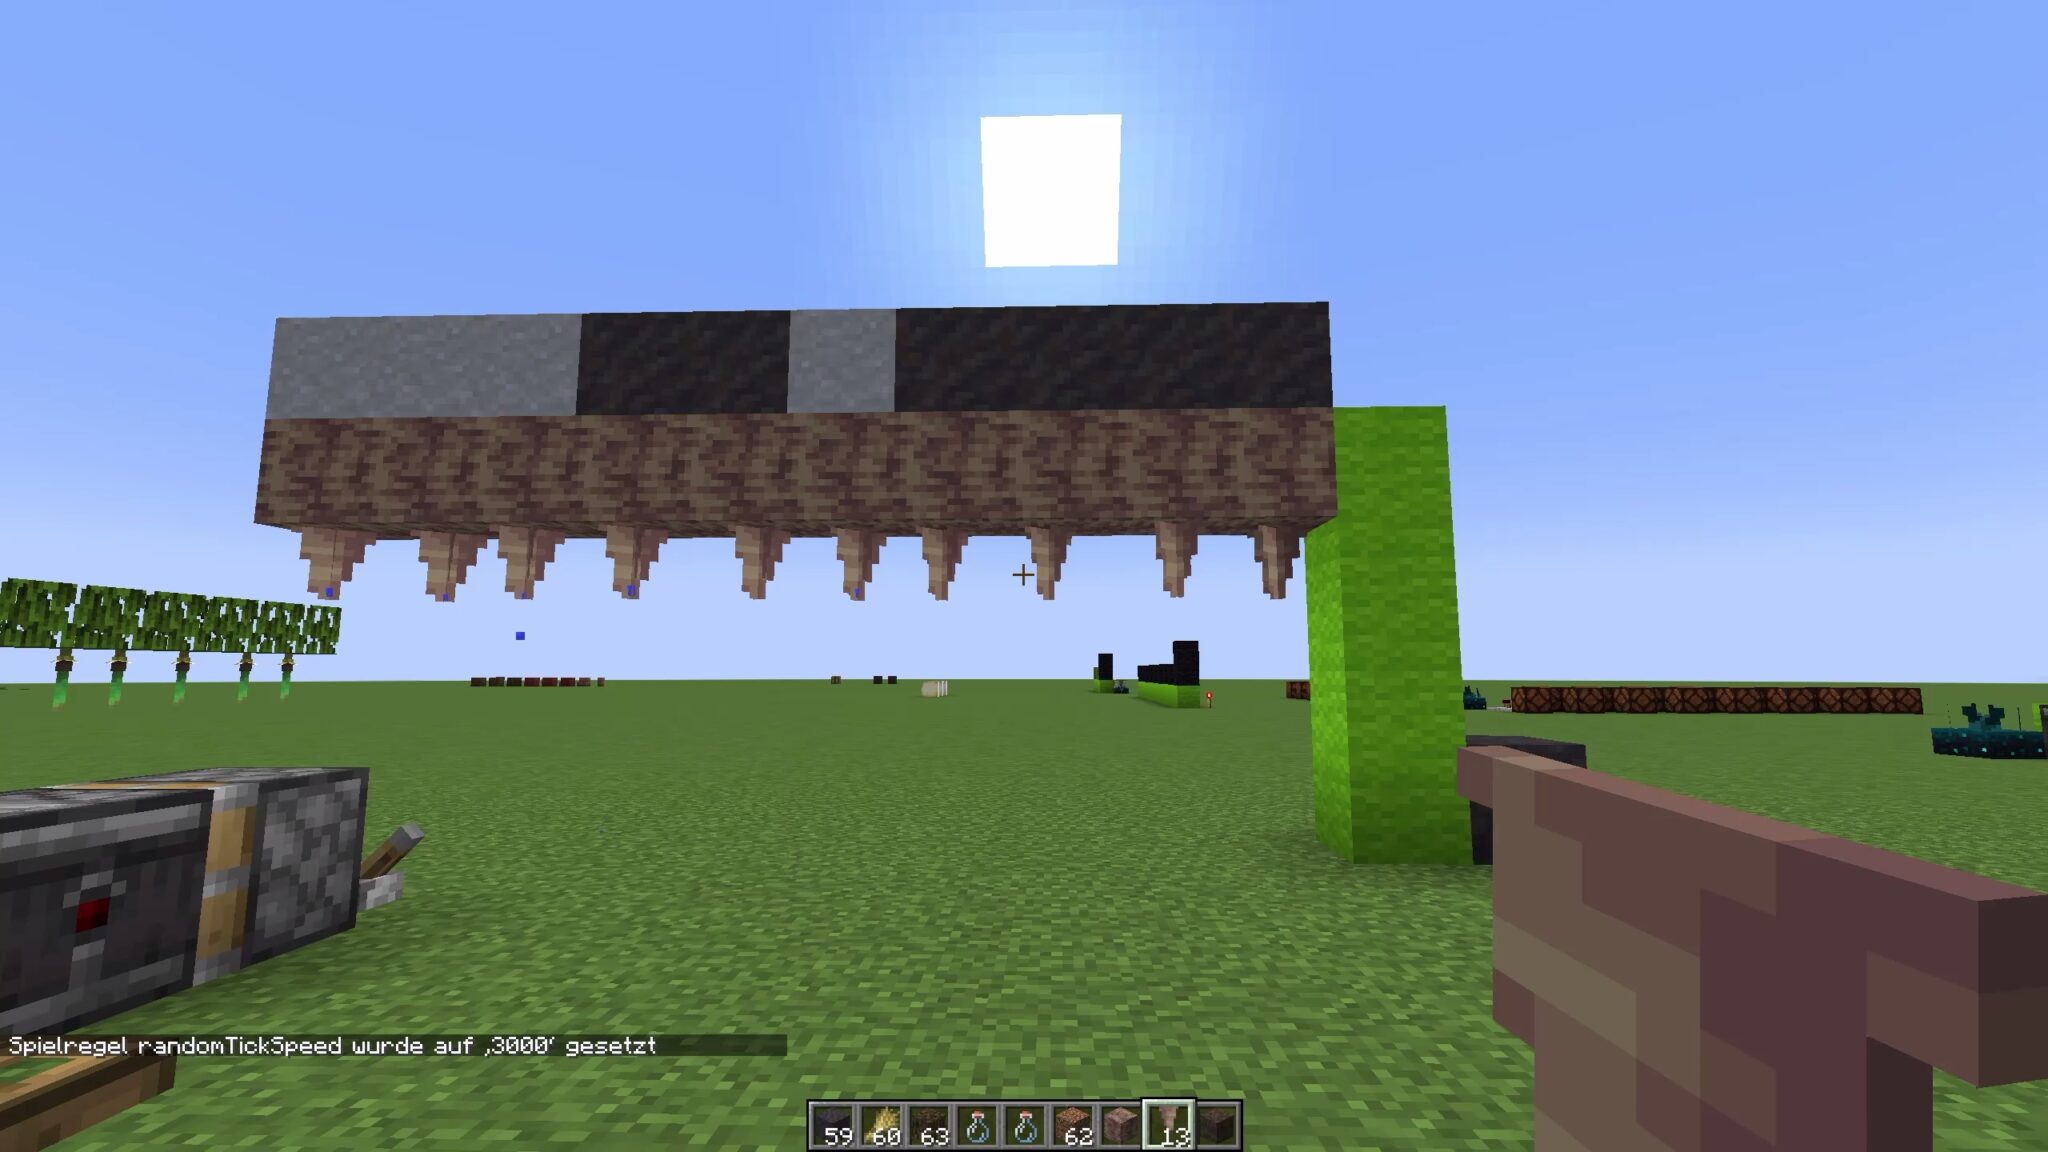
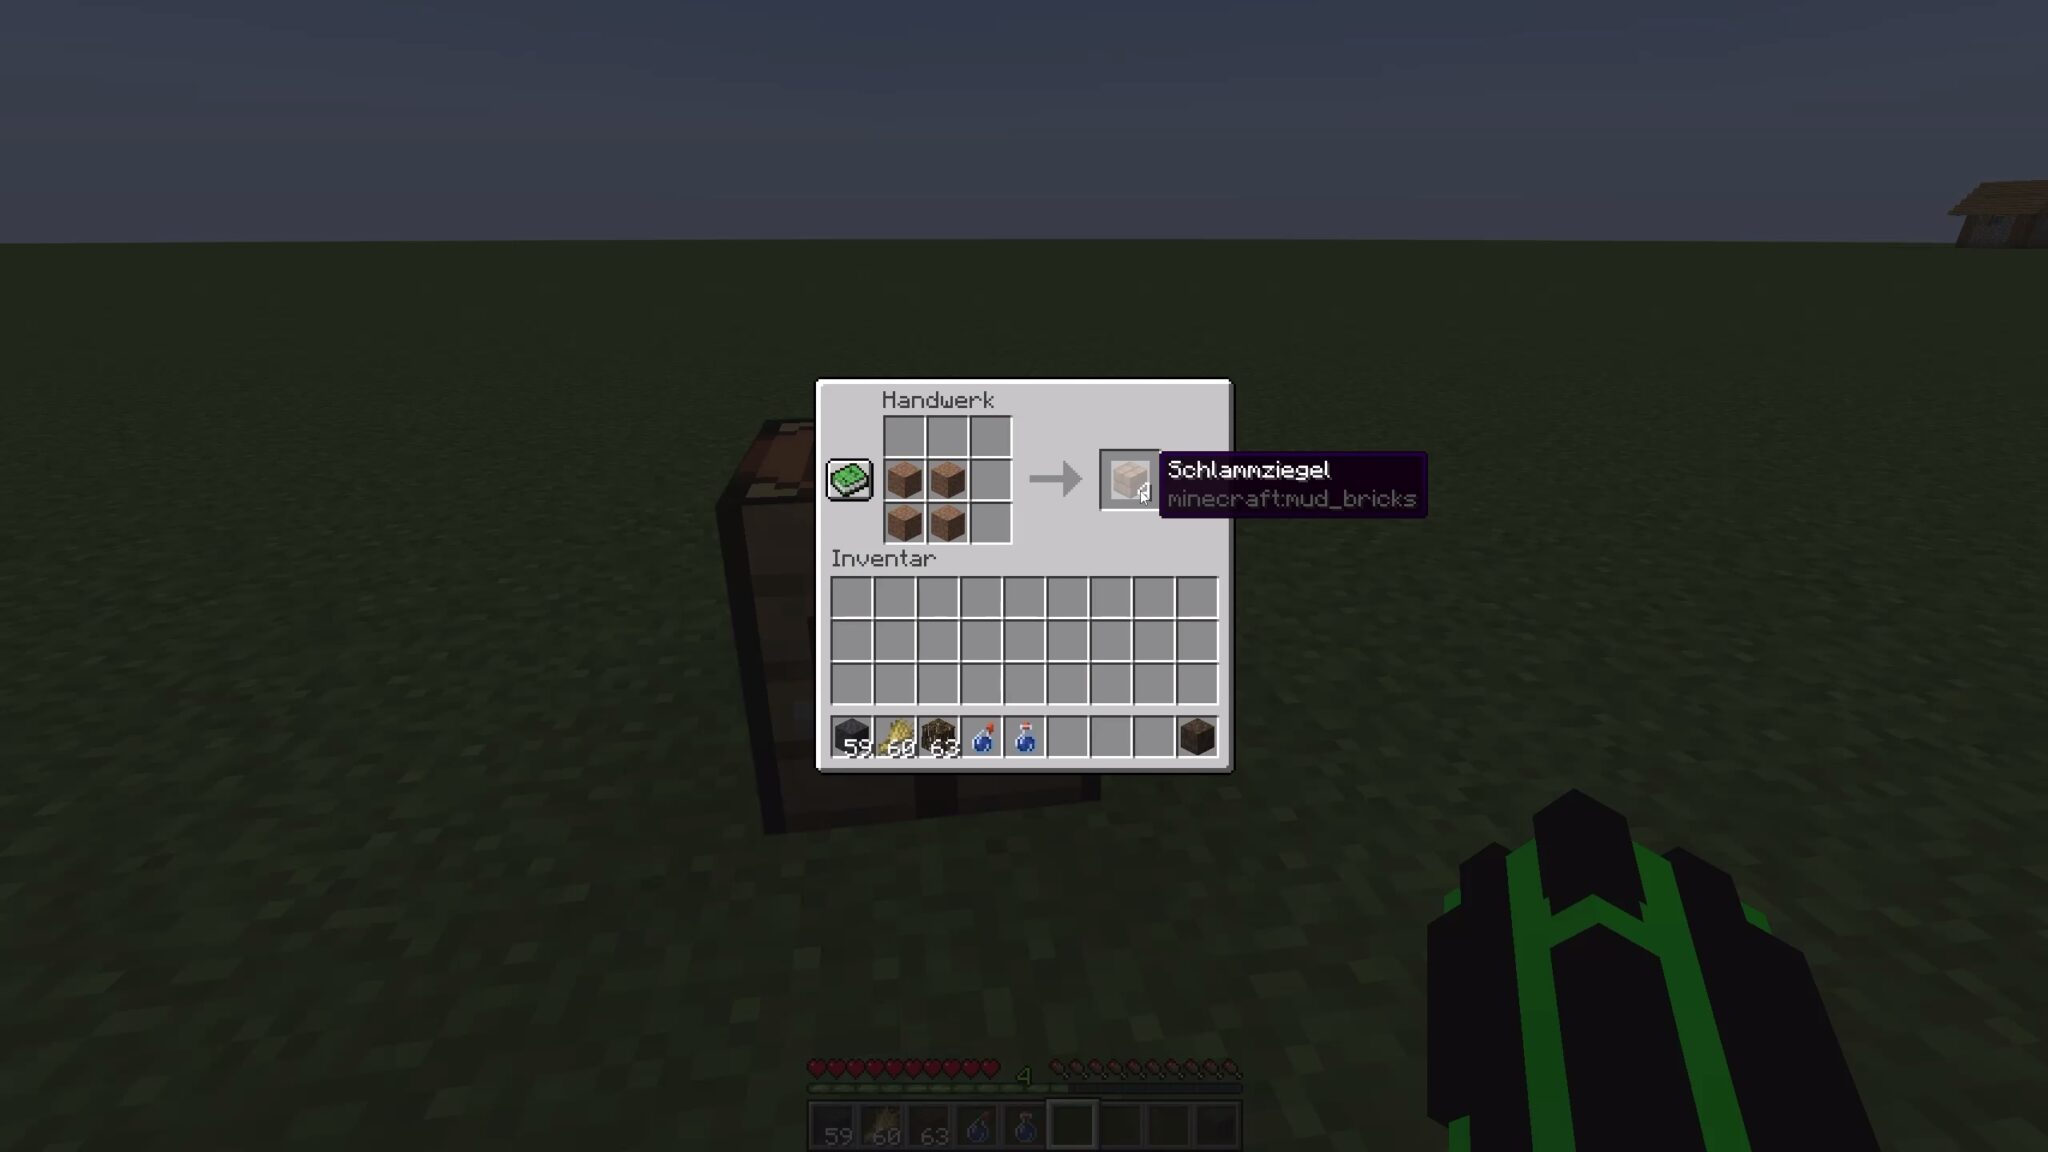
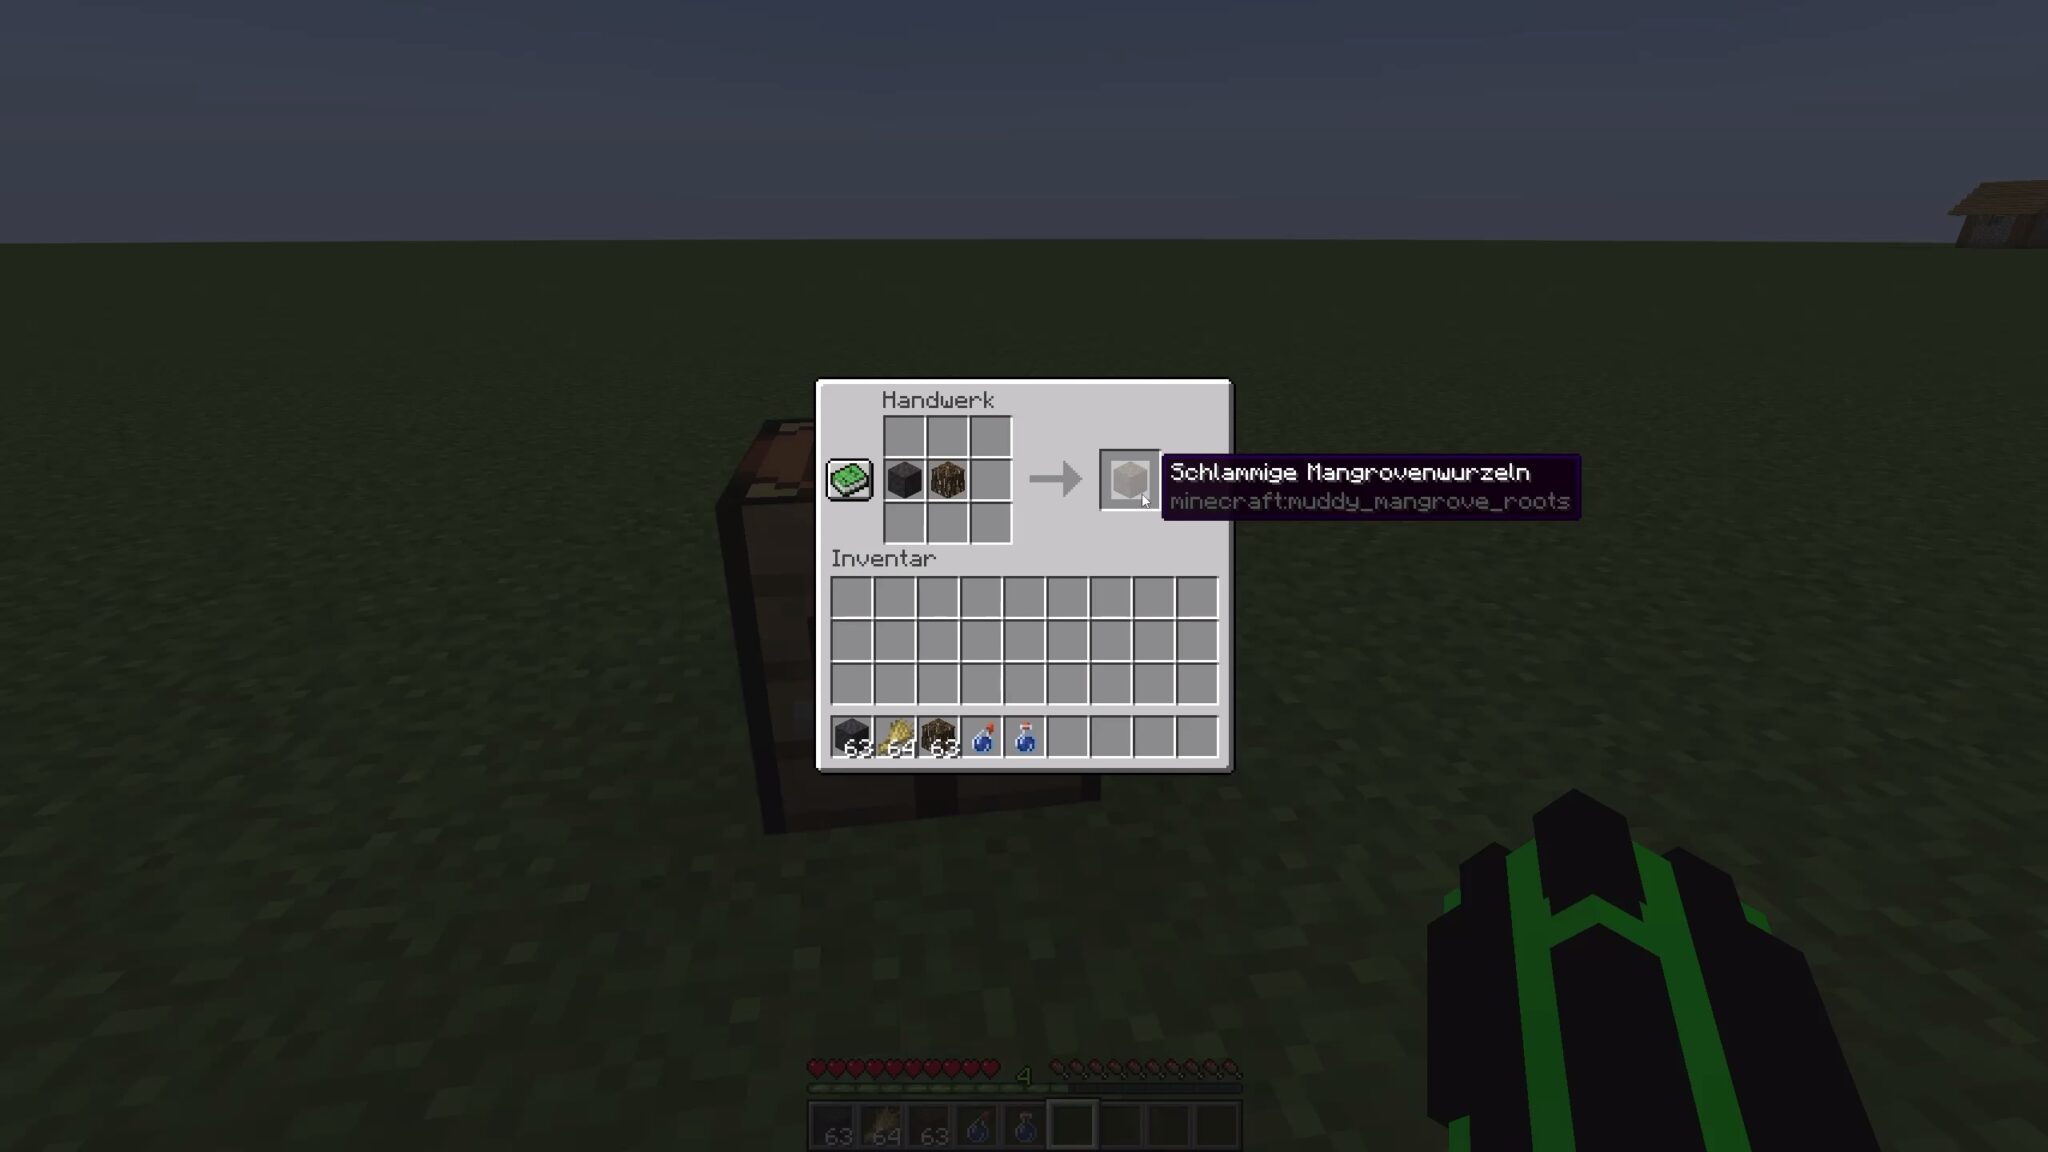
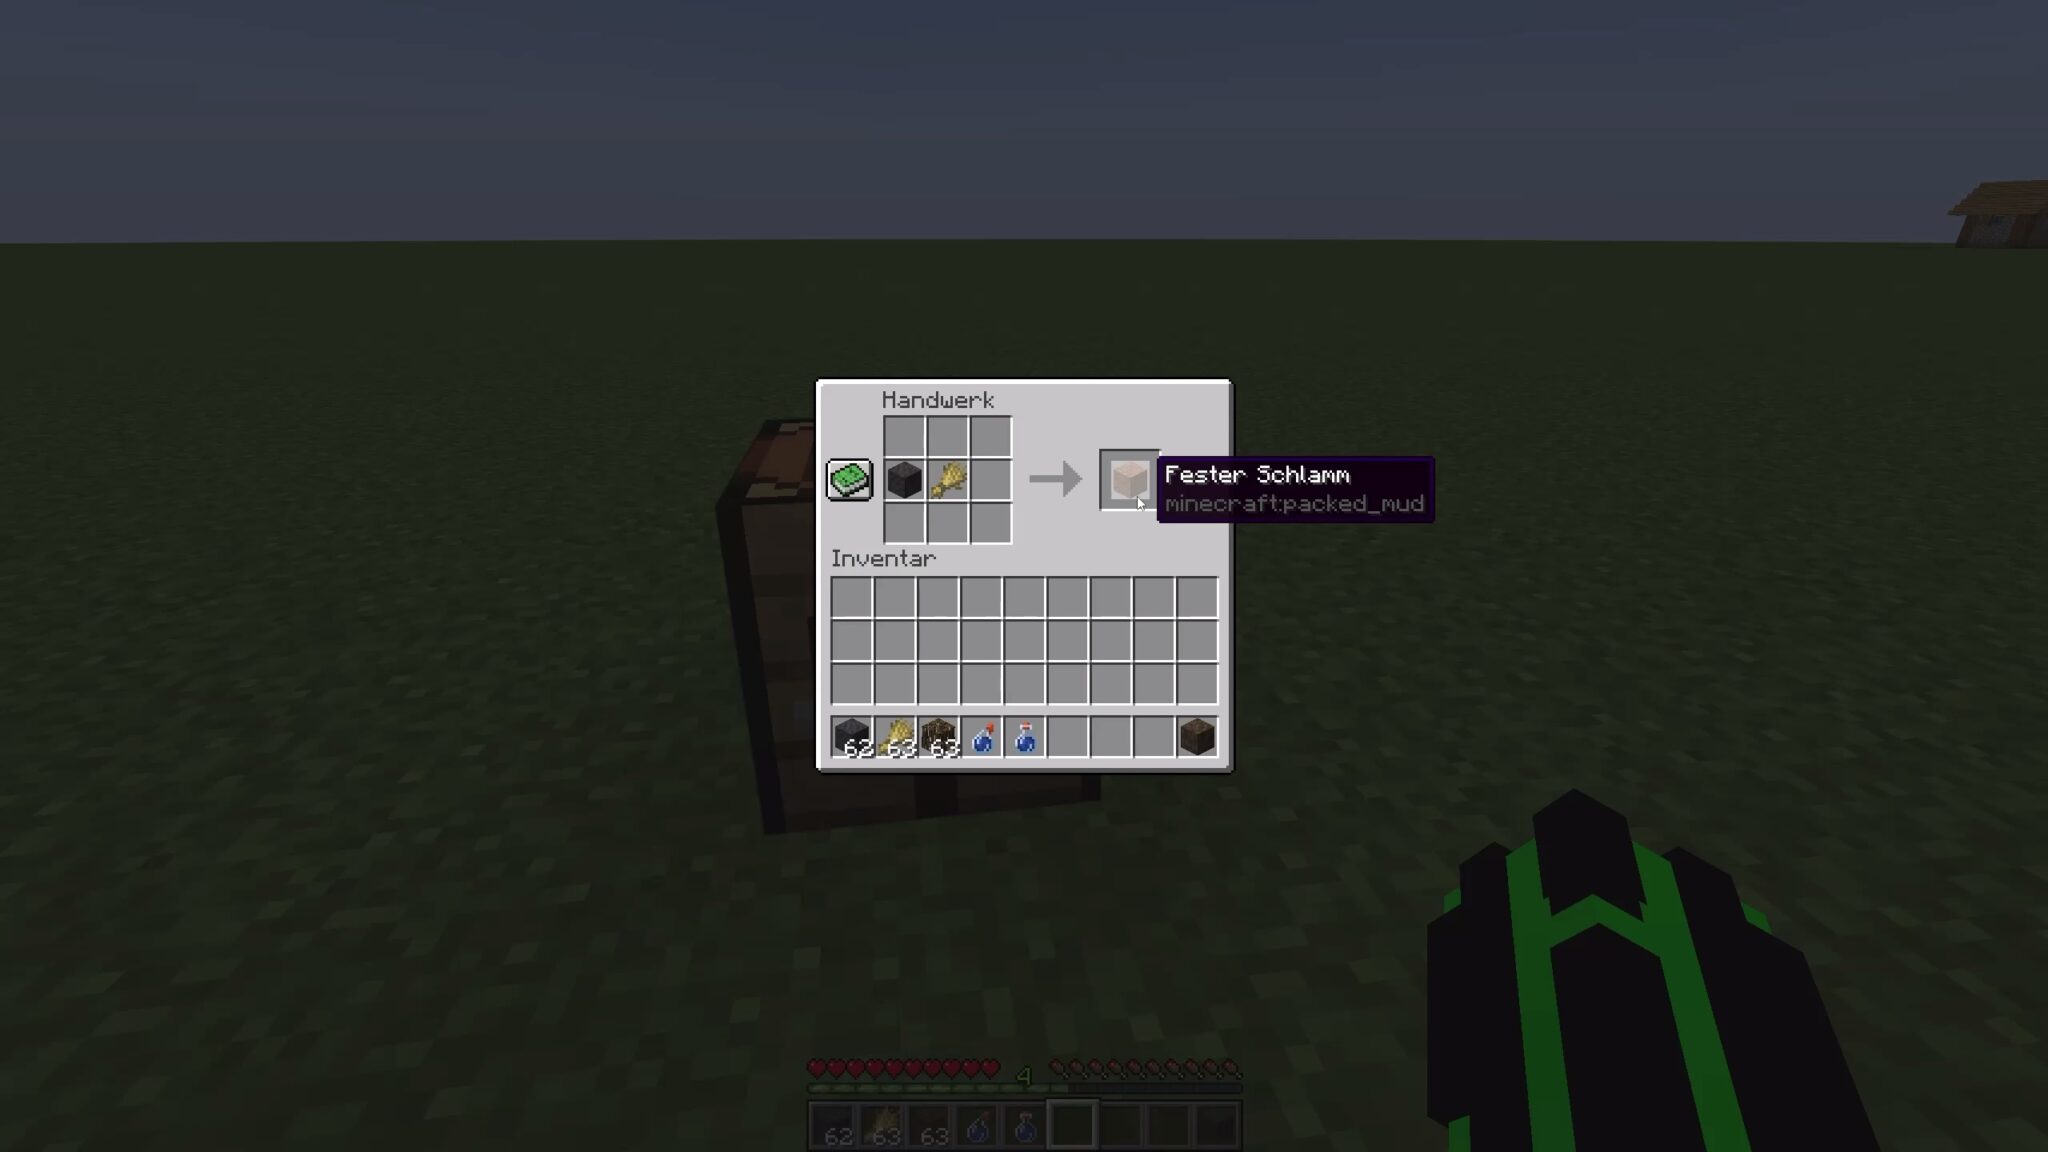
In the mangrove swamp you will find mud as well as mangroves. From mud you can make more blocks:
- Muddy Mangrove Roots from Mangrove Roots + Mud
- Solid mud of wheat + mud
- Mud brick of solid mud
- If mud is found on a stalactite, with a pointed stalactite underneath it clay can be made
You can also gain mud by right-clicking on a block of earth with a (throwable) water bottle.
&bsp;Make mud by right-clicking on a (throwable) water bottle.
More properties of the mud block:
- Mobs sink in
- Funnel underneath can pick up items through the mud block
- If a block falls on a mud, the falling block “drops”
This is how you succeed in frog breeding
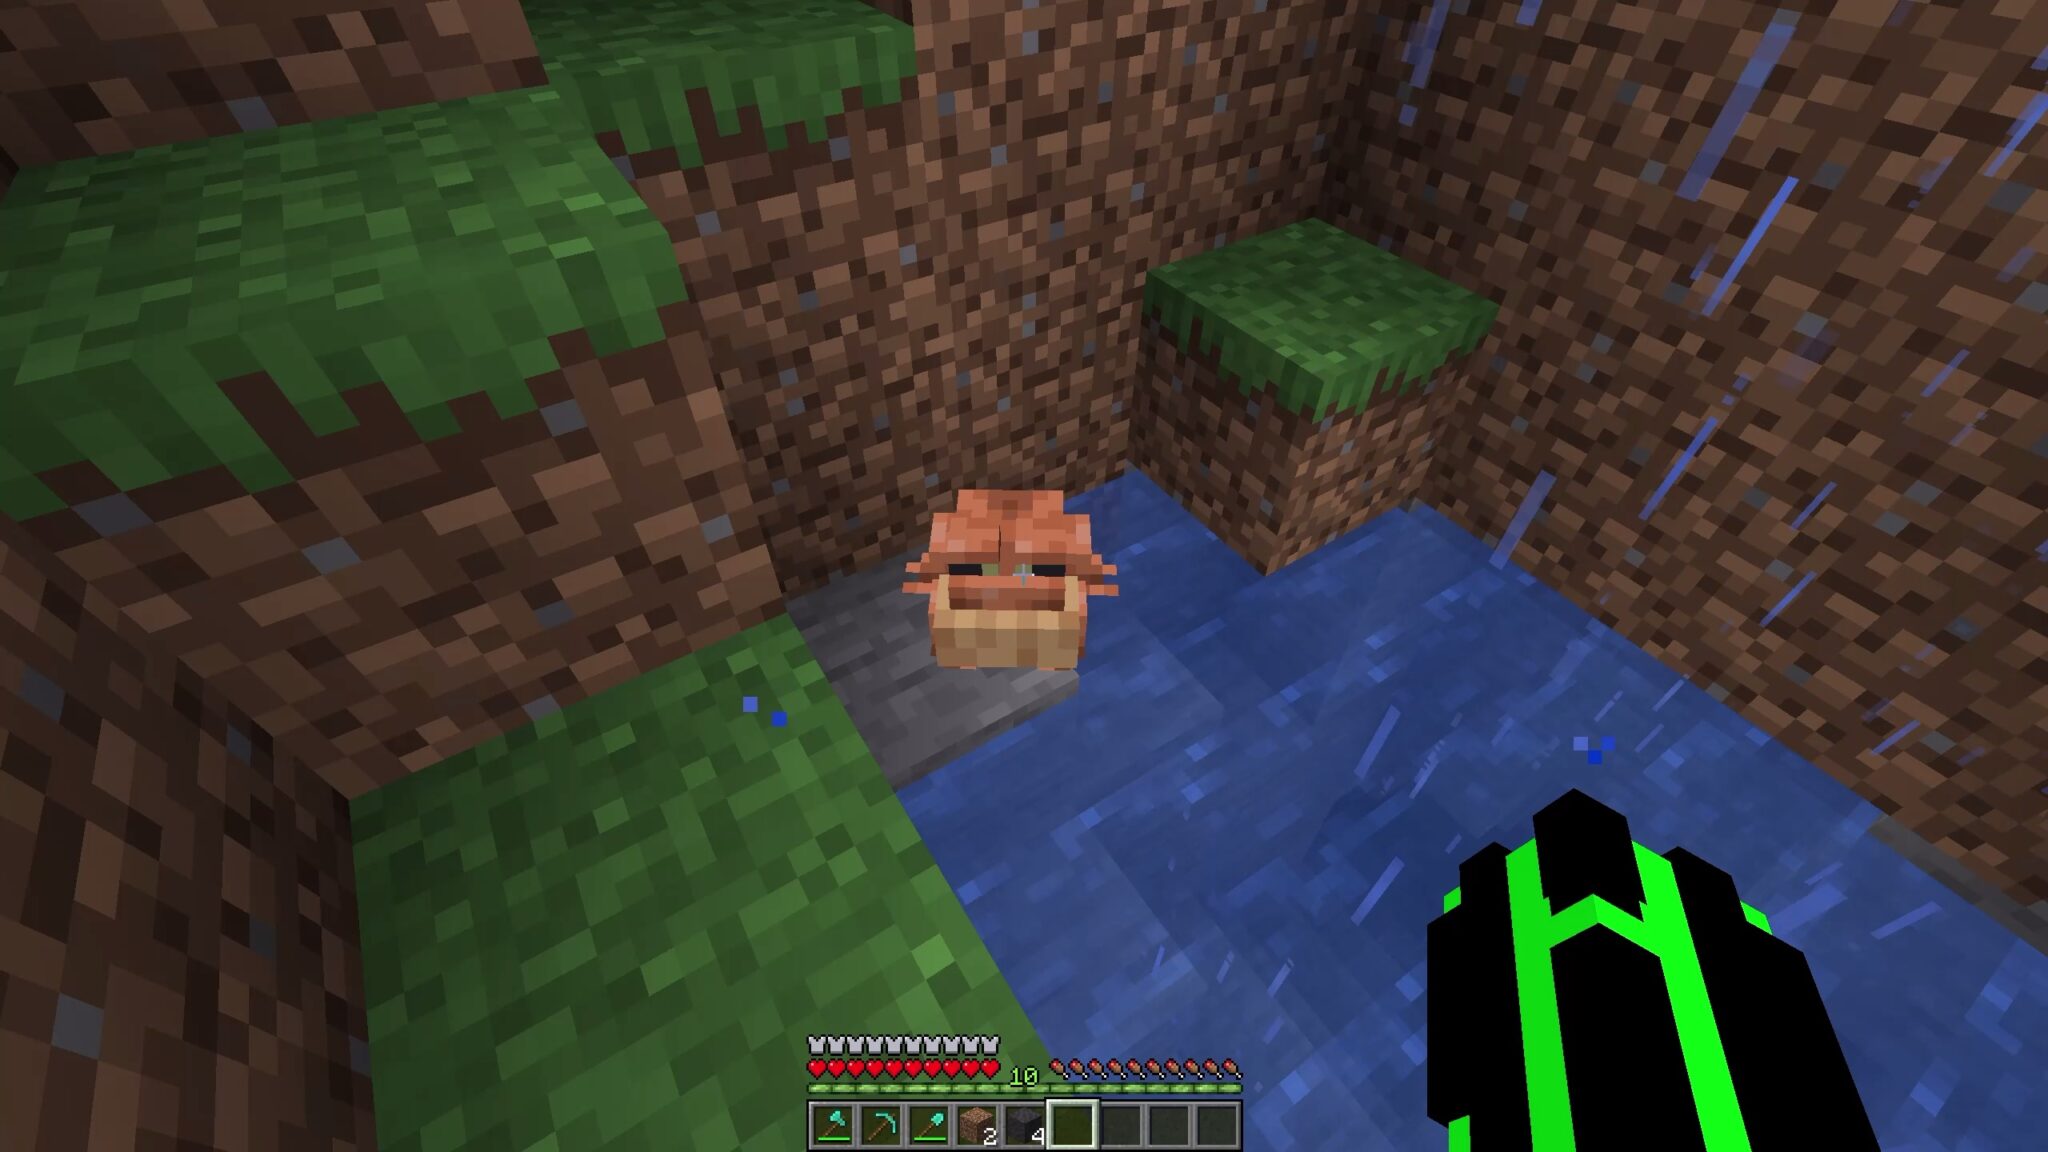
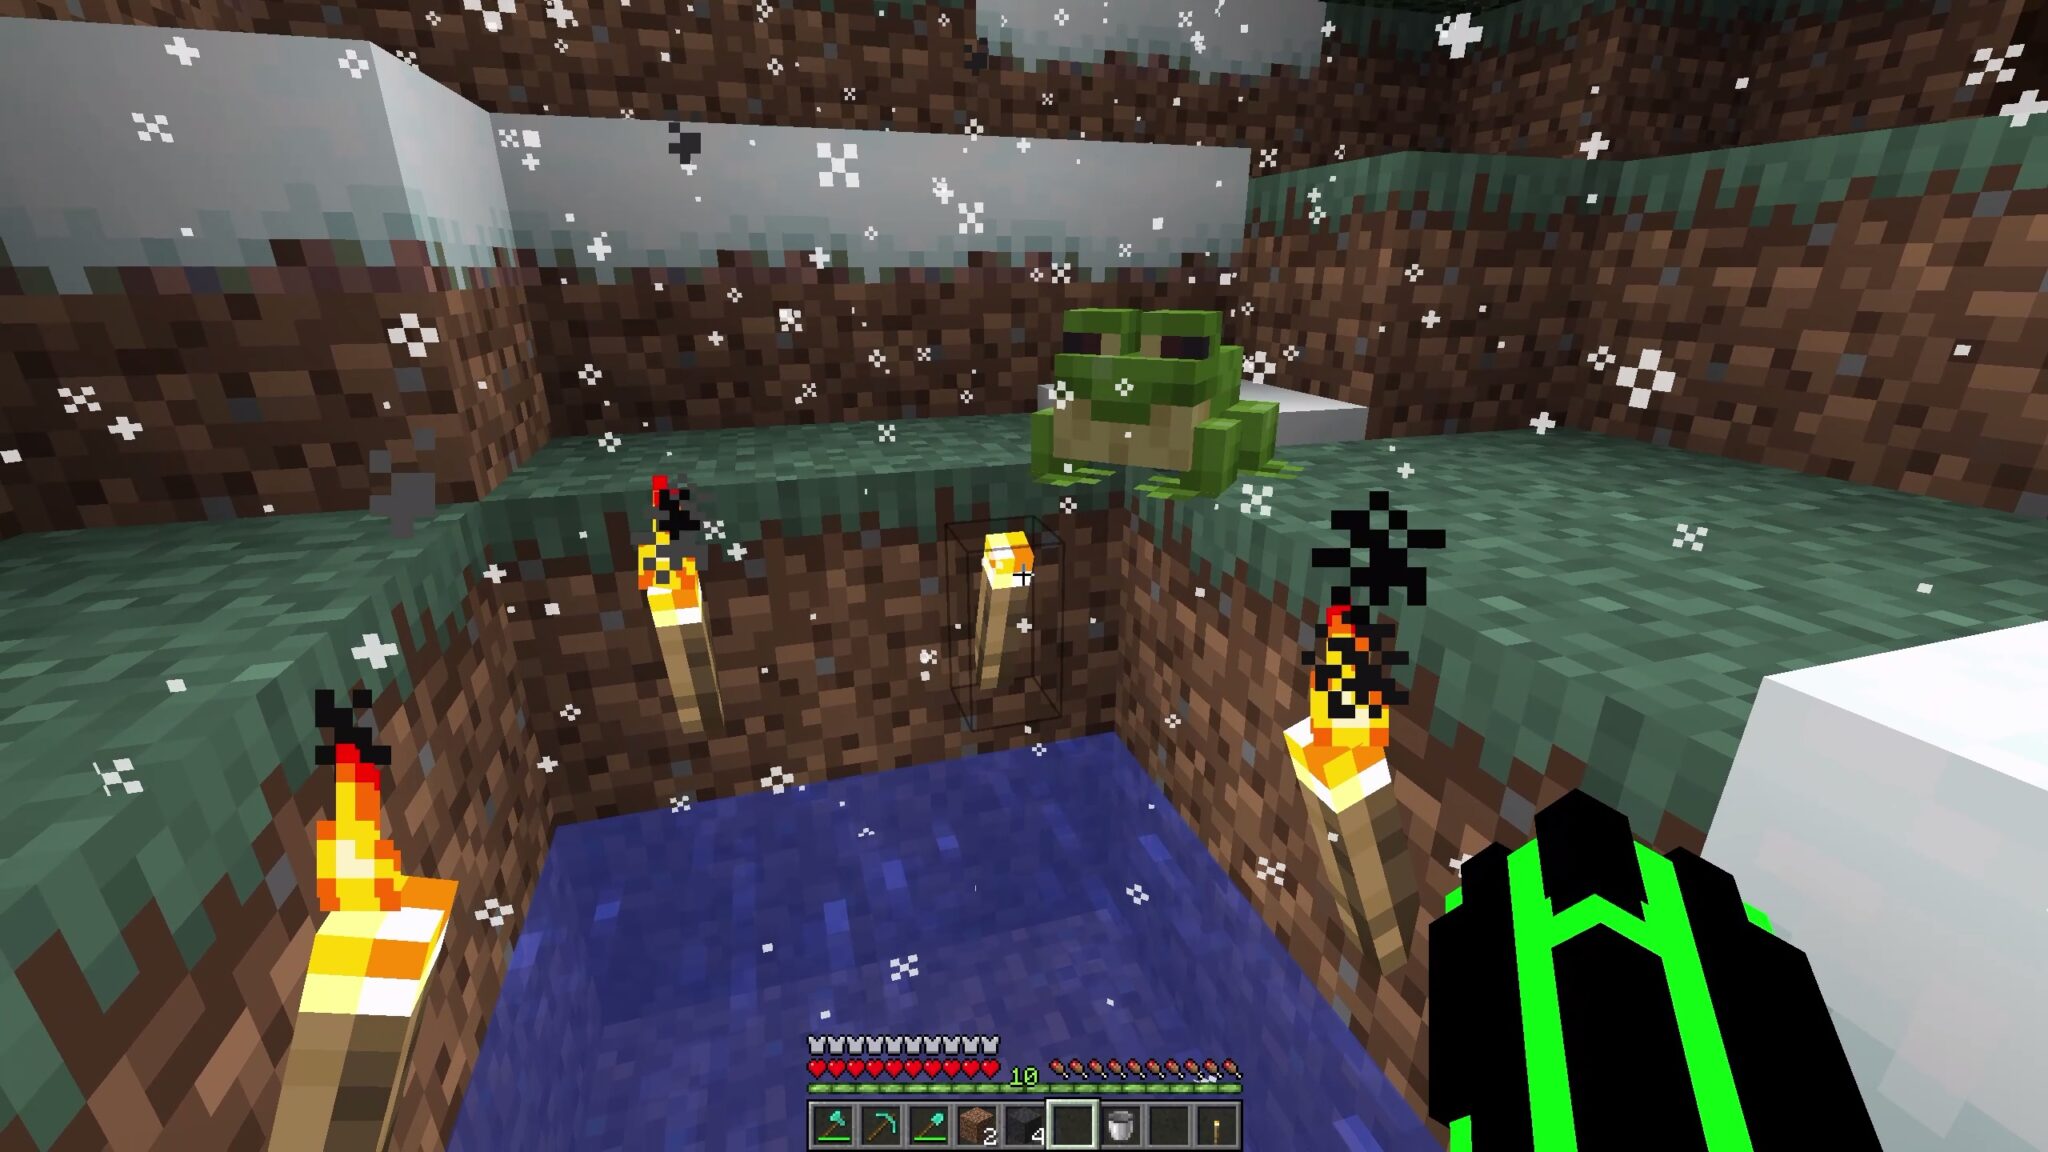
There are some animals living in Minecraft. Since update 1.19 you can also meet frogs in the mangrove swamp. Frogs can jump over up to three blocks. And they can take on three different colours: green, brown and white. The colour depends on the biome in which the frogs grew up. Warm biomes produce white frogs, moderate biomes produce brown frogs, and cold biomes produce green frogs.
Before you start the actual breeding, you should place a water nearby. You can breed frogs with slime balls. After mating, a frog will run to the waterhole you have just created. If you have not created a waterhole, the frog will run to the next waterhole and start to lay its spawn in the water.
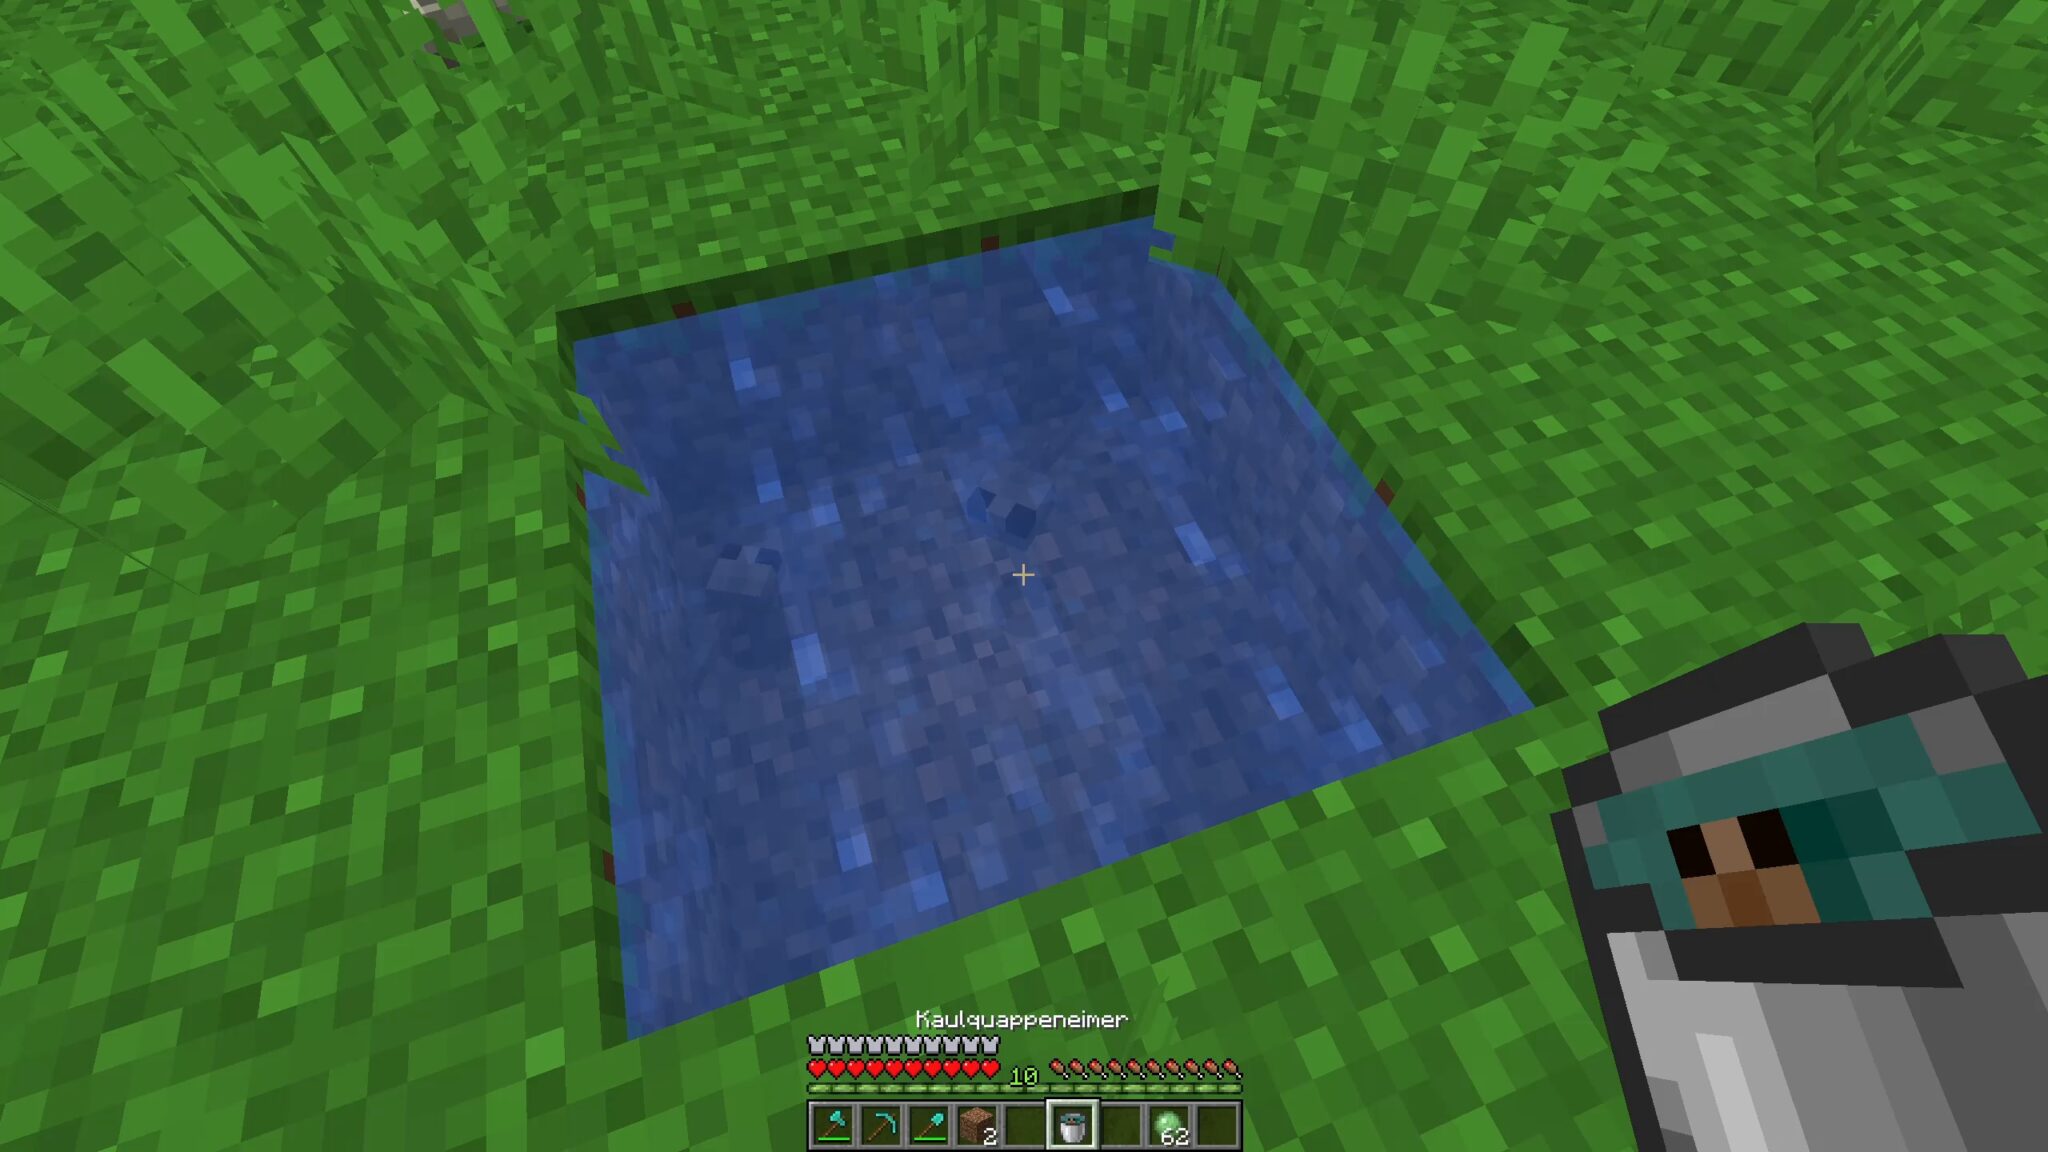
Now you have to wait for the tadpoles to emerge. You can collect these with a bucket and transport them to another biome to get the other colours. Attention: Axolotls eat tadpoles!
How to get frog lights
All frogs can eat small slimes and magma cubes. When slimes are eaten, slime balls appear. If a frog eats a magma cube, a frog light will appear.
To do this, however, you must first go to the Nether. Ideally, you will have found a bastion ruin with a magma cube spawner beforehand.
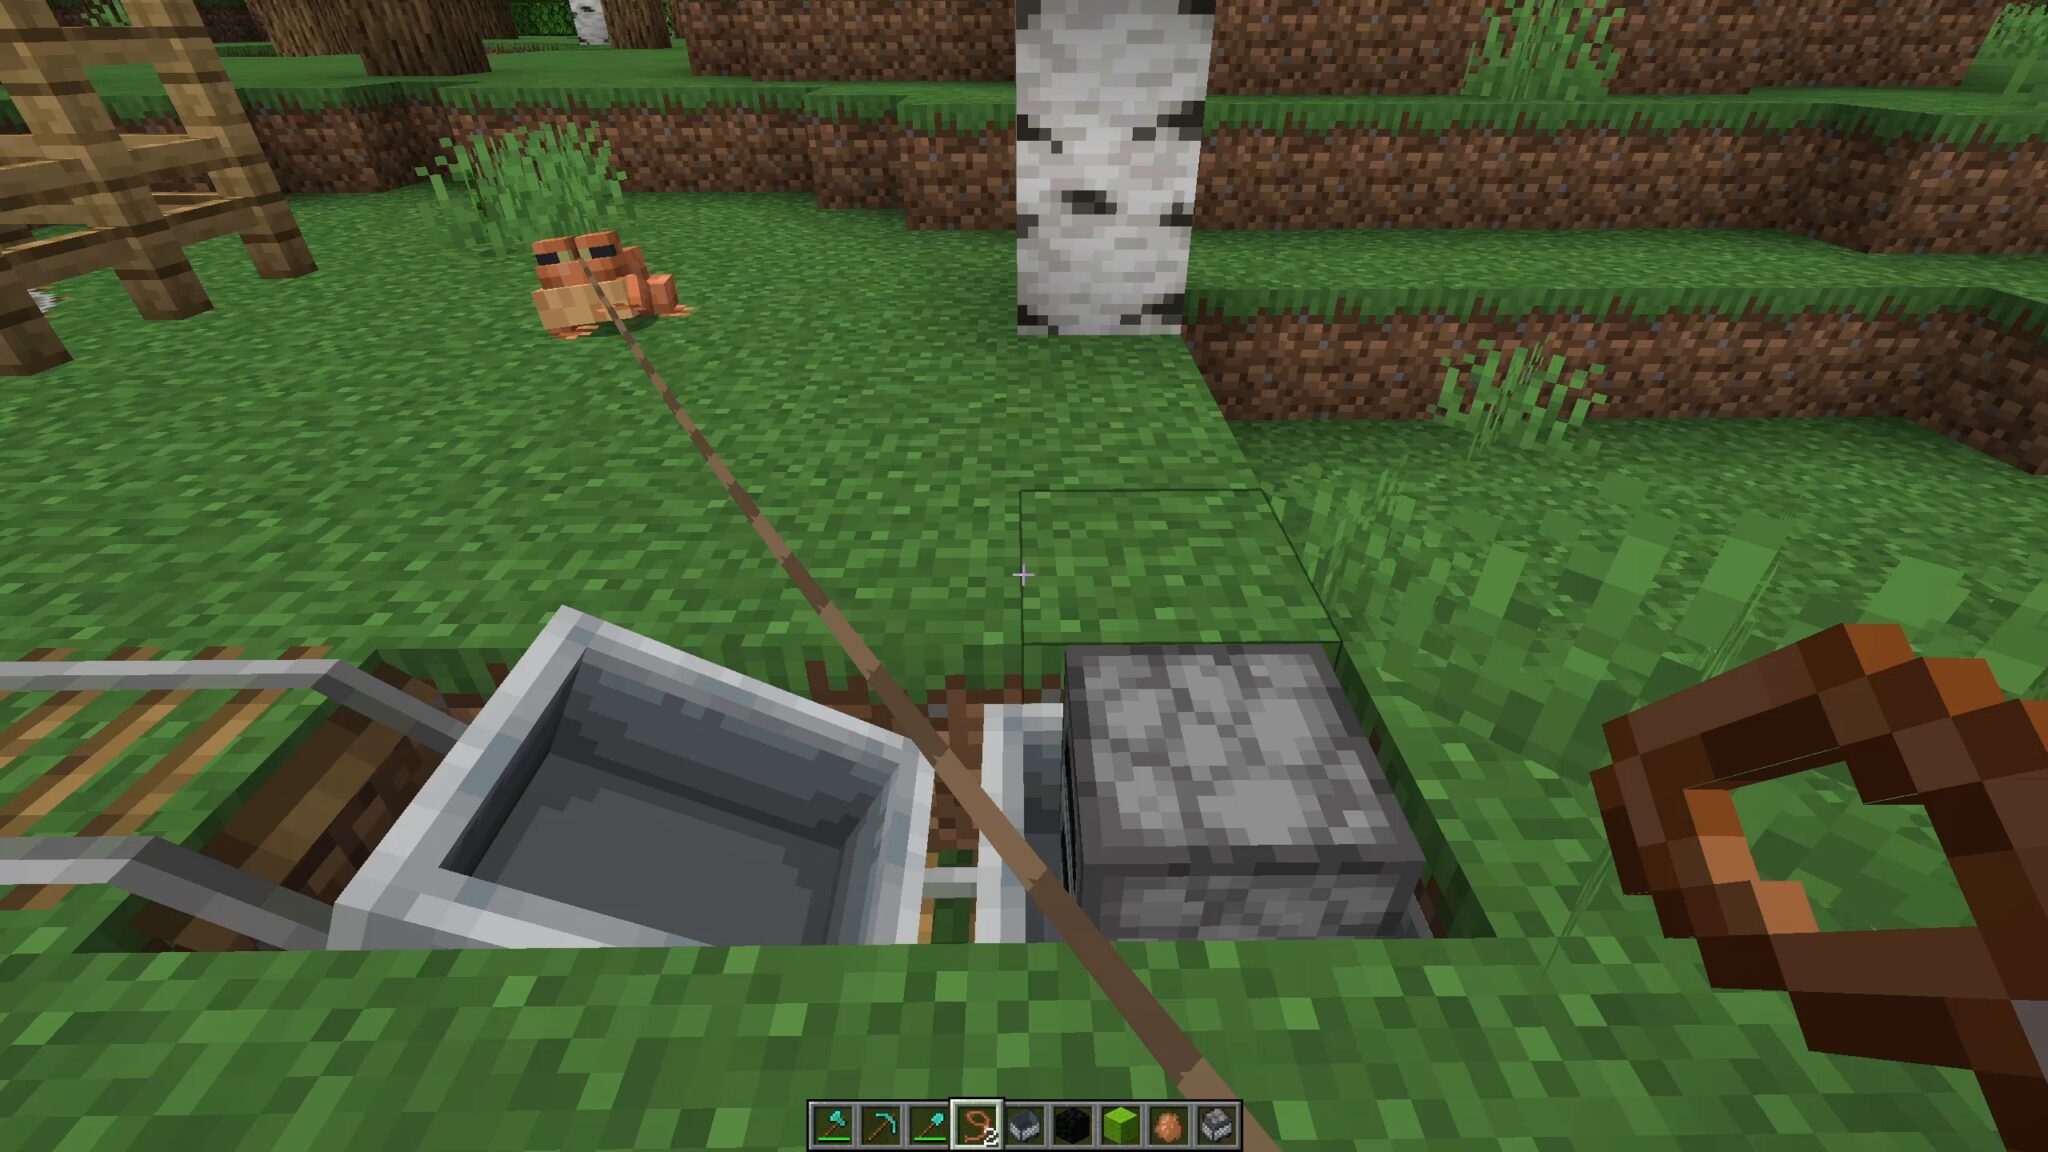
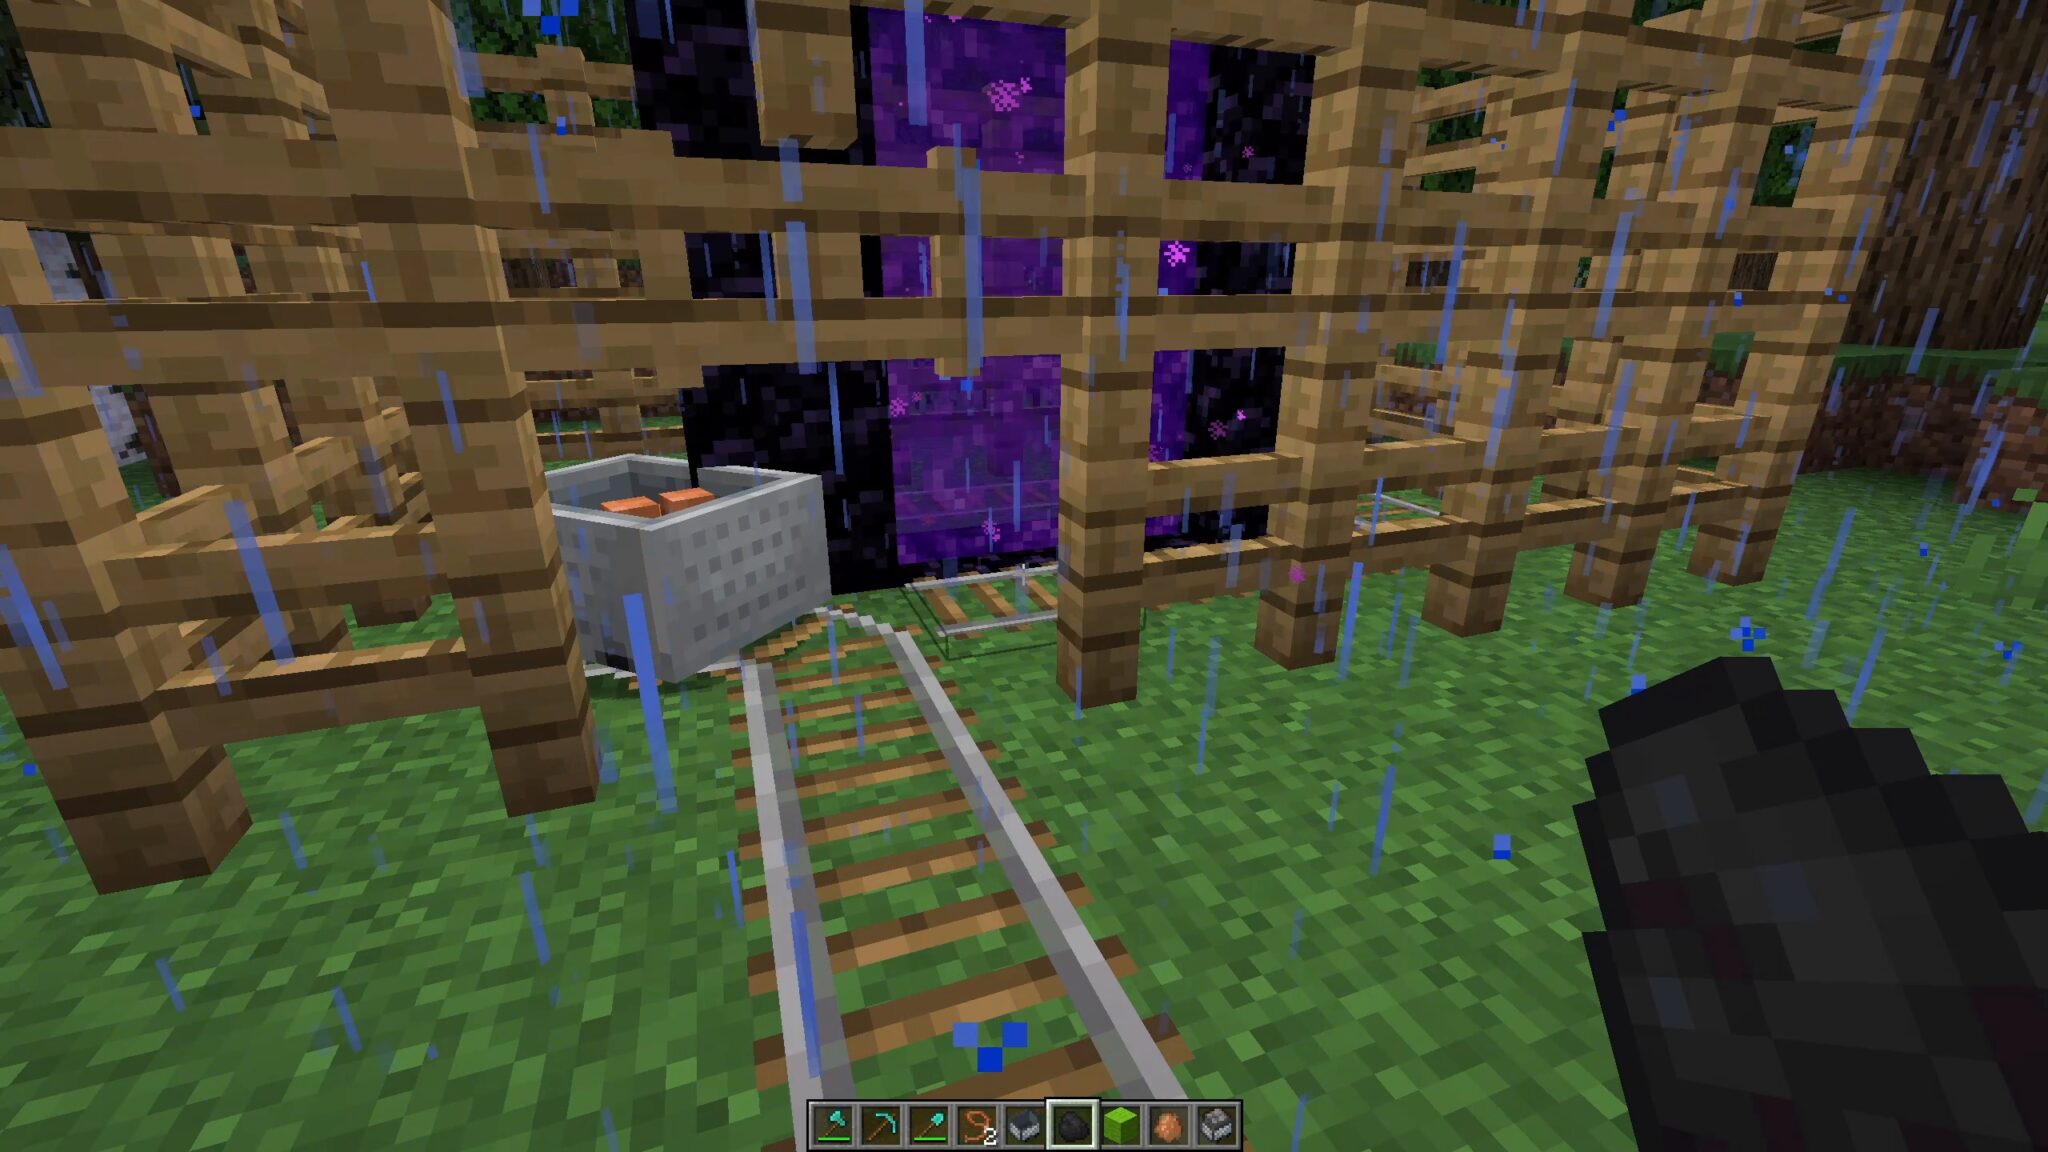
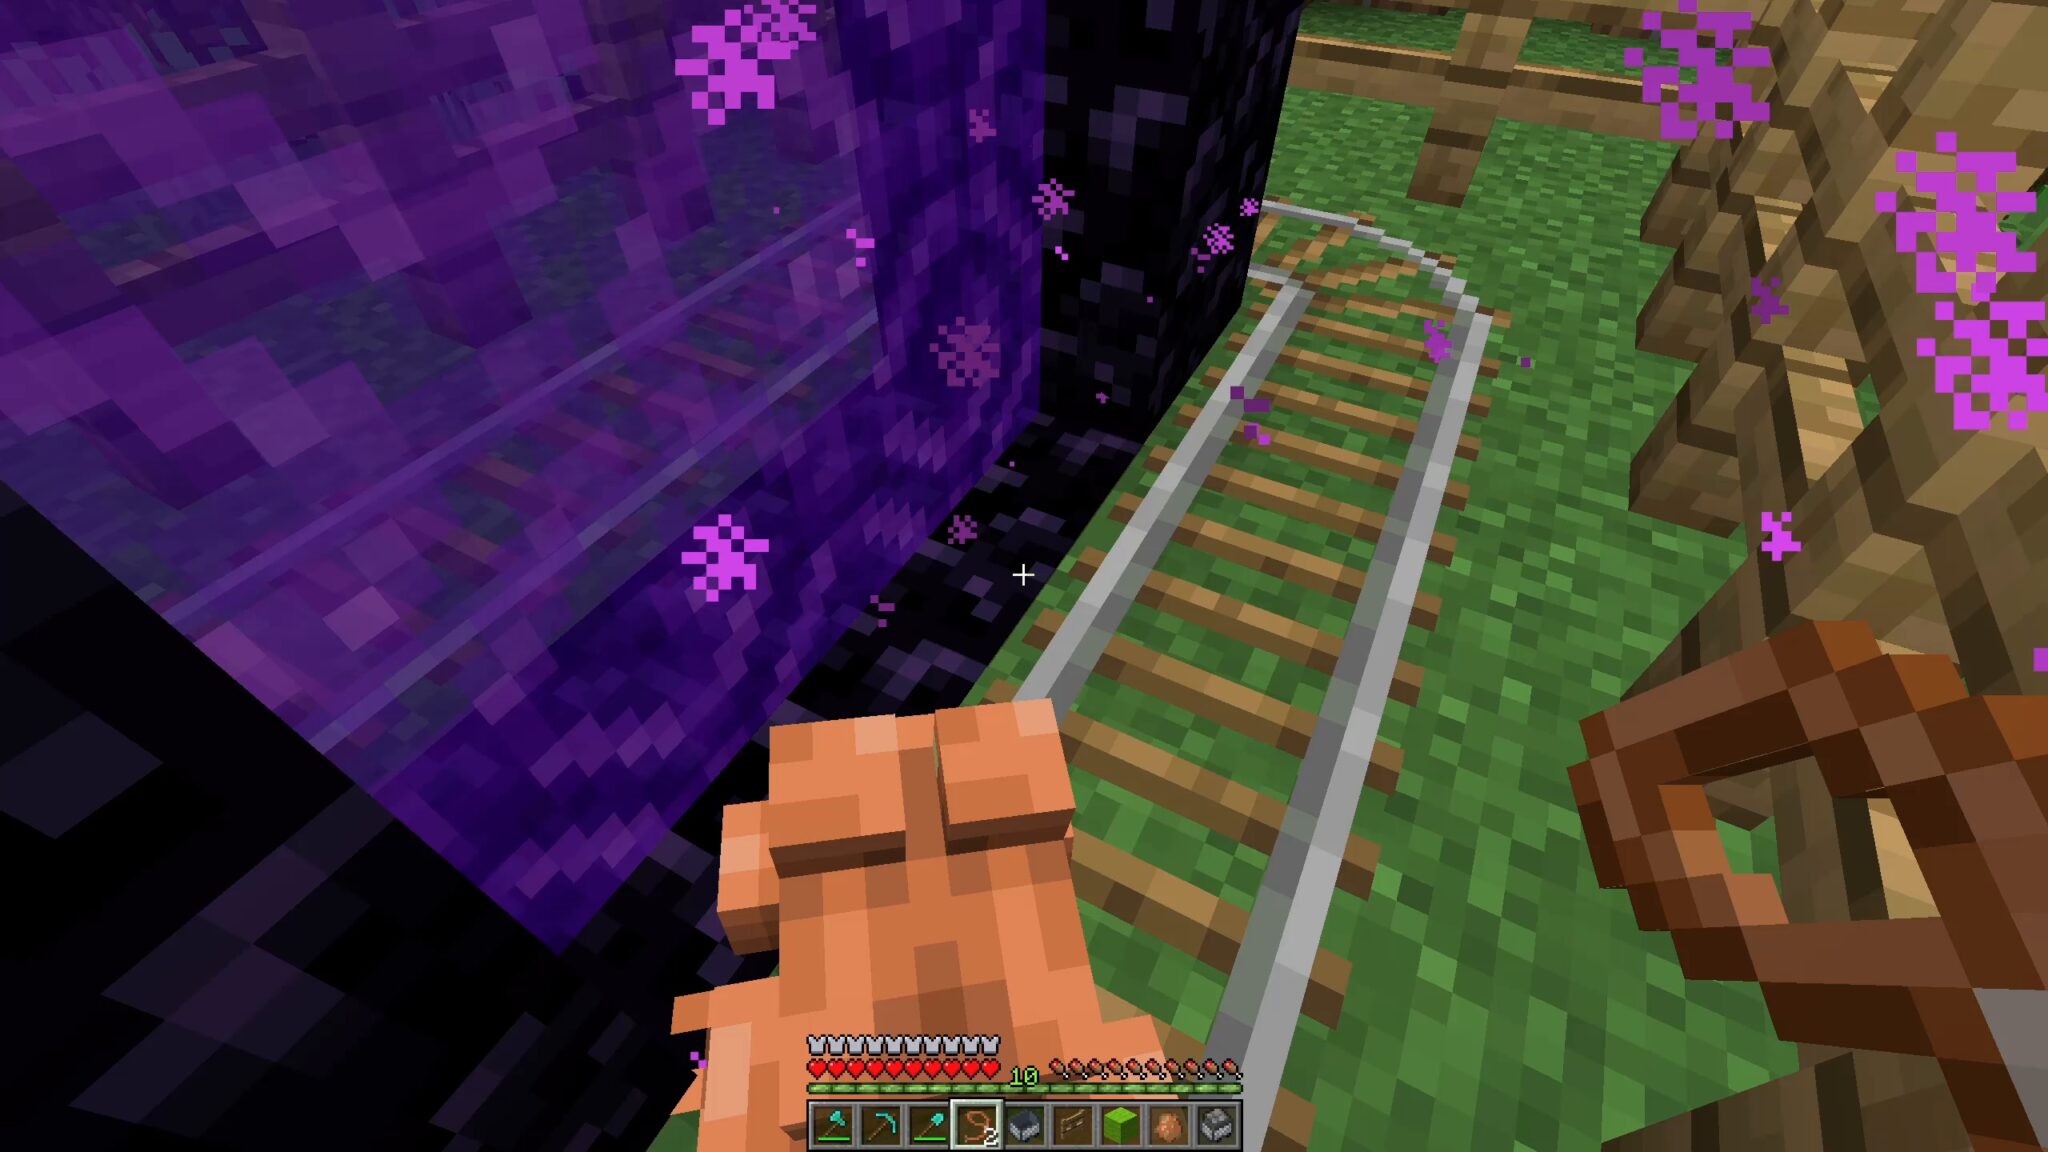
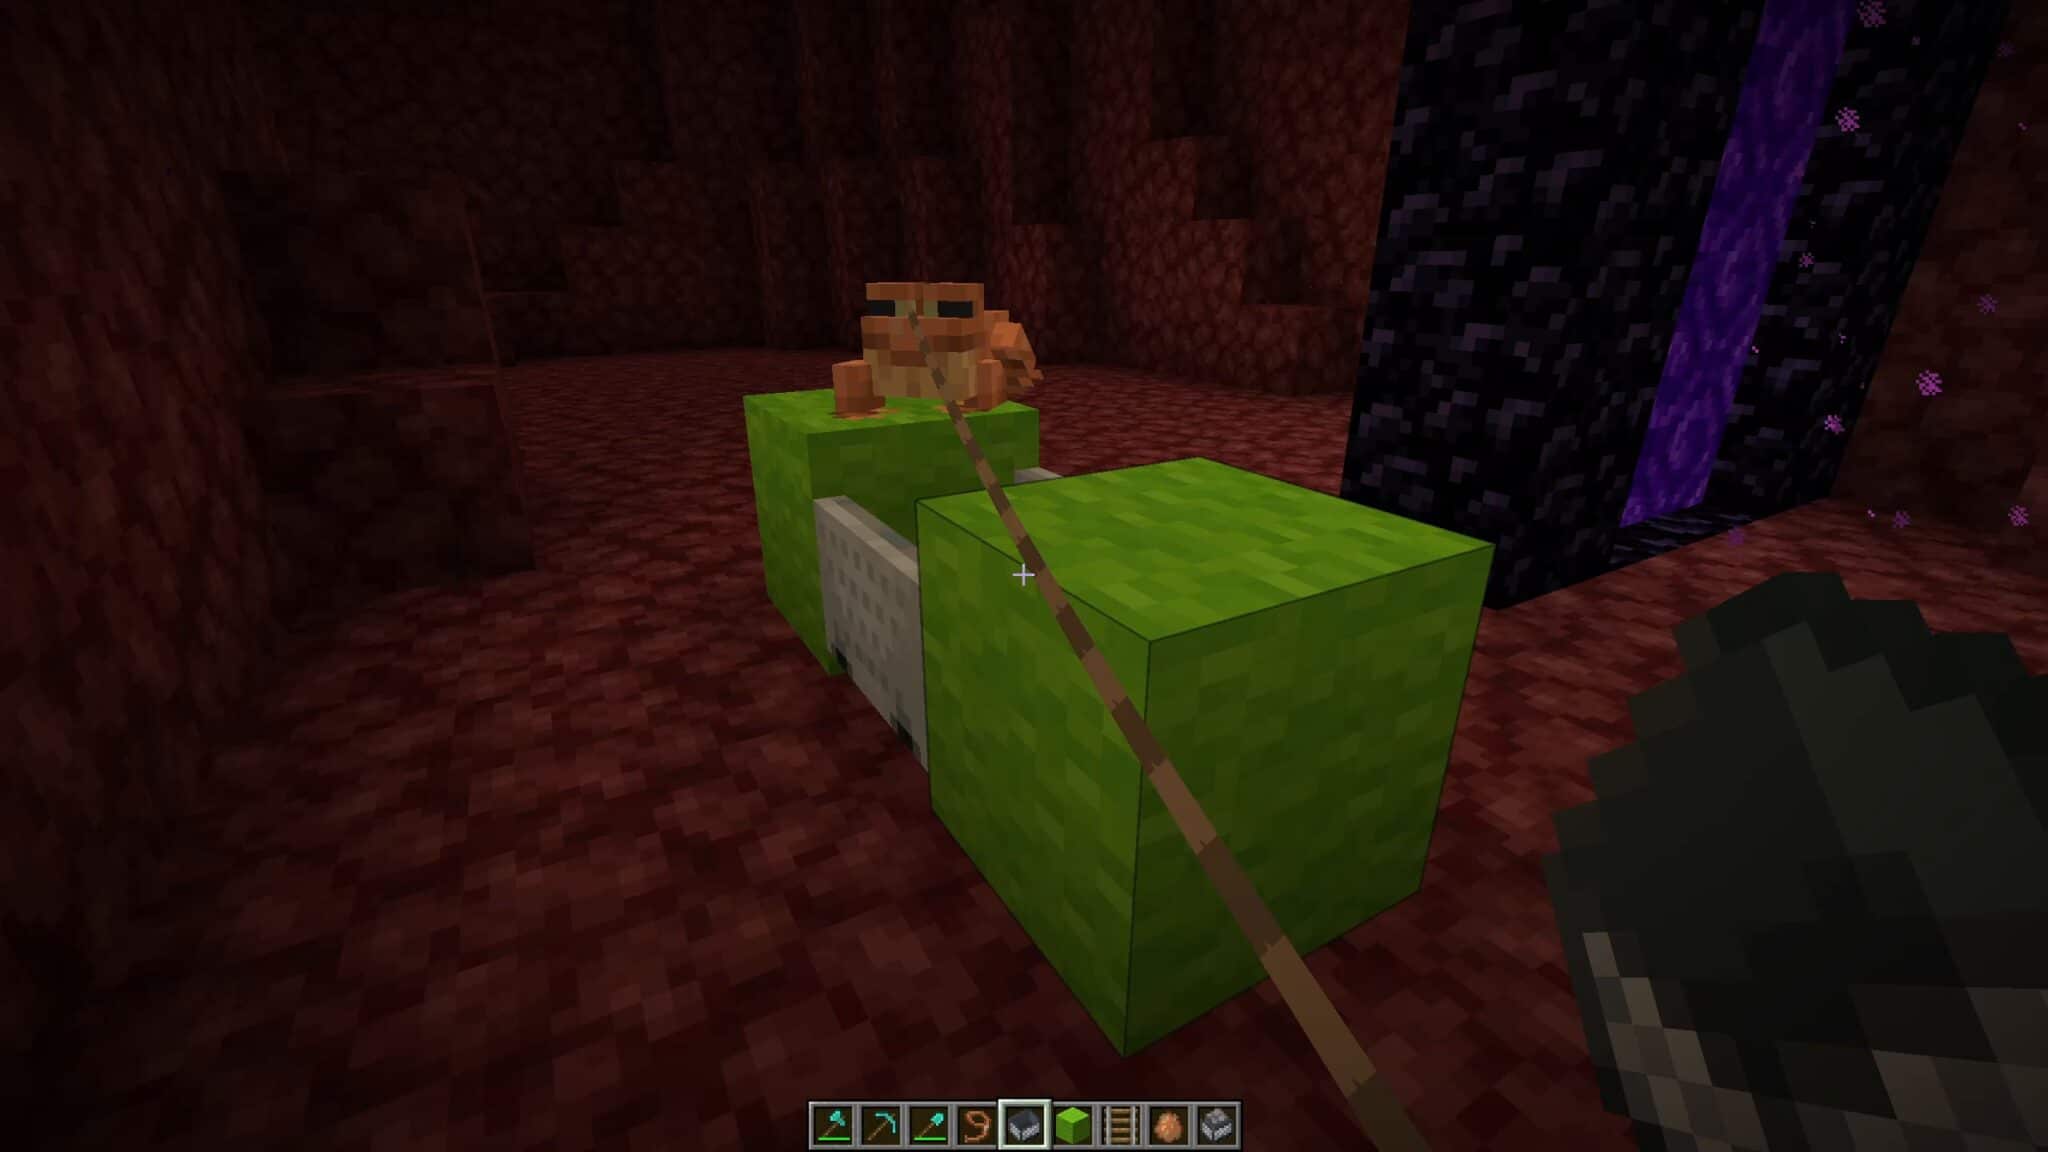
First, the frogs must enter the Nether. To do this, build a four-block high cage with a one-block gap around a Nether portal. Lay tracks around the portal. And lead the rails away from the portal at one point. Now place a trolley on the track and catch a frog with a line. Now the frog can be pulled into the trolley. Use a drive lorry to move the frog onto the rail circle around the portal. The trolley should move in a circle around the portal. Go into the cage and close the entrance. Then dismantle the trolley. The frog can then move around in the cage.
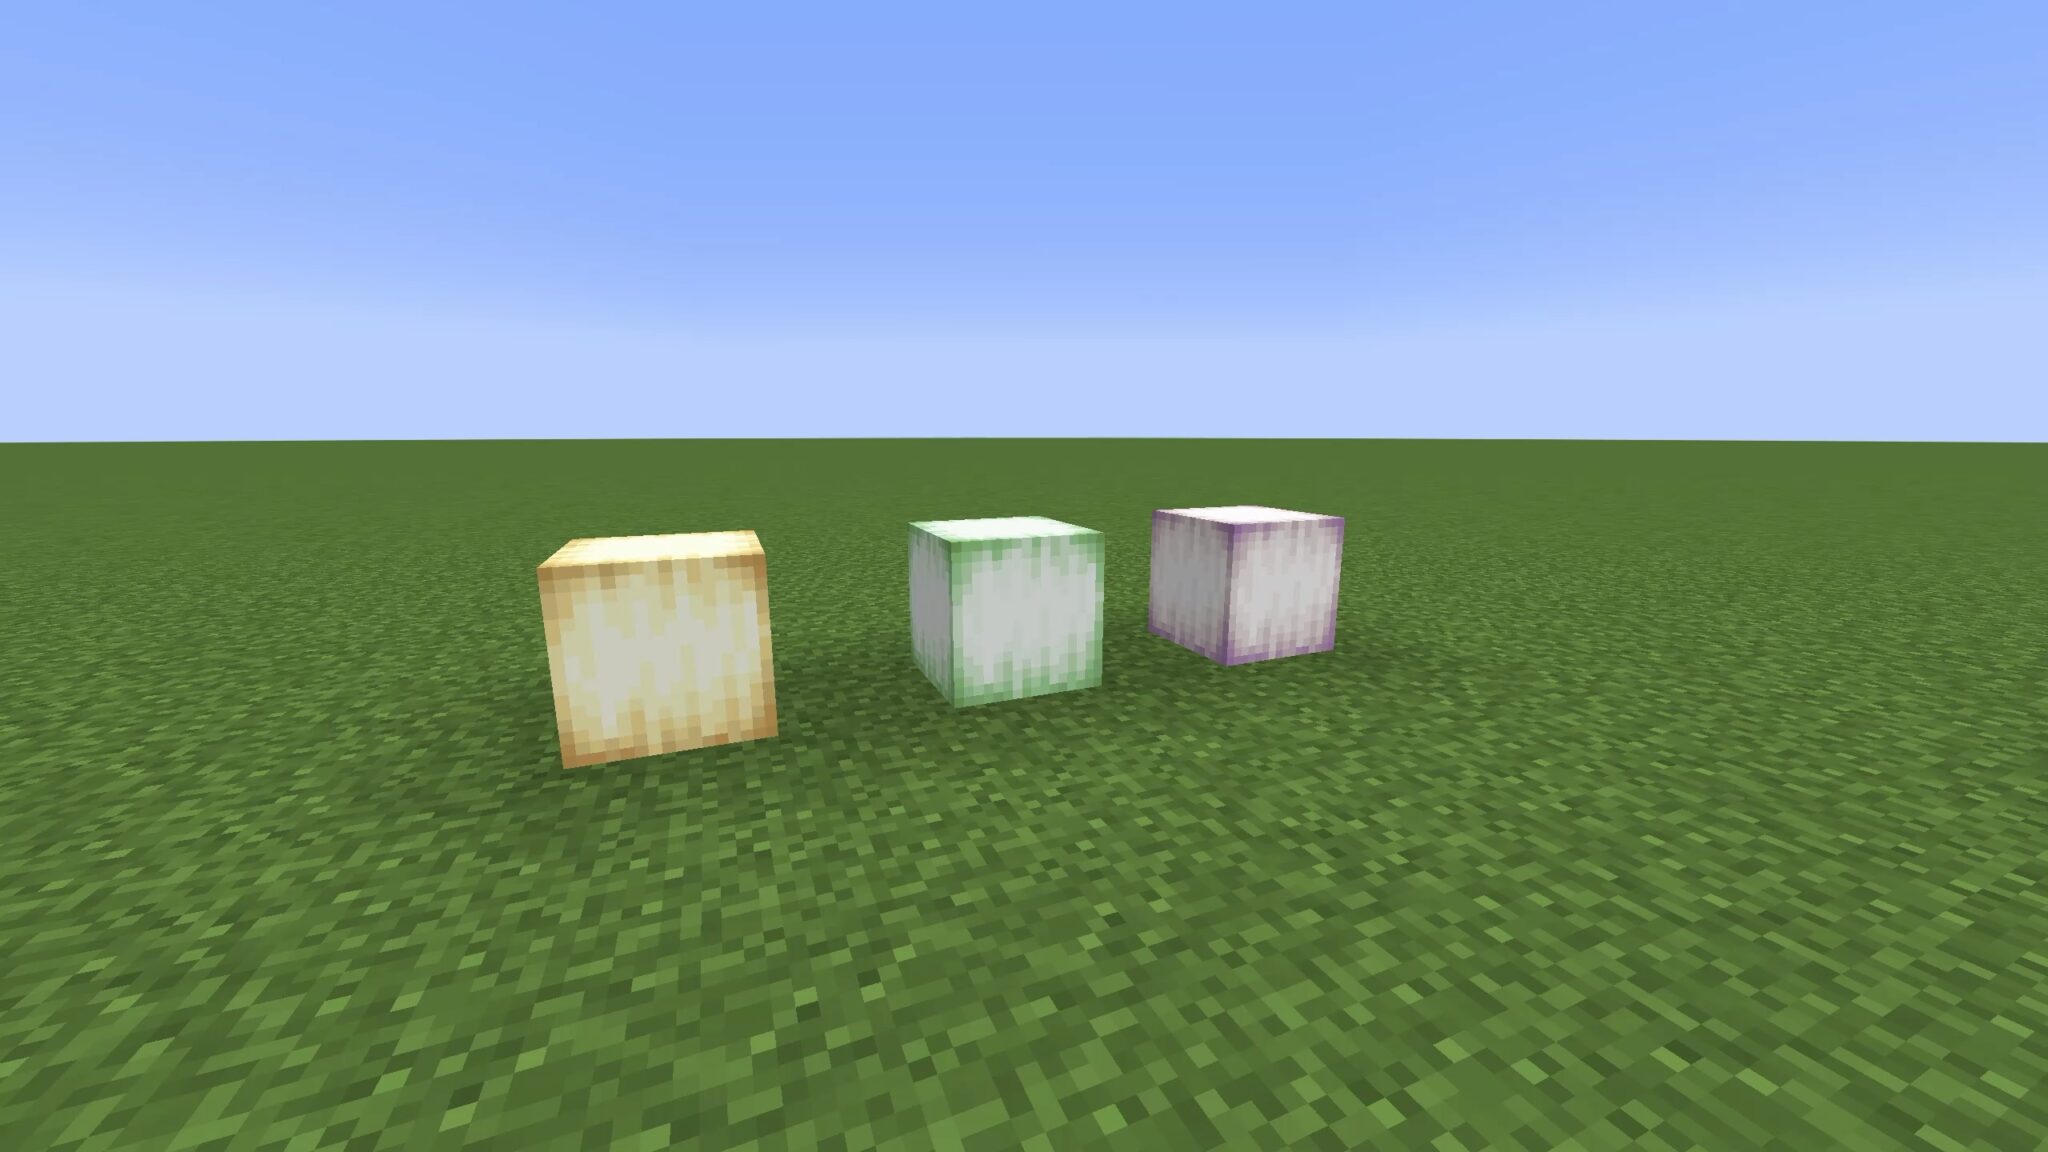
The colours of the frog lights
Frog lights are also available in three colours:
- Green frog lights from green frogs
- Orange frog lights from brown frogs
- Purple frog lights from white frogs
Now the tricky part begins:
The frog has to stay in the portal for a certain time. You can push it into the portal with the game piece.
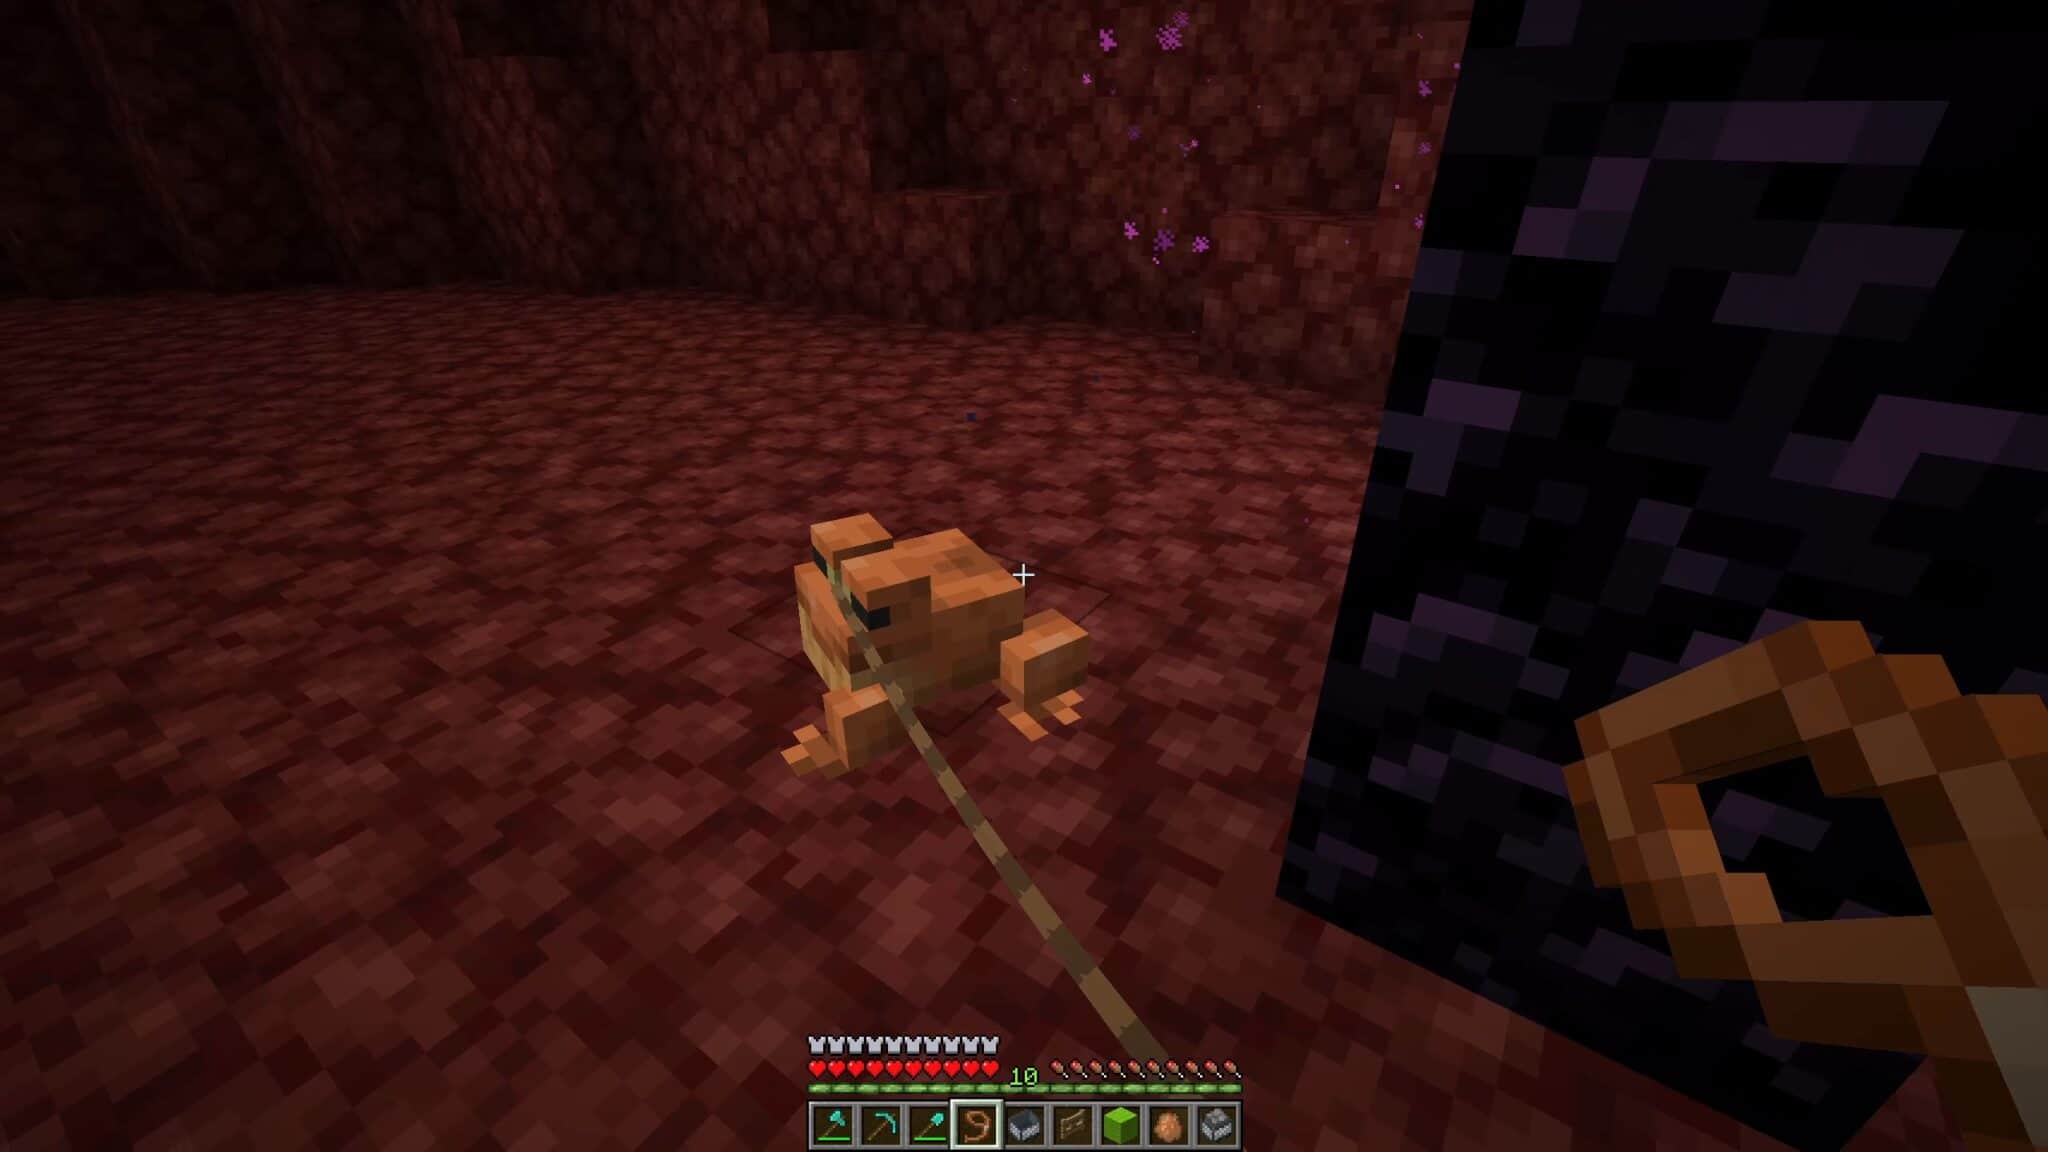
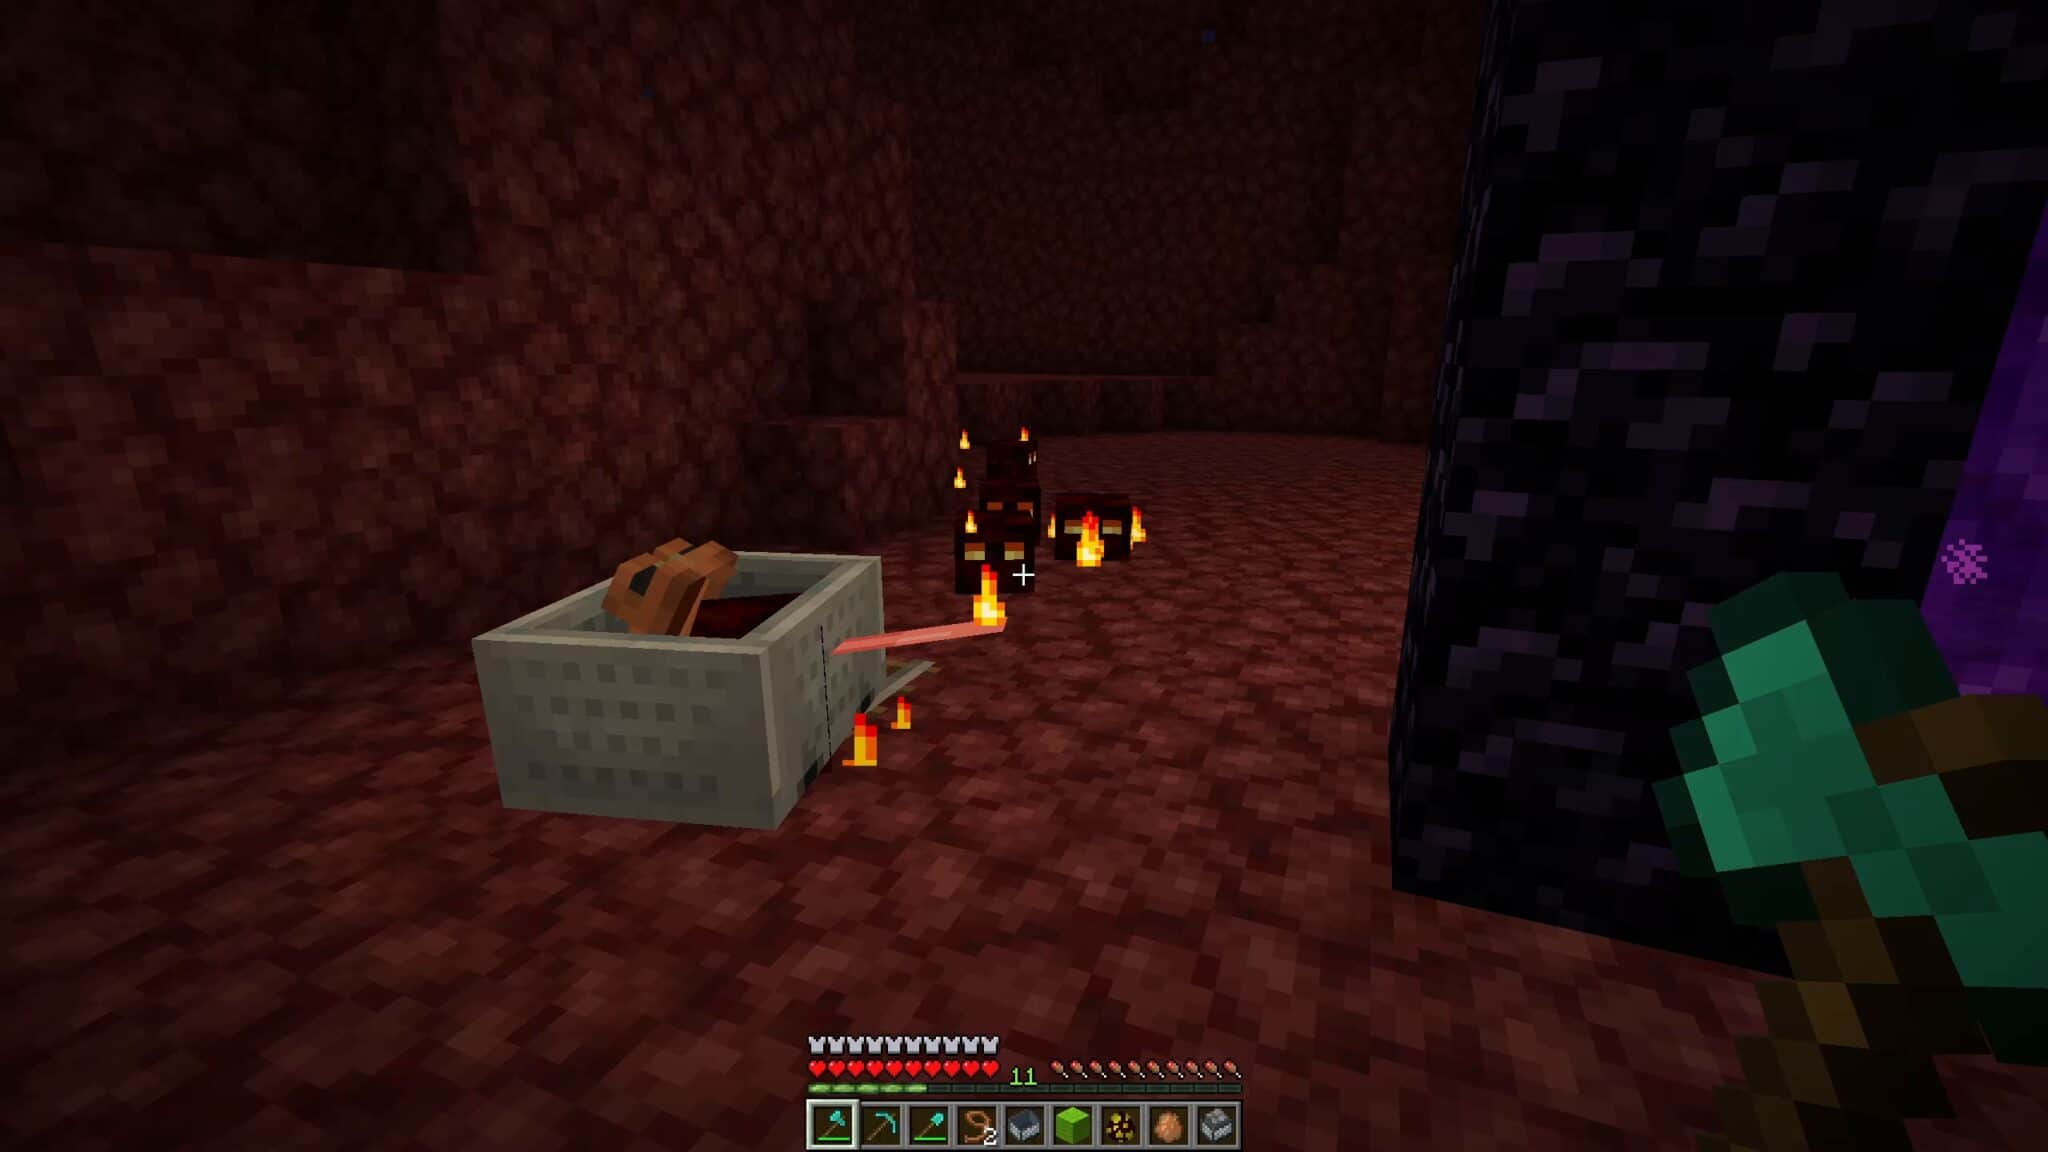
Once the frog has arrived in the Nether, you must follow it. Use your leash to catch him again in the Nether and pull him back into a lore so he can’t escape.
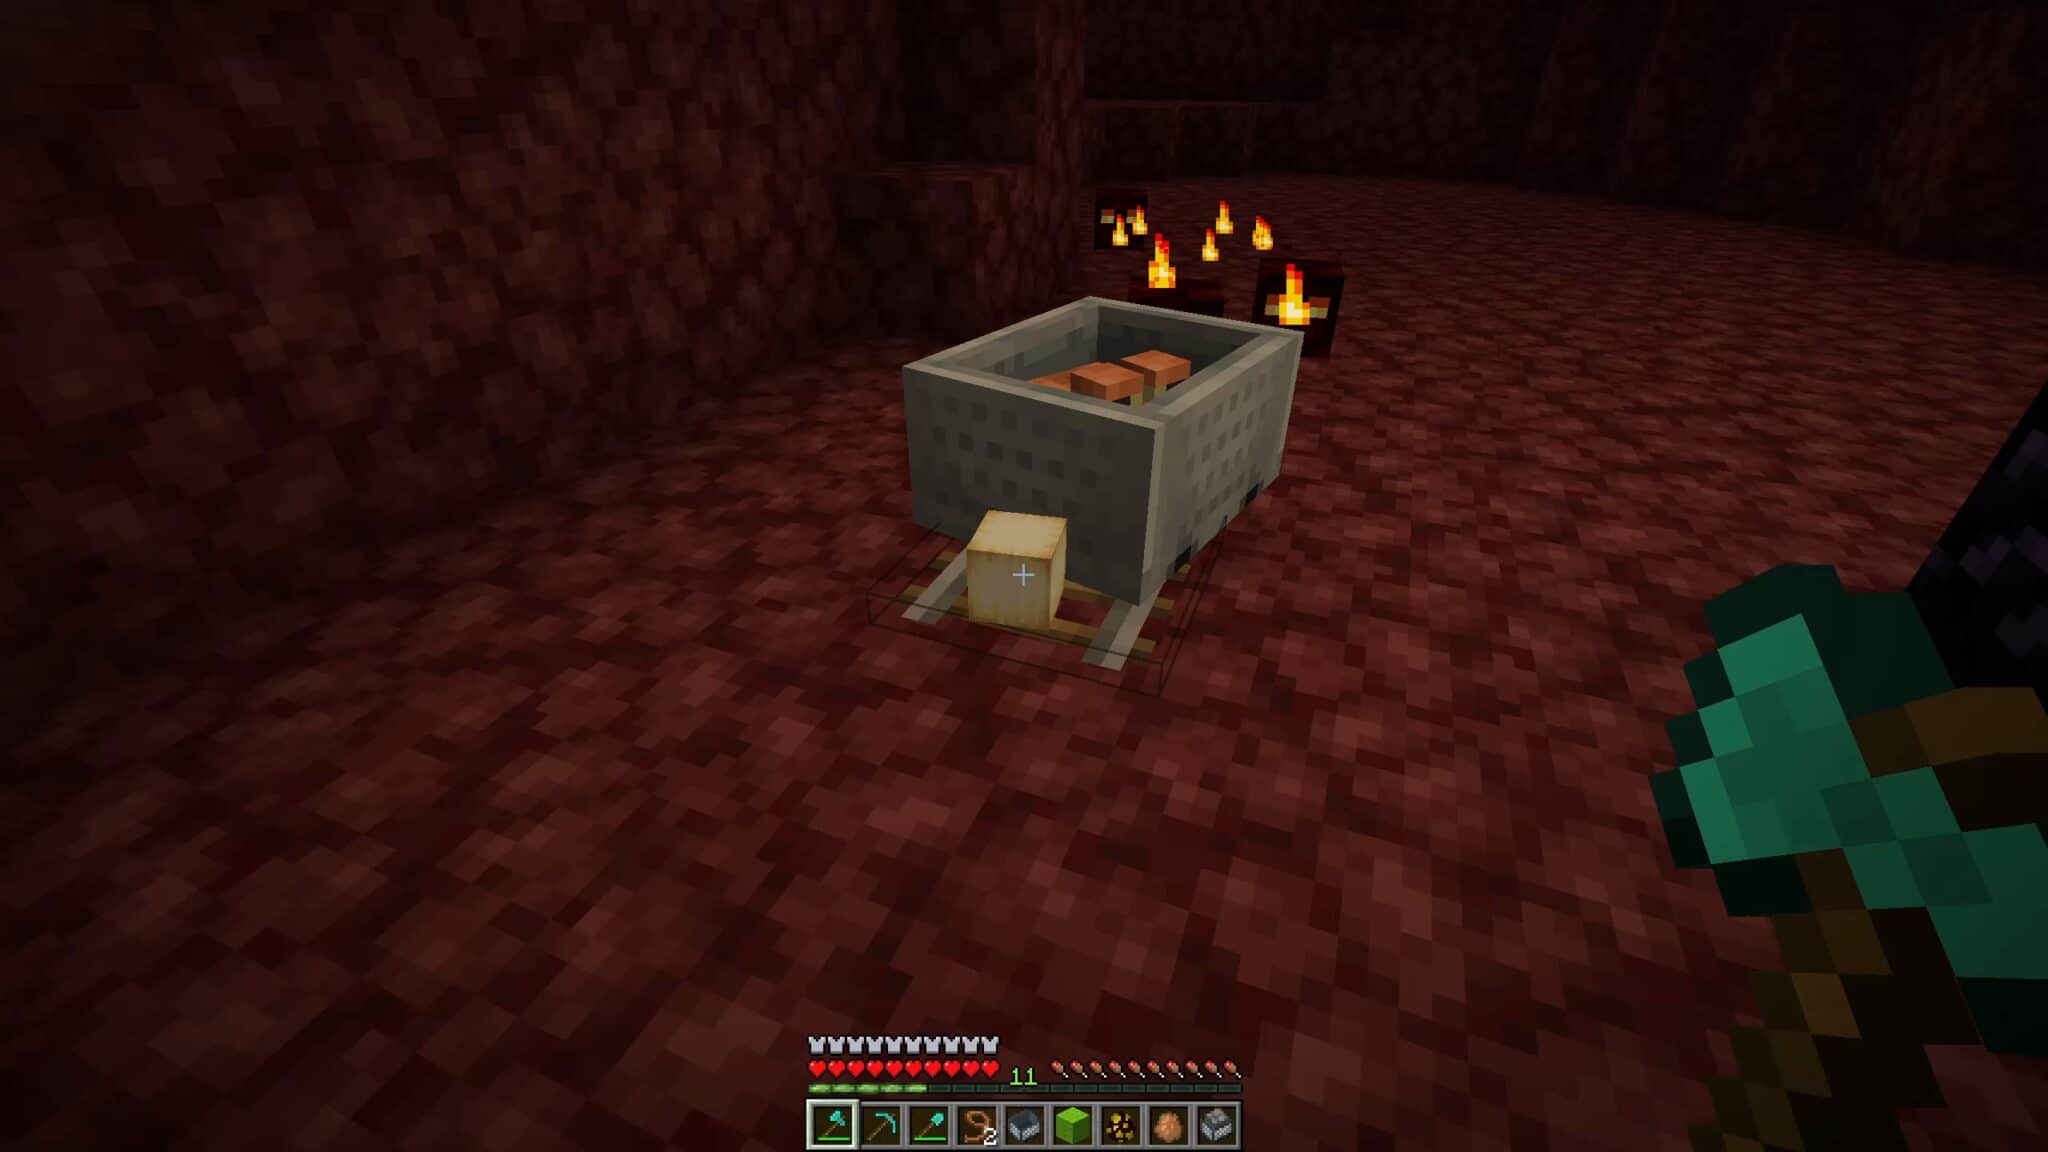
As soon as a small magma cube comes within the frog’s reach, the frog eats the magma cube – you are in possession of your first frog light.
For travel: A boat with a chest
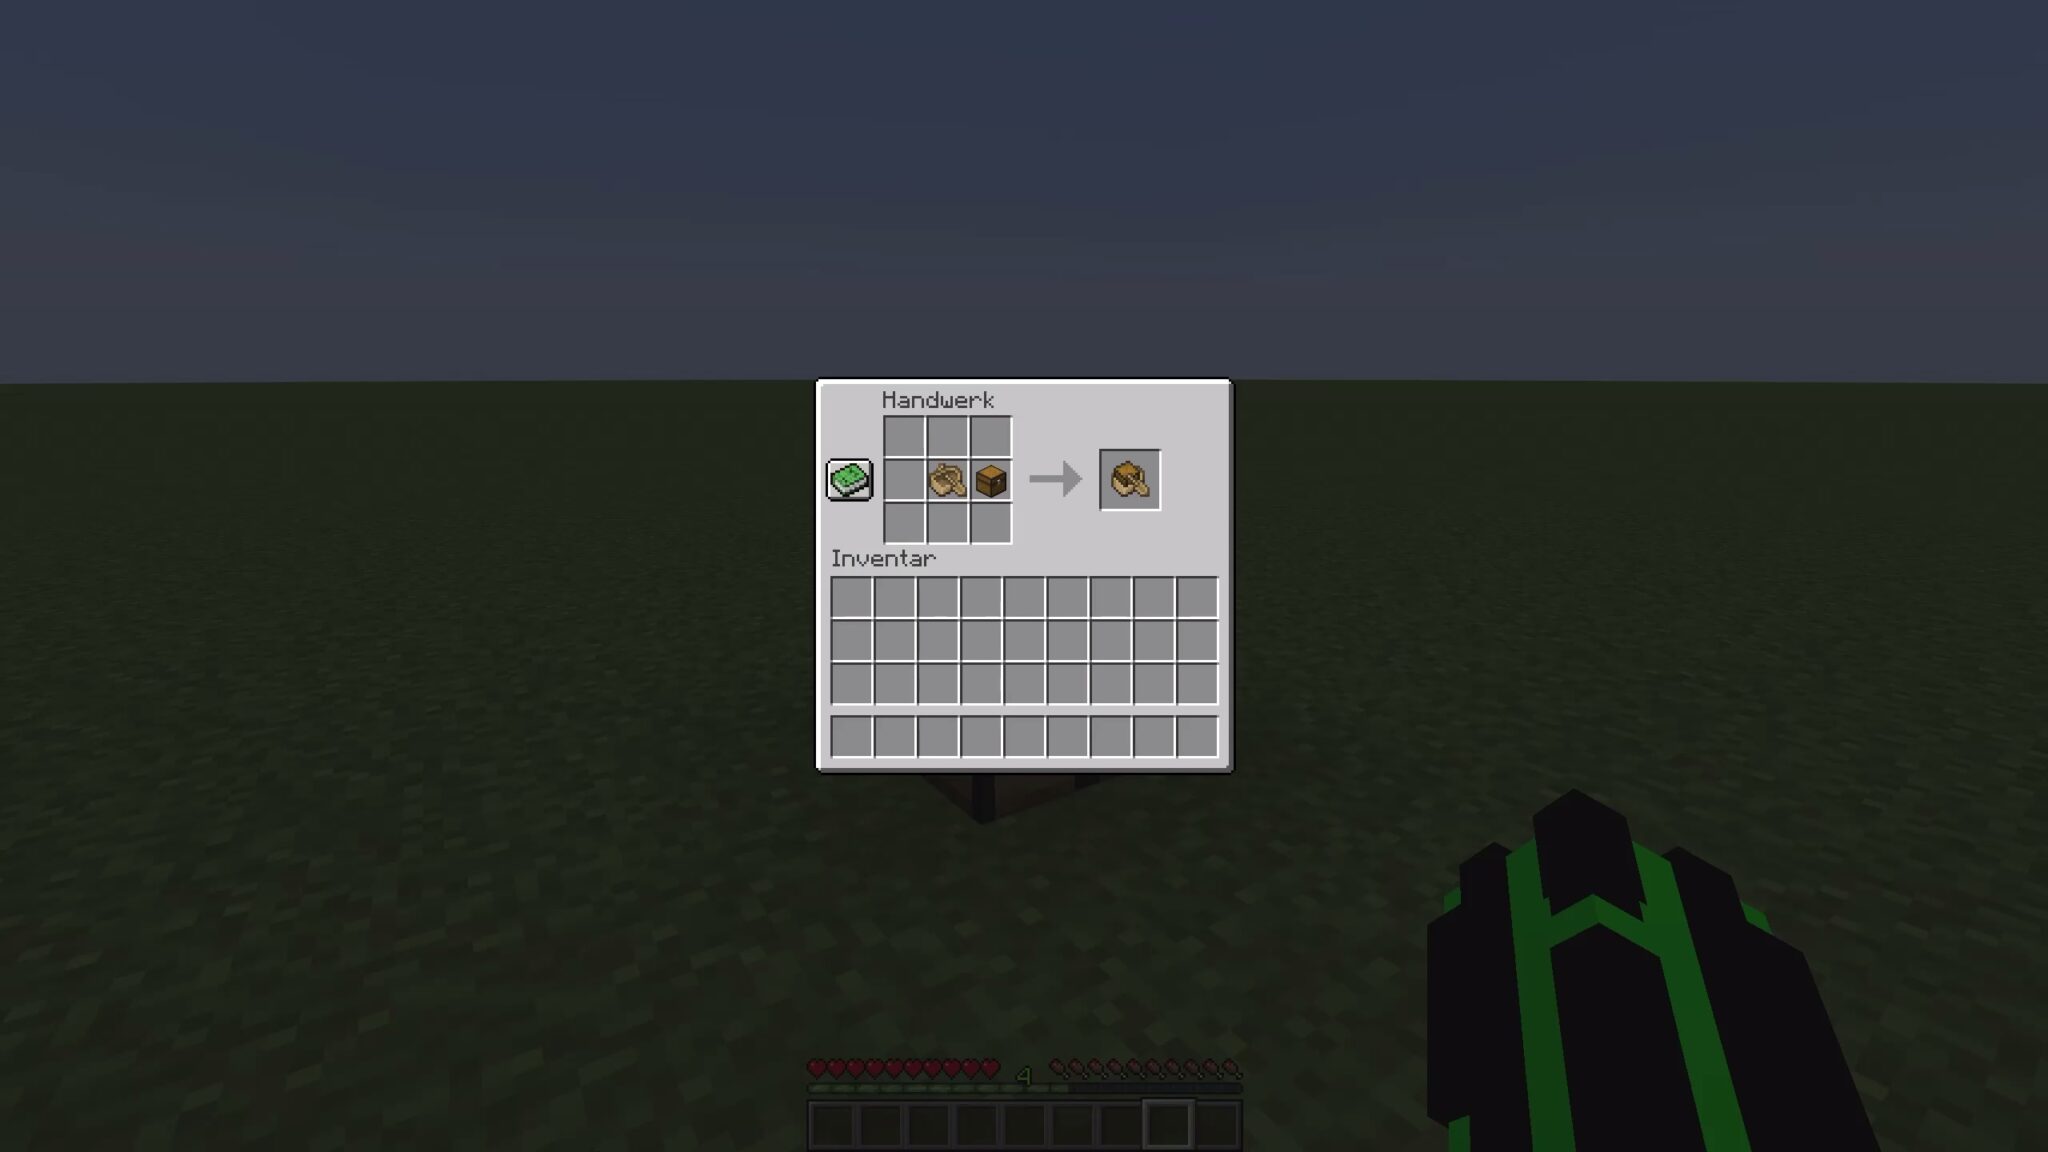
The crate lore can be used to transport items over land from “A” to “B”. On the water, Minecraft now offers players a boat with a chest. If you are in such a boat and open the inventory, you will also gain access to the chest’s contents.
A new companion – the Allay
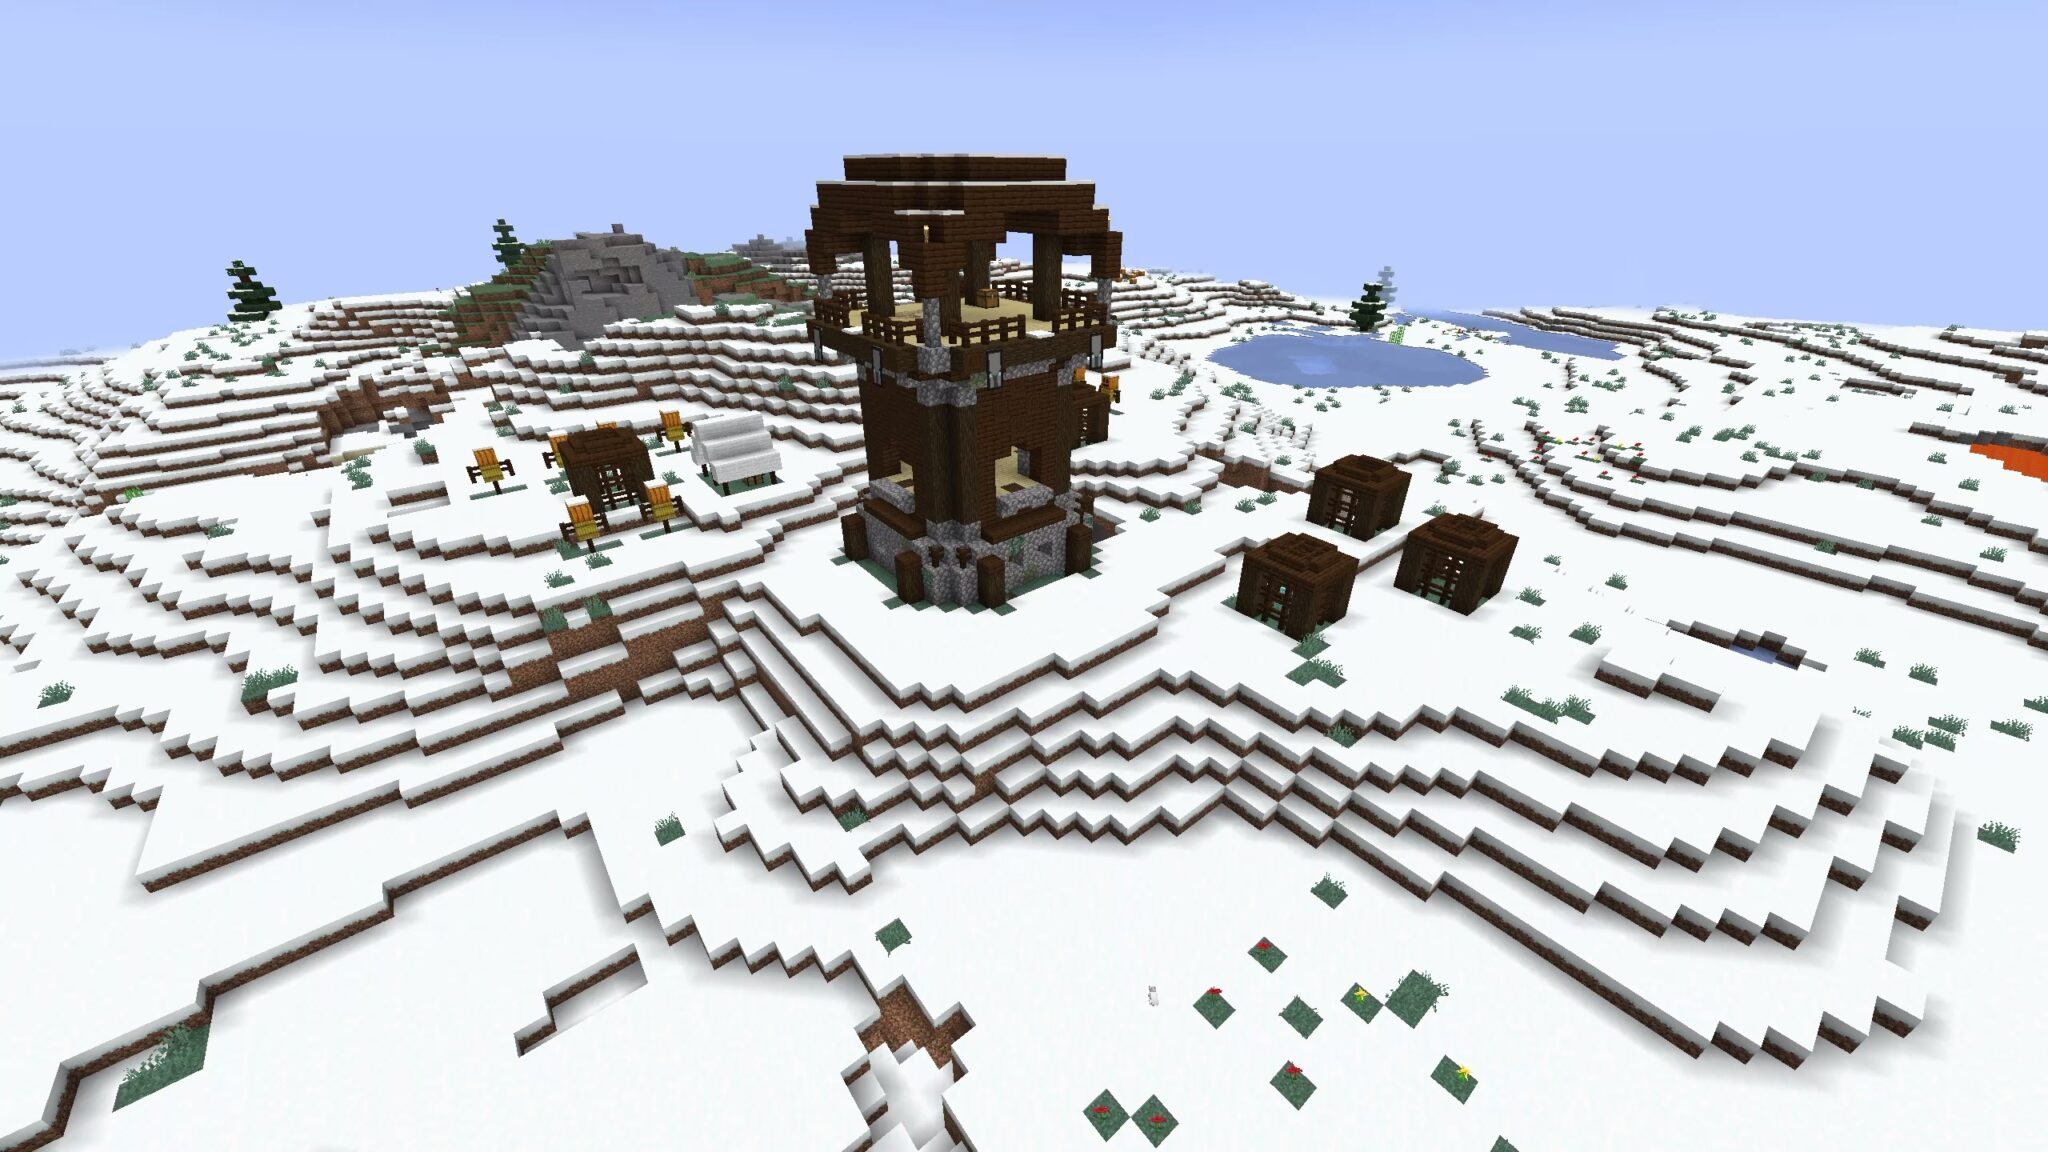
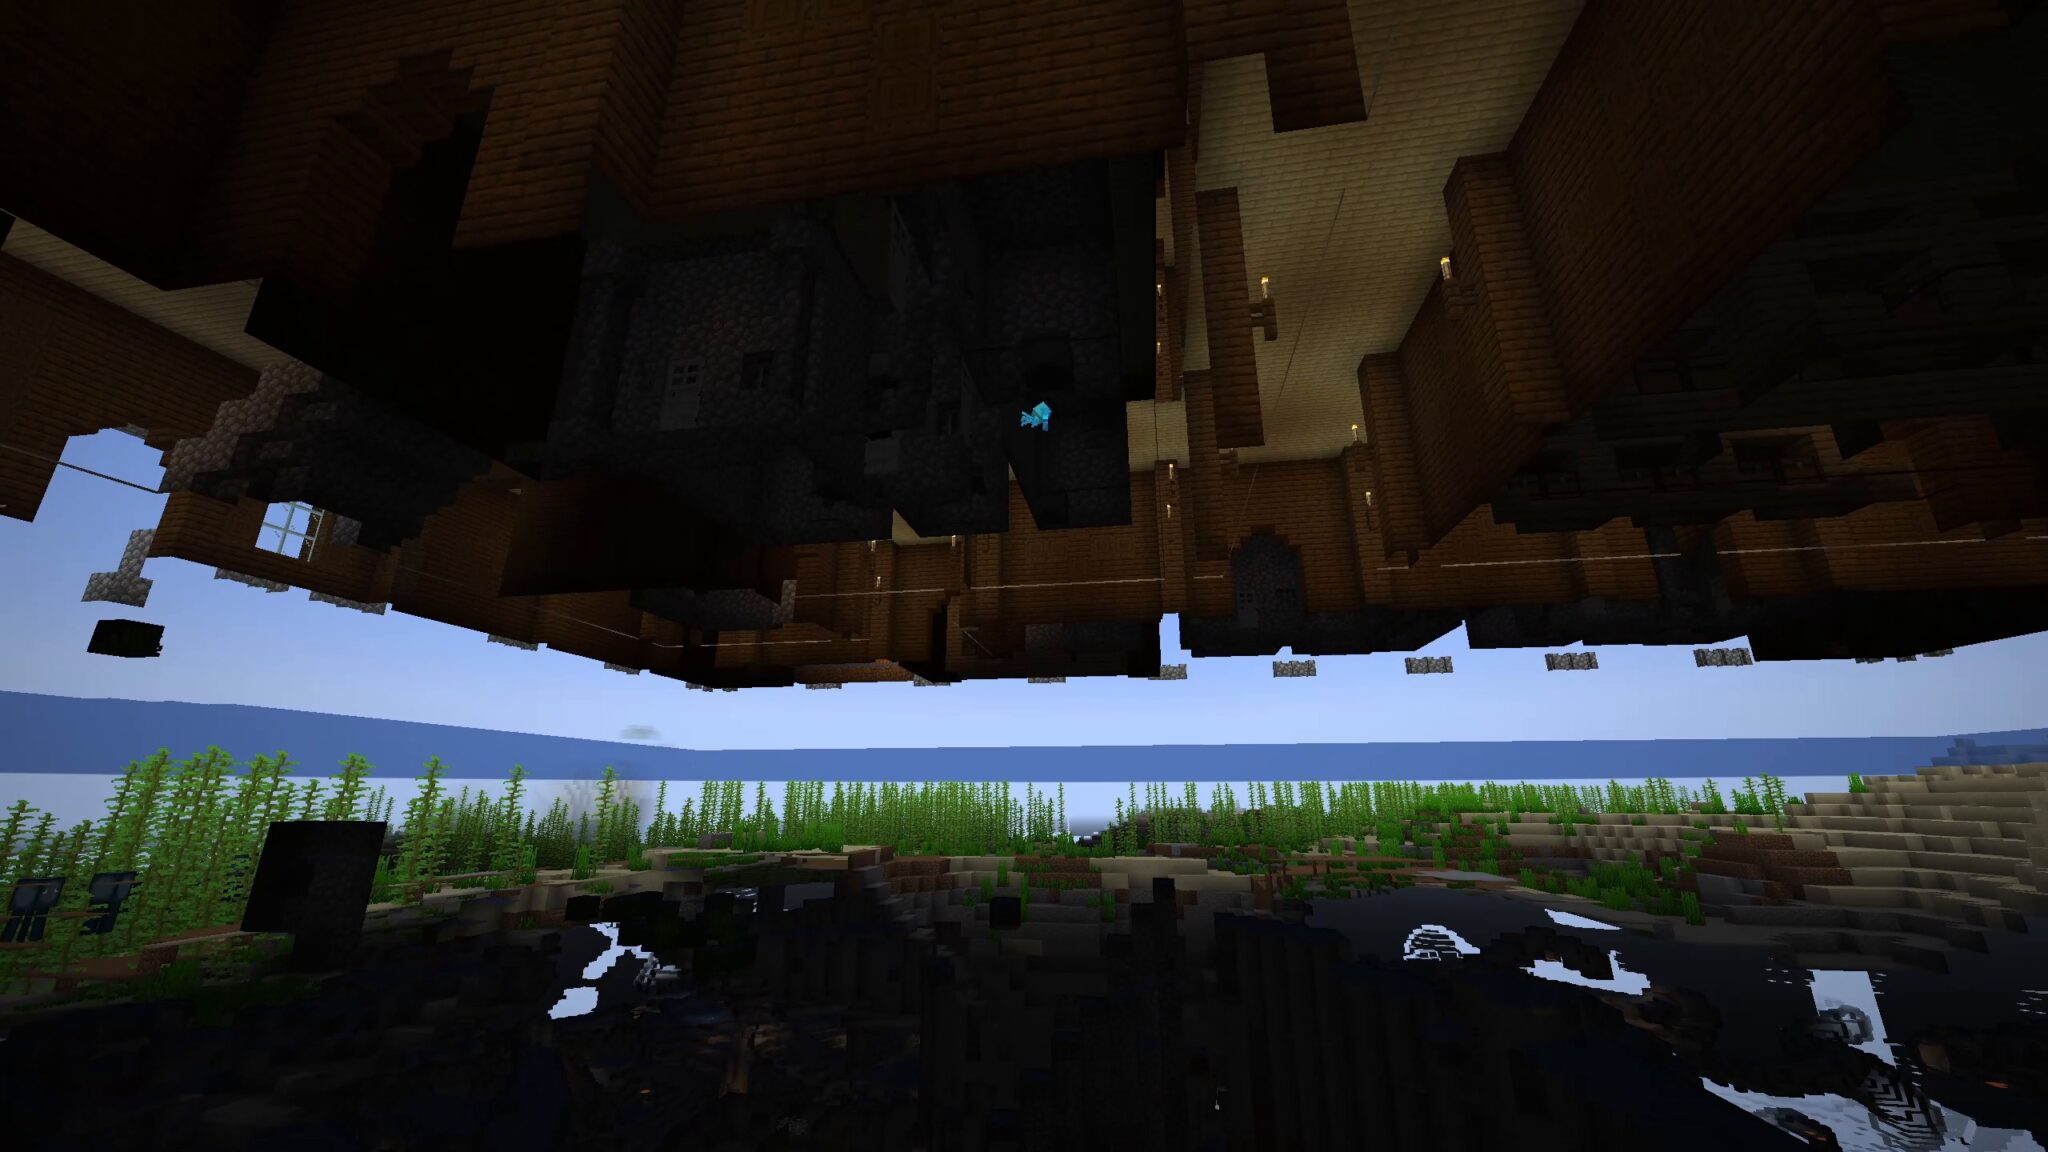
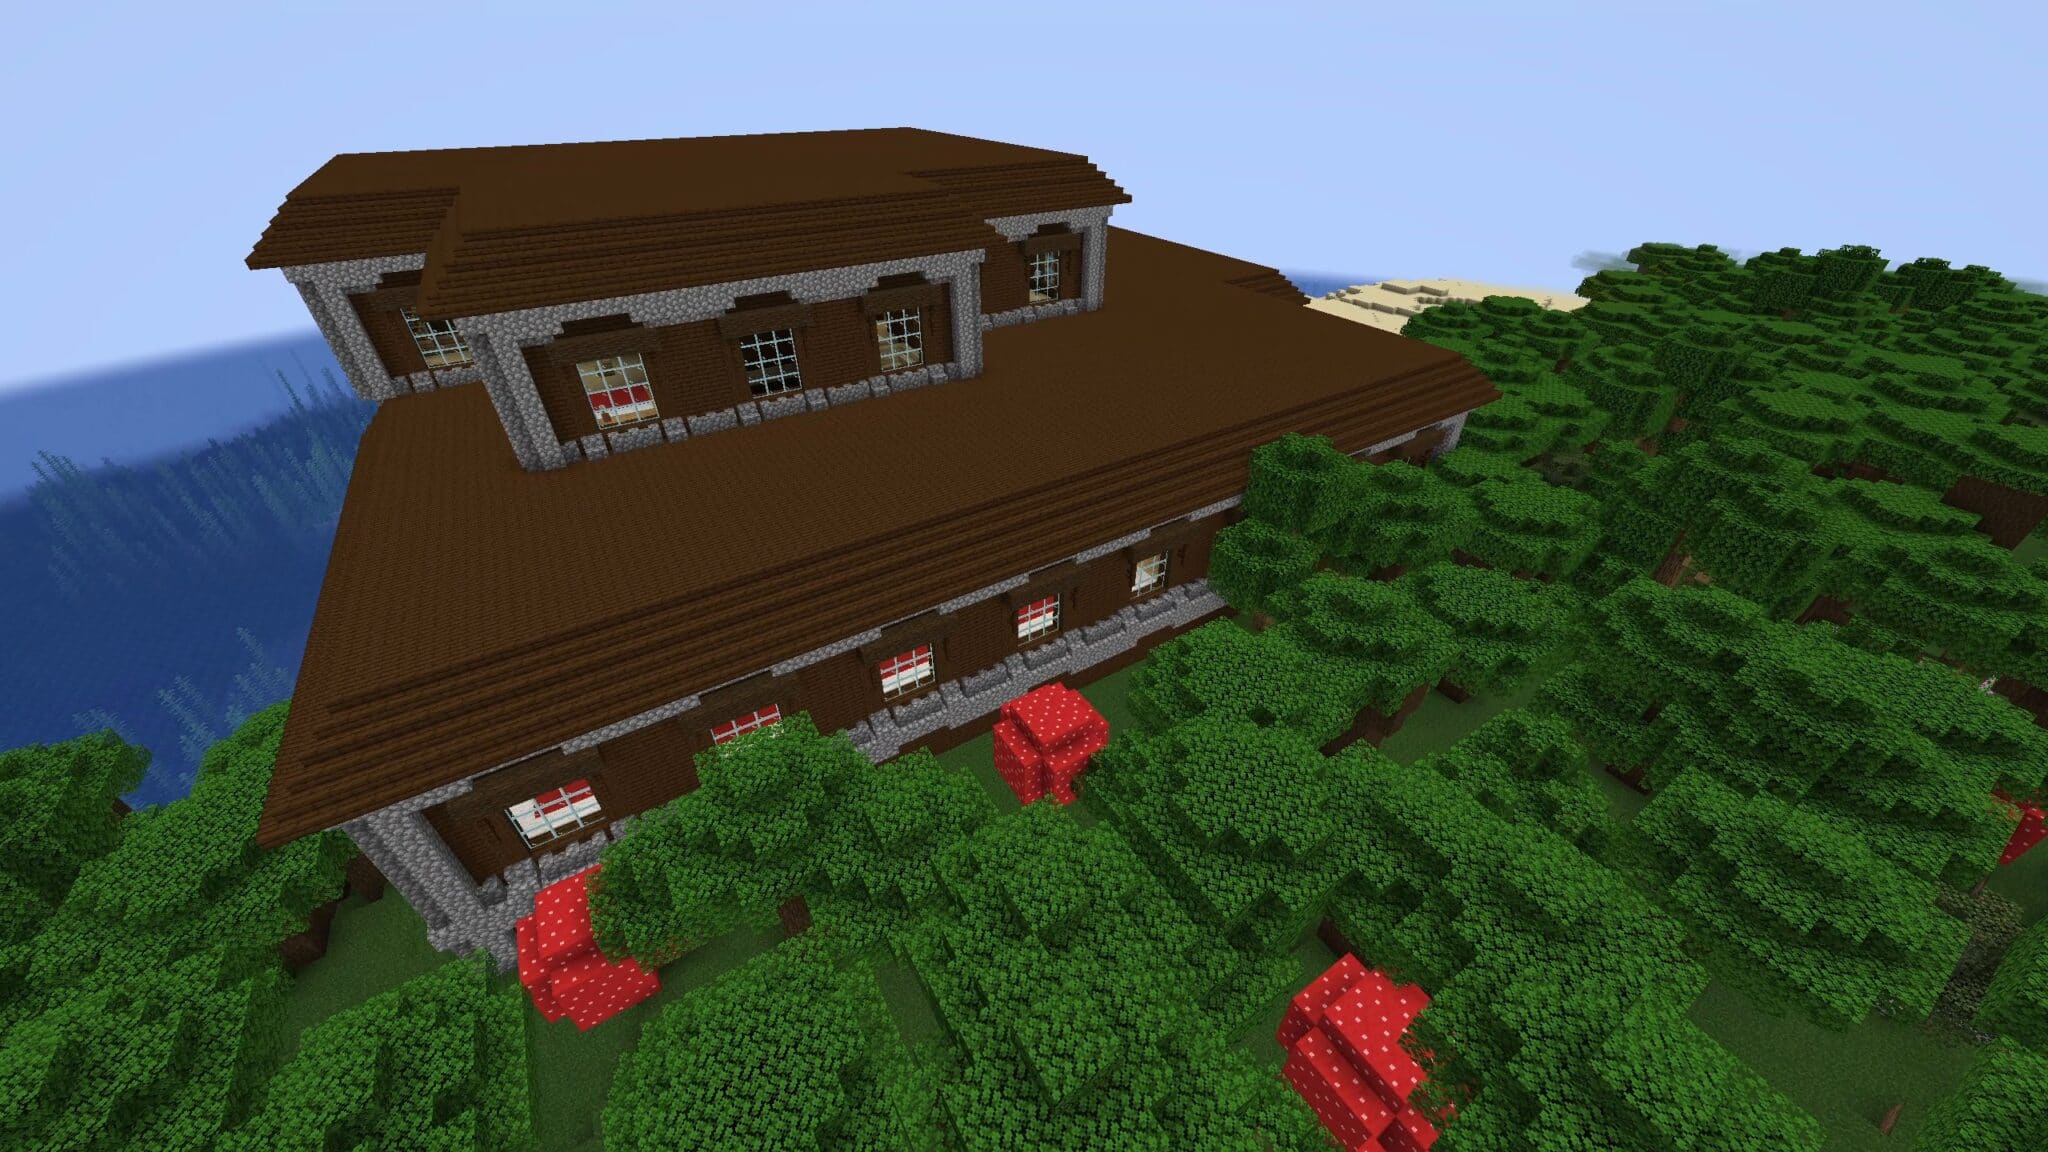
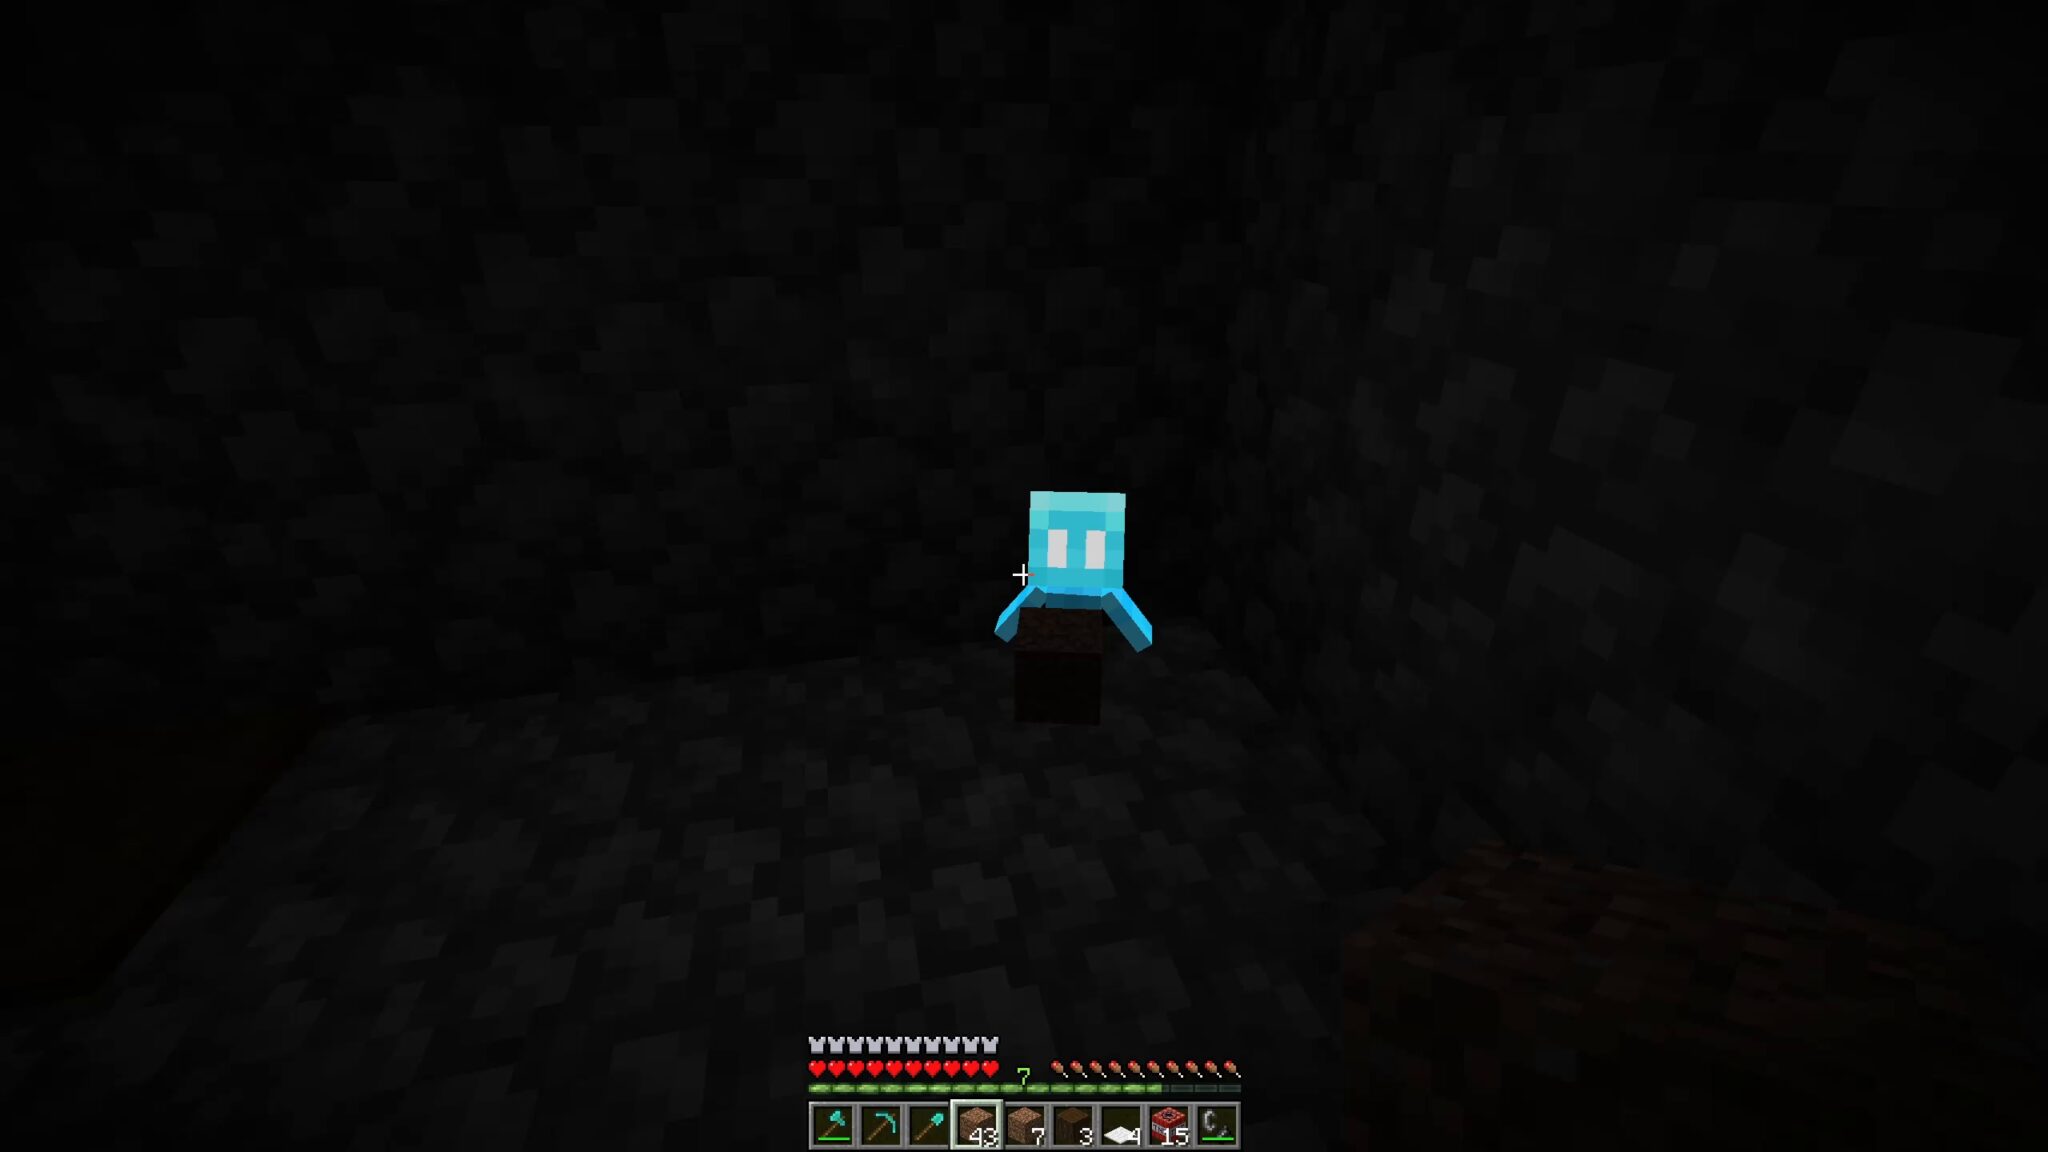
You can find the Allay in the dungeons of the mansions and in the cages of the raider outposts – but not in all of them.
Once you have freed an Allay, you can right-click them to give them an item. The little ghost will start to follow you. If the distance is less than 64 blocks, the allay will always find its way back to you. As long as the allay is holding a block in its hand, it will collect identical blocks. For example, if you farm wood and have given the ghost the corresponding block, the allay will bring you the fallen blocks.
If another block is to be collected by the allay, you must click your helper again with an empty hand. You will get the block back. It is best to do this in a closed room so that the allay cannot fly away.
Other interesting features:
- Owners can’t harm their Allay
- Allay can still take damage from fire or TNT
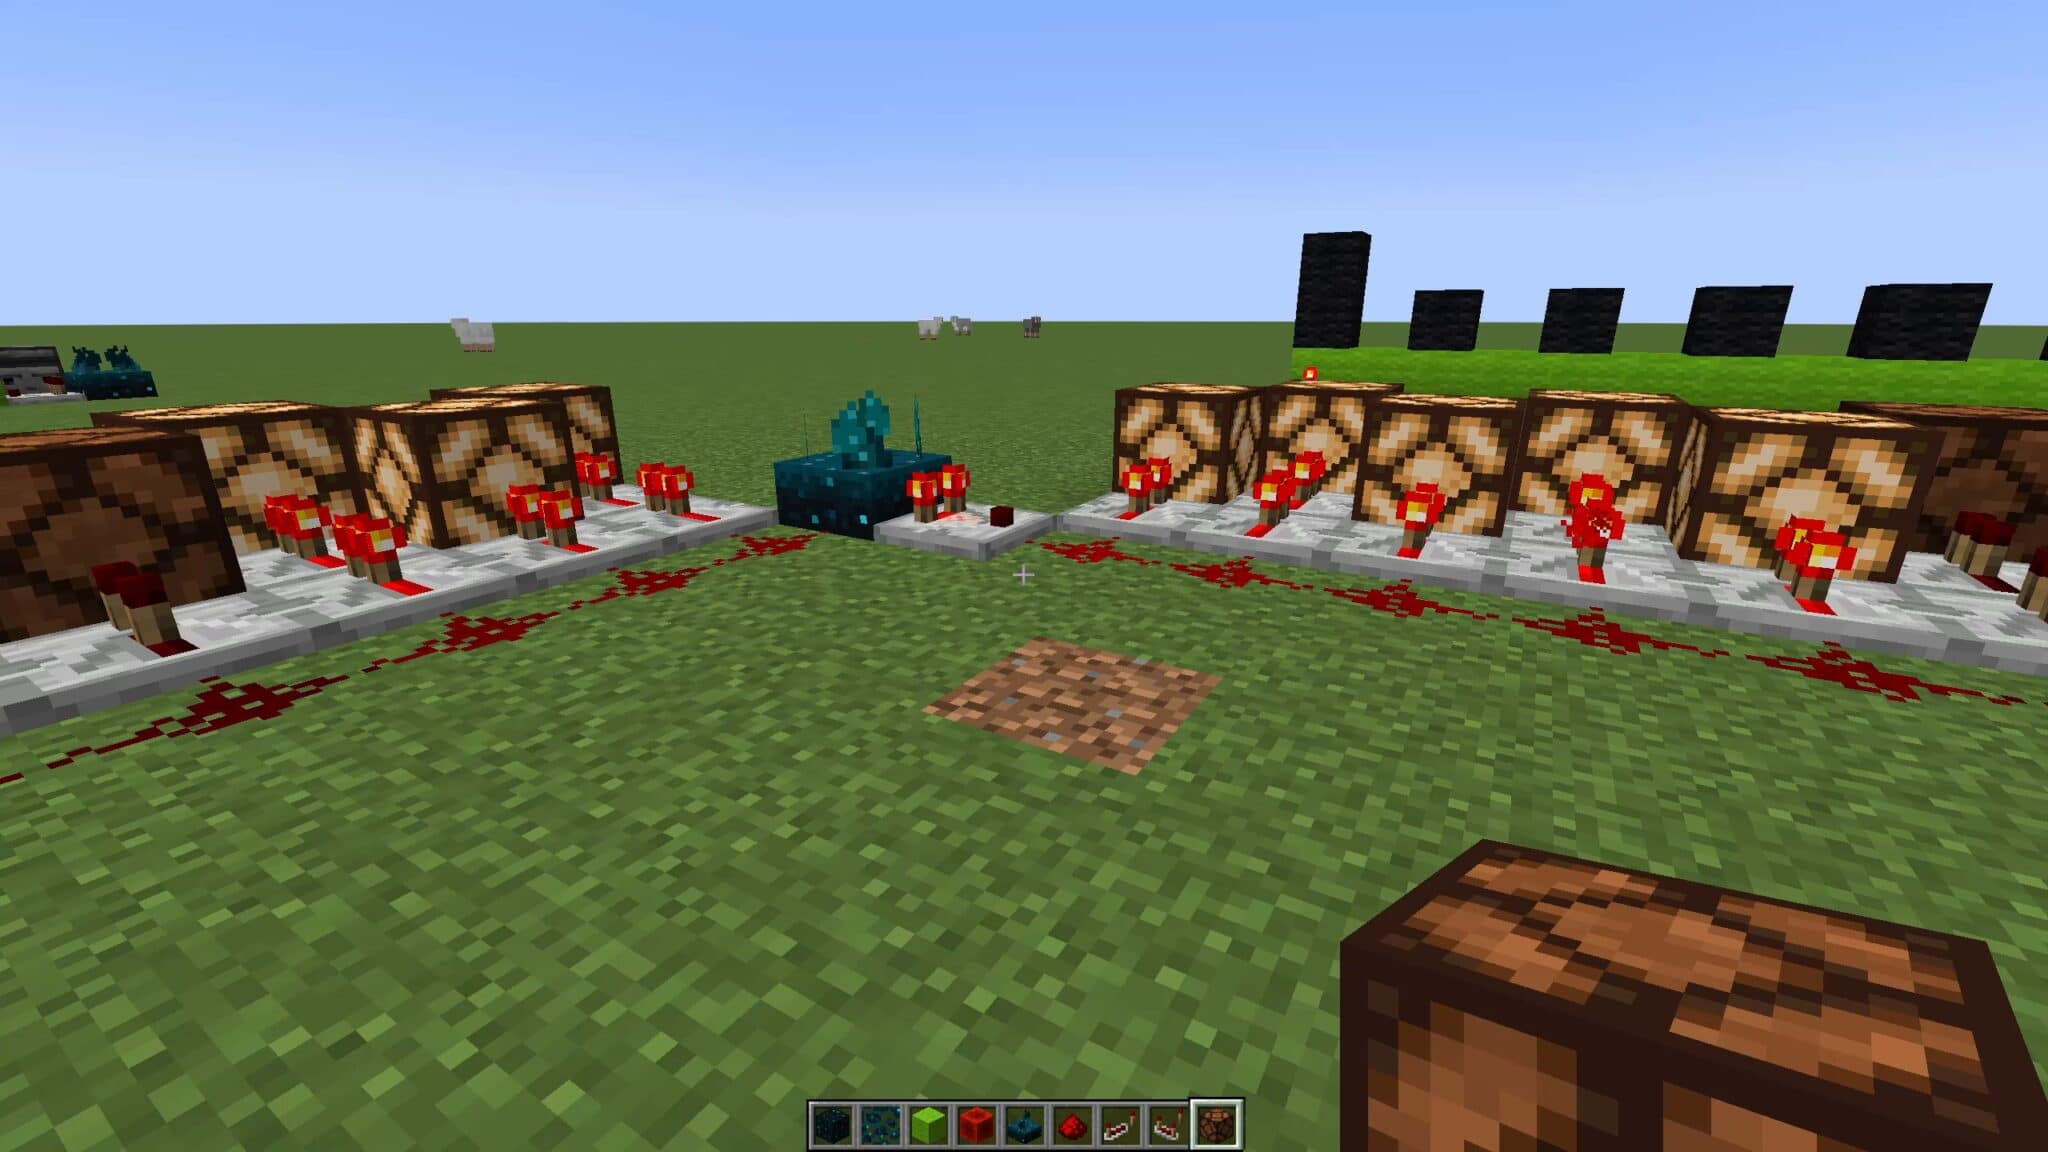
- If a note block is activated nearby, the allay will bring the items to the note block and not to the player
Deep Dark – the blocks of the new biome
You can also encounter a new biome below the surface of the earth – the deep dark or Deep Dark. In the Deep Dark, no normal creature spawn takes place. However, other creatures can enter the biome through adjacent caves. The deep dark is below the height y = 0.
In the depths of the dark biome you can also discover ancient cities. Here you can find loot chests, for example.
In addition to enchantments, these can also find echo shards, record fragments or a salvage compass. The salvage compass always leads you to your last place of death. You can use the record fragments to make a record.
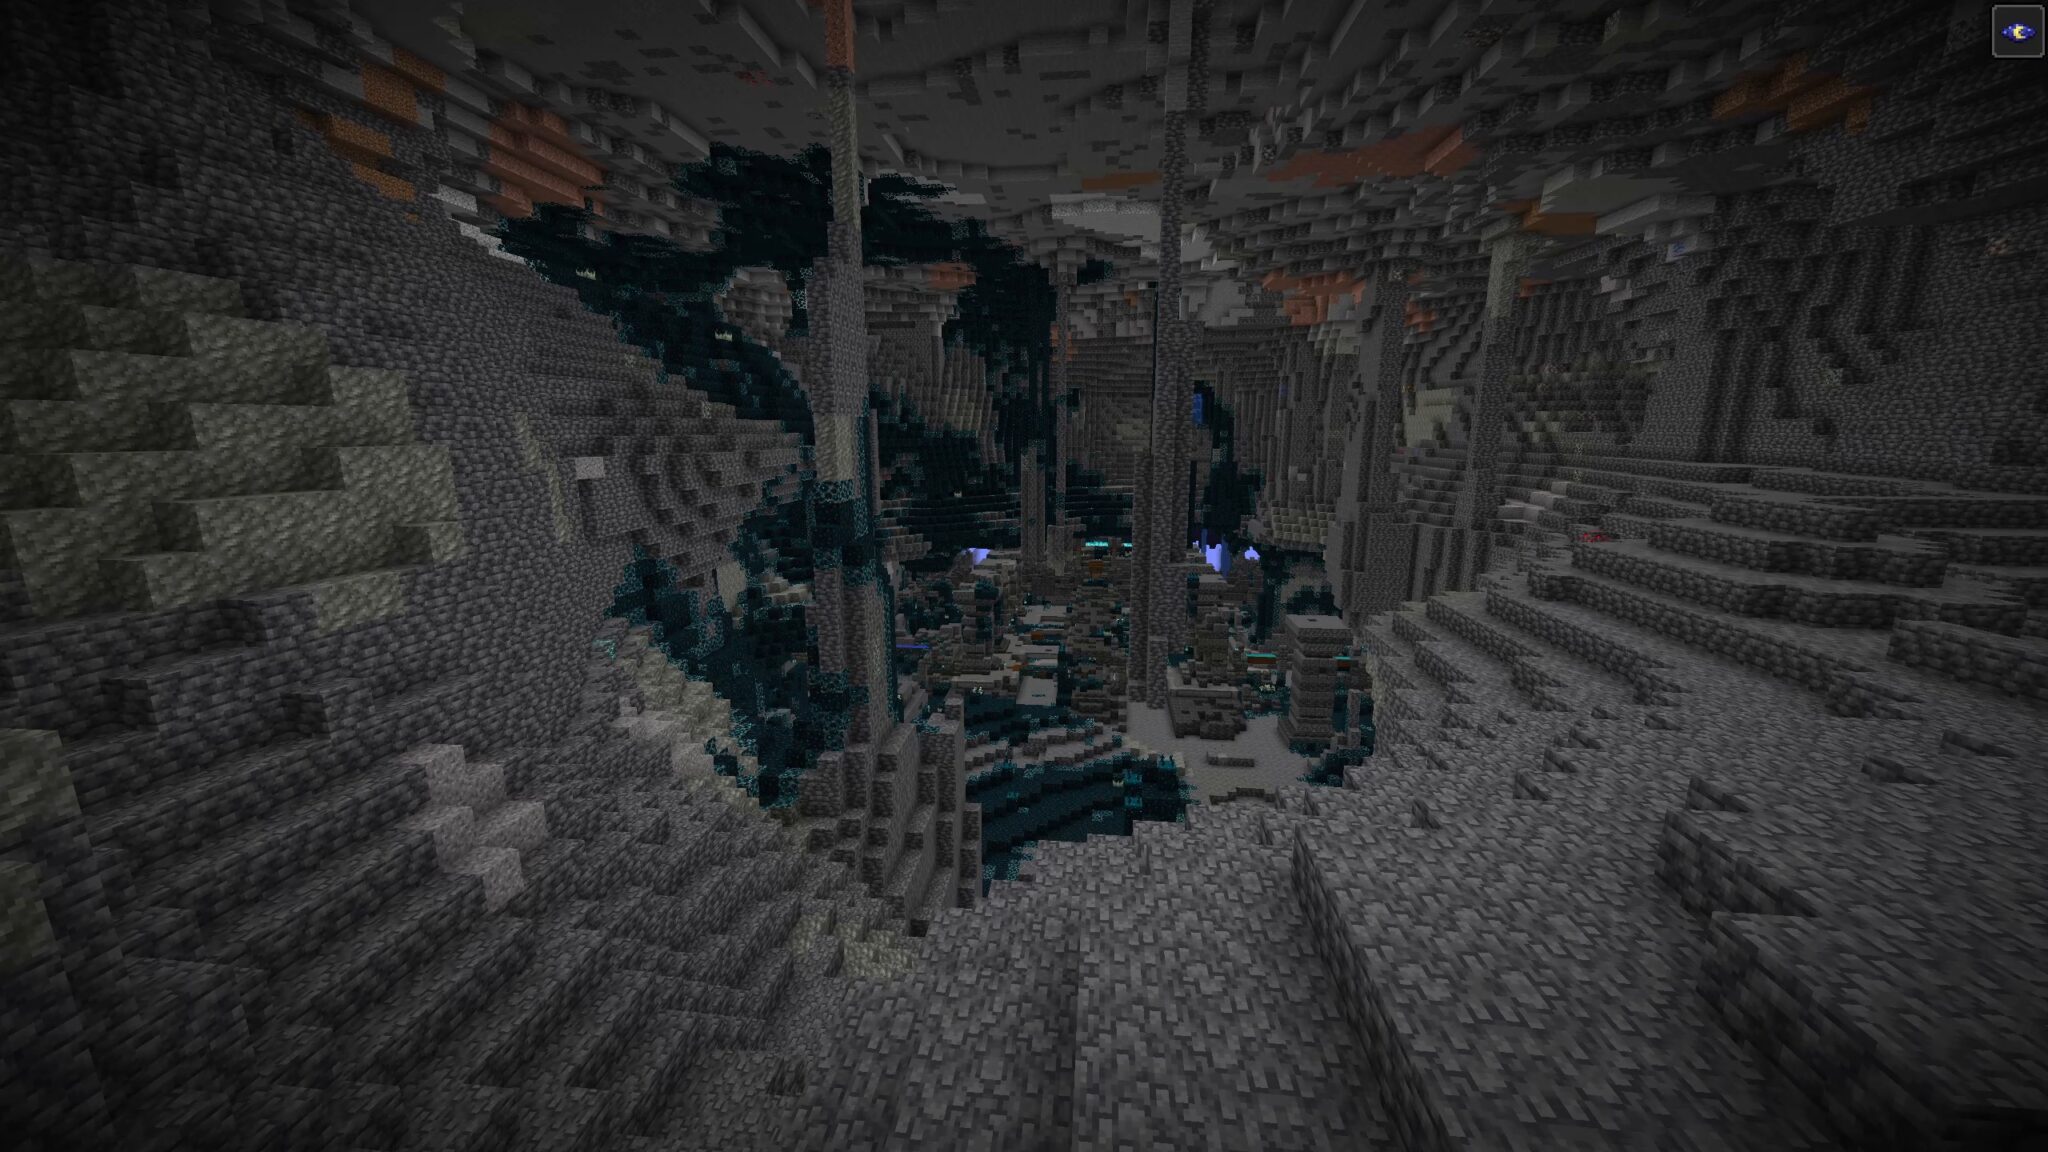
In the deep darkness you will come across the following blocks:
- Sculk block
- Sculk Veins
- Sculk catalyst
- Sculk sensor
- Sculk Screecher
- Reinforced Deep Shale (non-manufacturable and non-degradable, only in the ancient city)
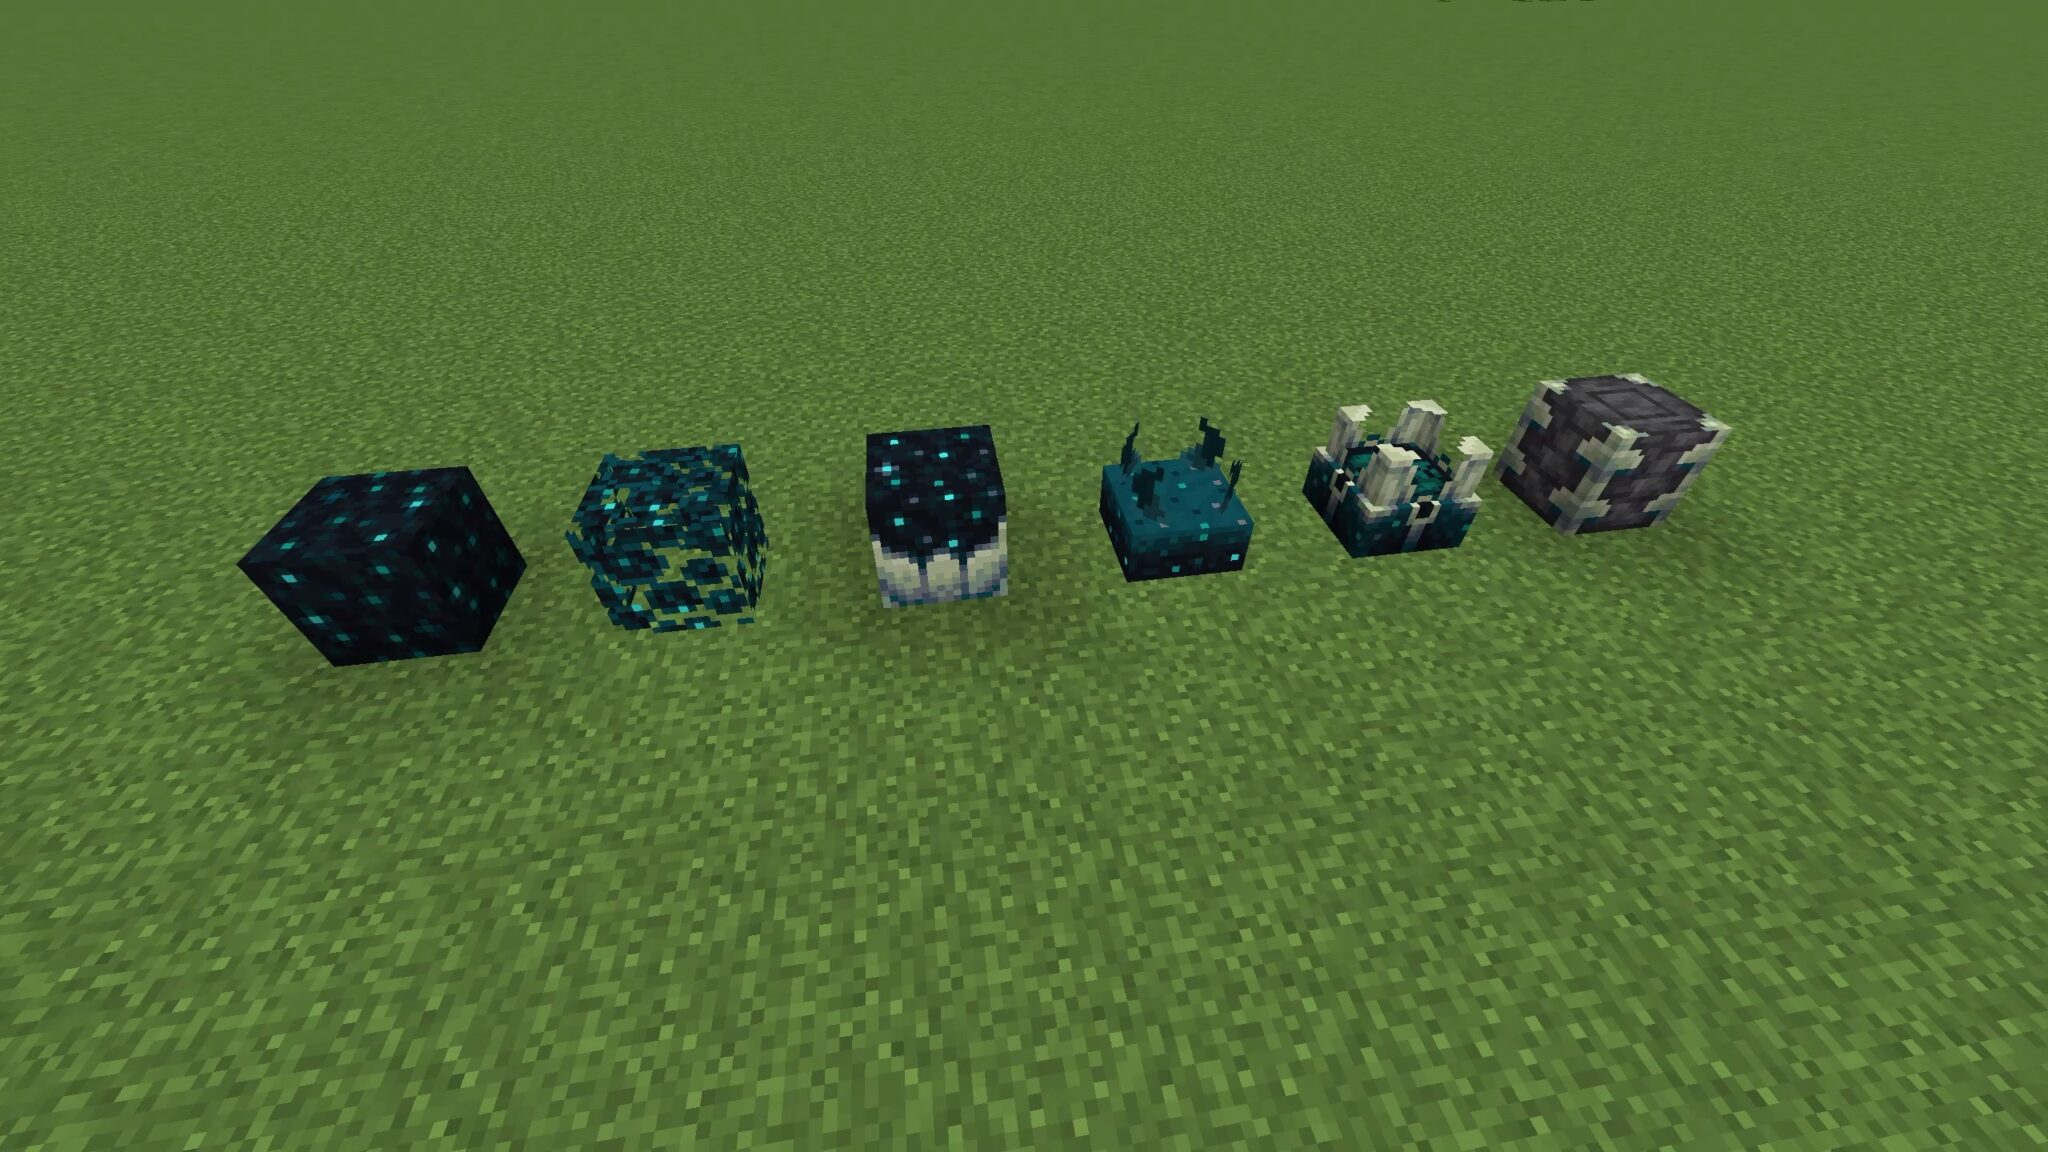
For all blocks with “Sculk” in the name:
- They can be dismantled with all tools, but with picks the fastest.
- Mining without caution gives the player experience.
Exception: Sculk veins
Sculk Veins:
- This block is for decoration only
Sculk catalyst:
- If a mob dies near the sculk catalyst, it gives rise to new sculk blocks and veins.
- The number of converted blocks depends on the amount of experience the mob leaves behind.
- If a mob dies near a Sculk Catalyst, it drops no experience.
- A Sculk screech occurs with a 1% chance.
- A Sculk Screecher is created with a probability of 9 percent.
Sculk sensor:
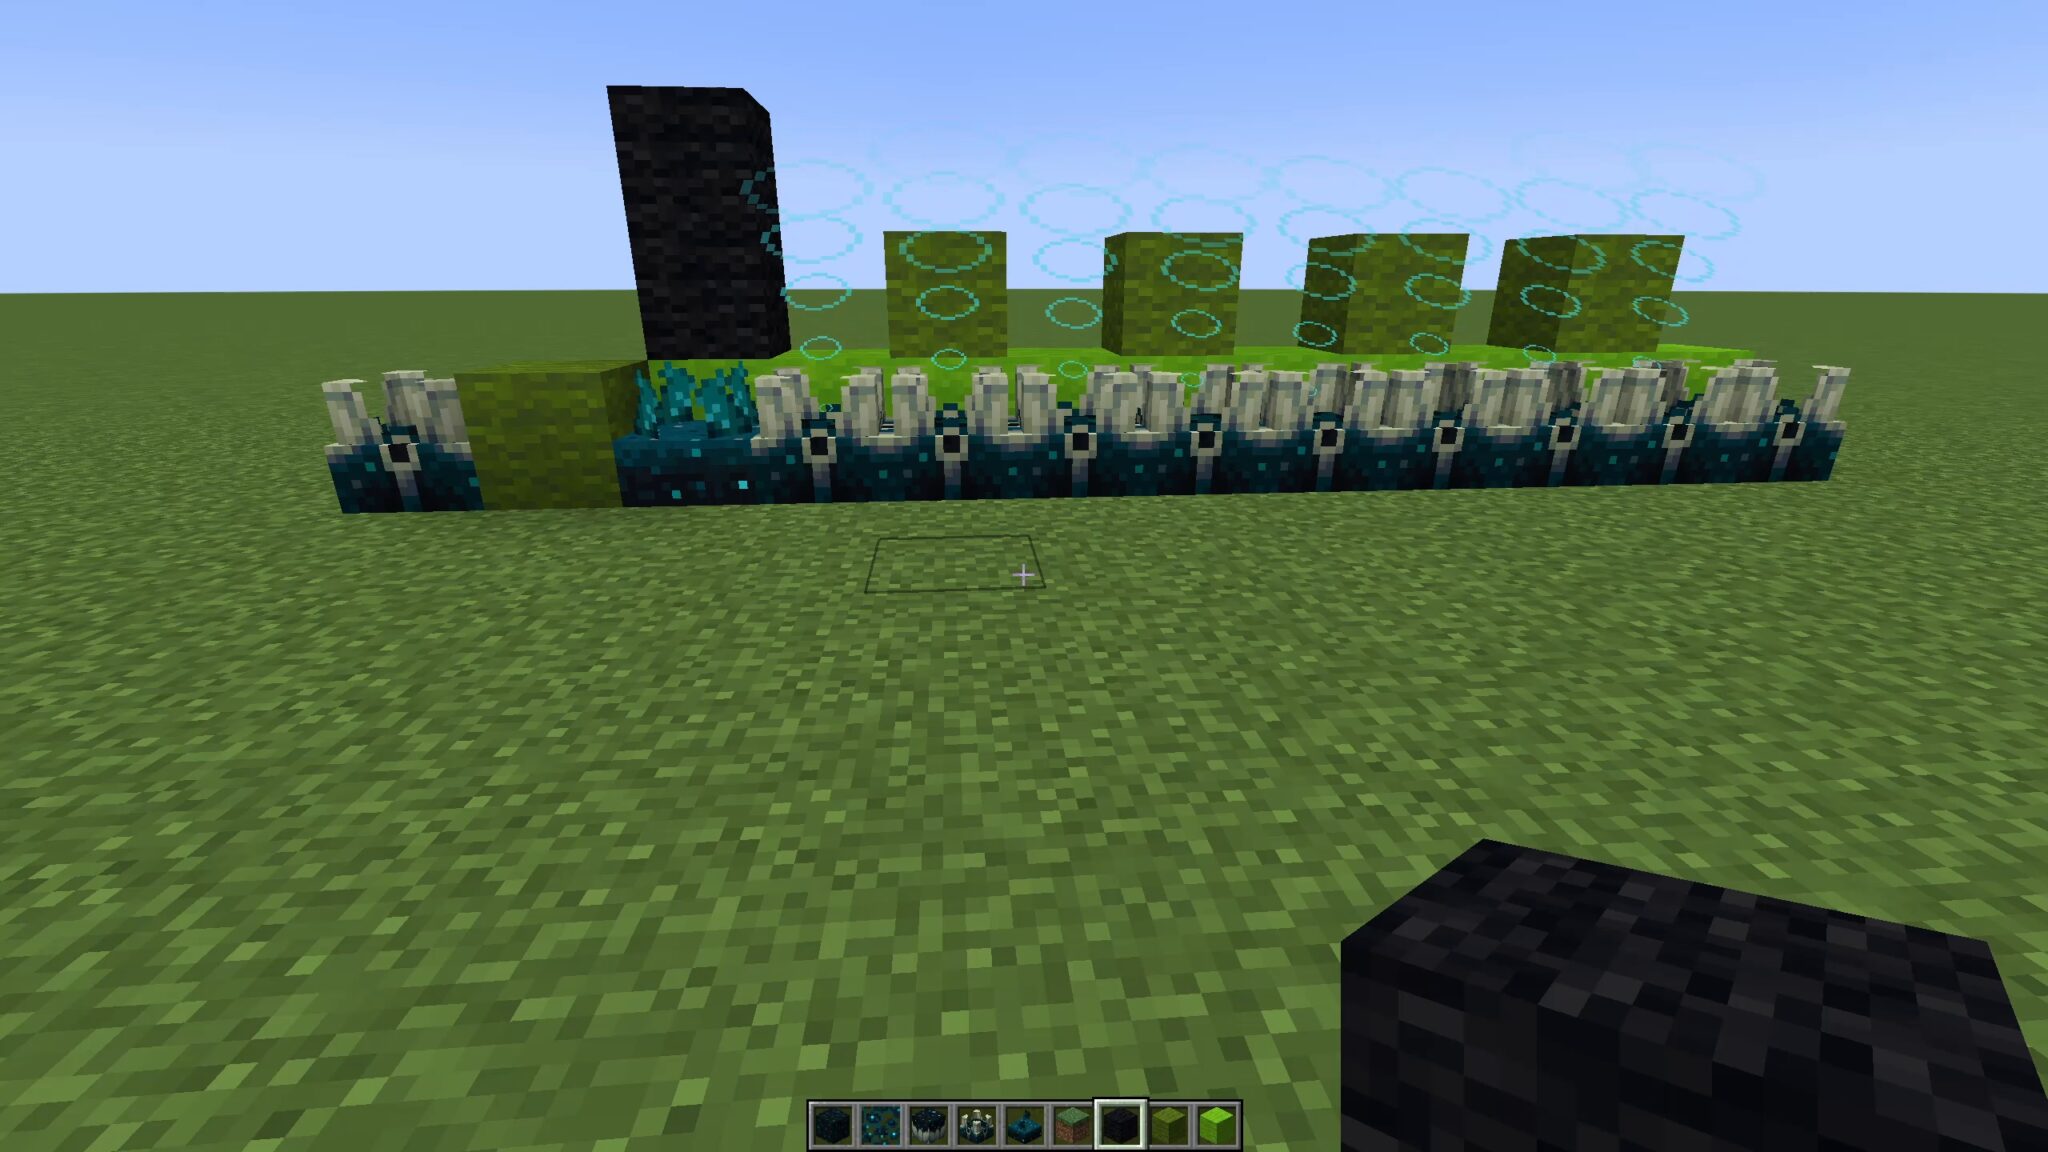
- Activated by sound
- Scurl prevents activation
- Sensor radius is nine blocks
- It can be shielded with wool
- The sculk sensor emits a redstone signal as soon as it is activated
- The redstone signal strength depends on the sound intensity
- If a sculk screecher is found within range, it will also be activated
Sculk screechers:
- With each activation by the player, the player warning level increases.
- Every ten minutes without further activation the warning level decreases by the value of one
- The warning level also increases when another screecher is activated
- When the warning level reaches the value of three, a guard appears
- No warden appears if there is another warden within 48 blocks and the light level is above 11.
A new enemy – the guard
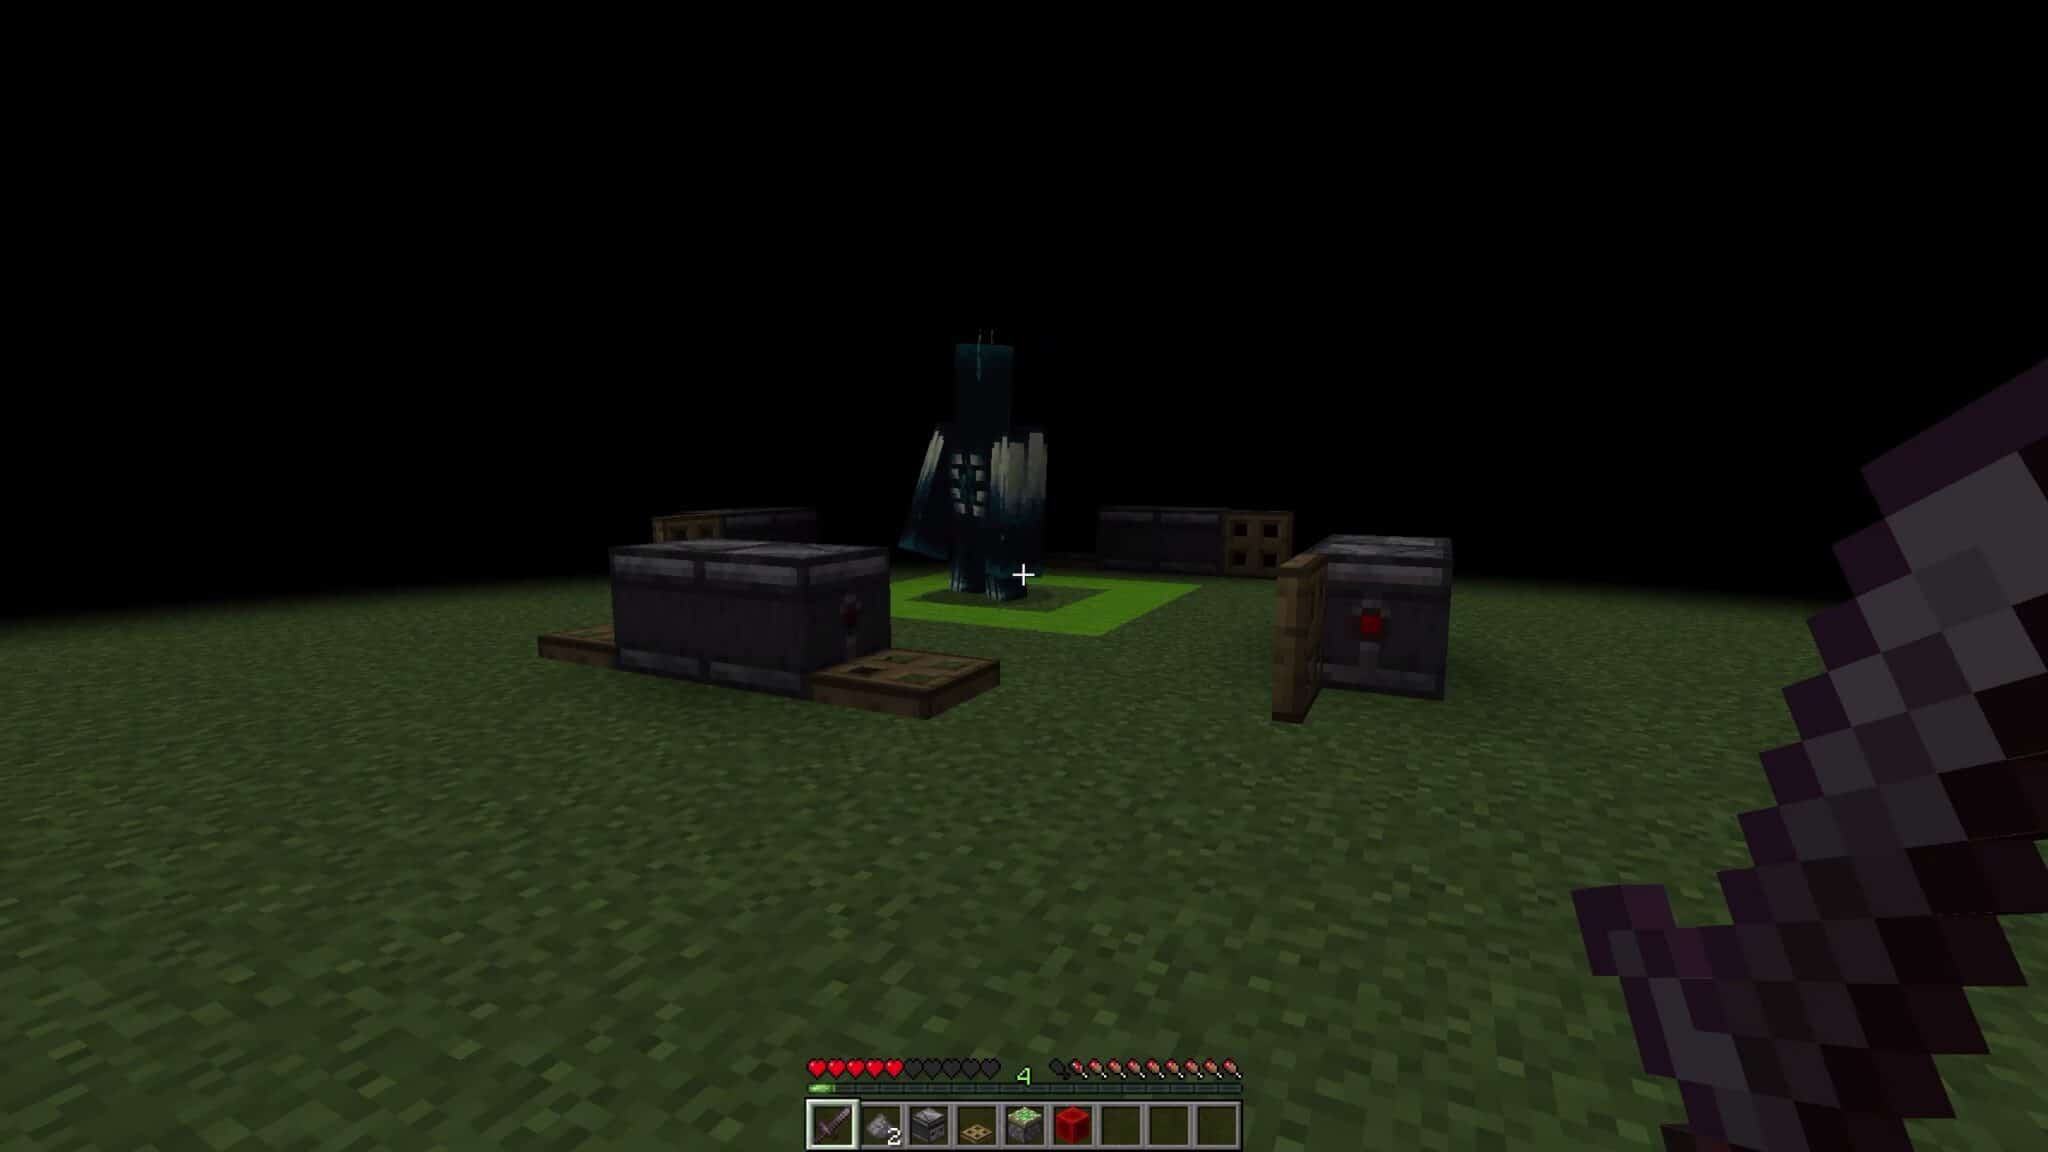
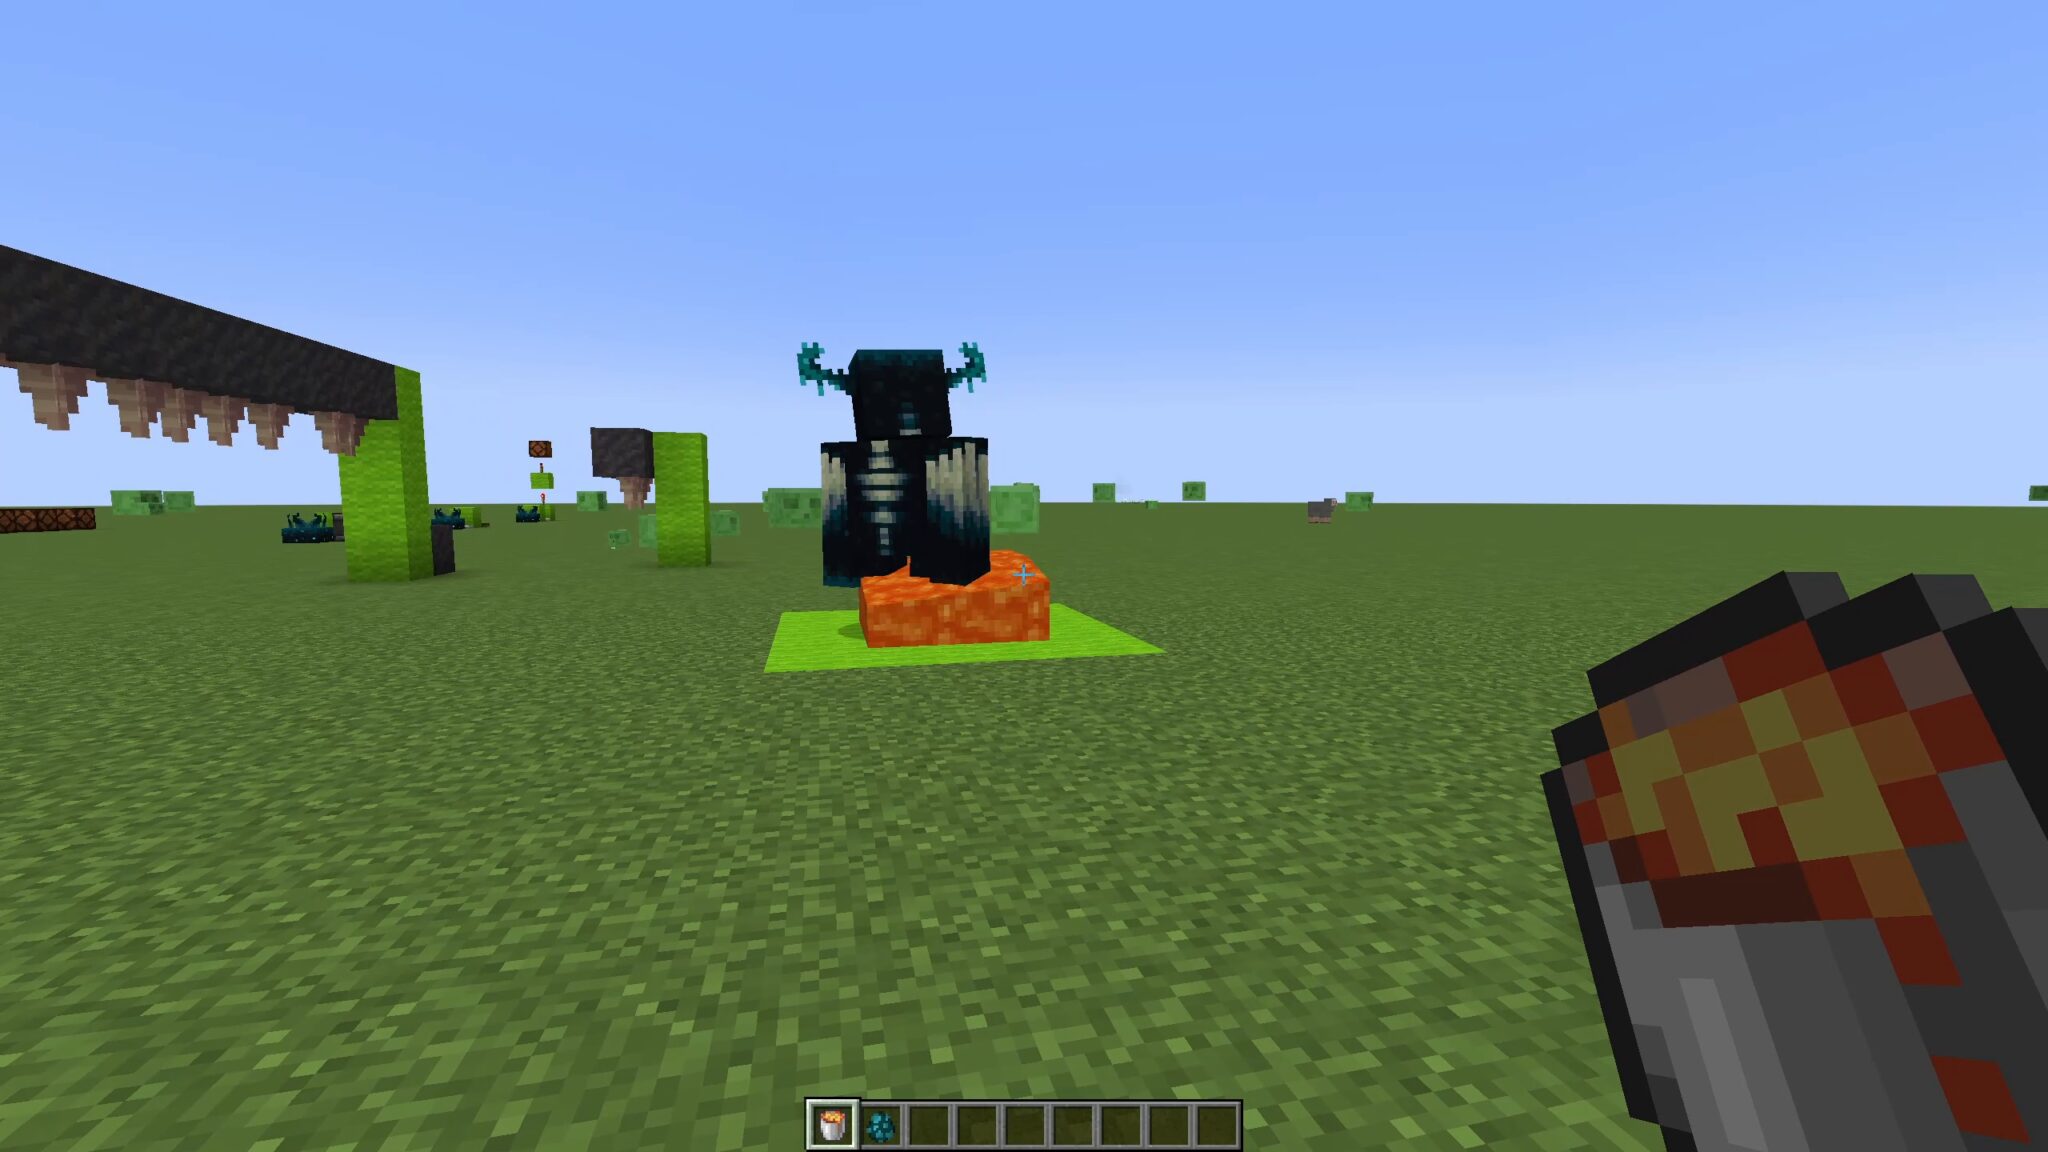
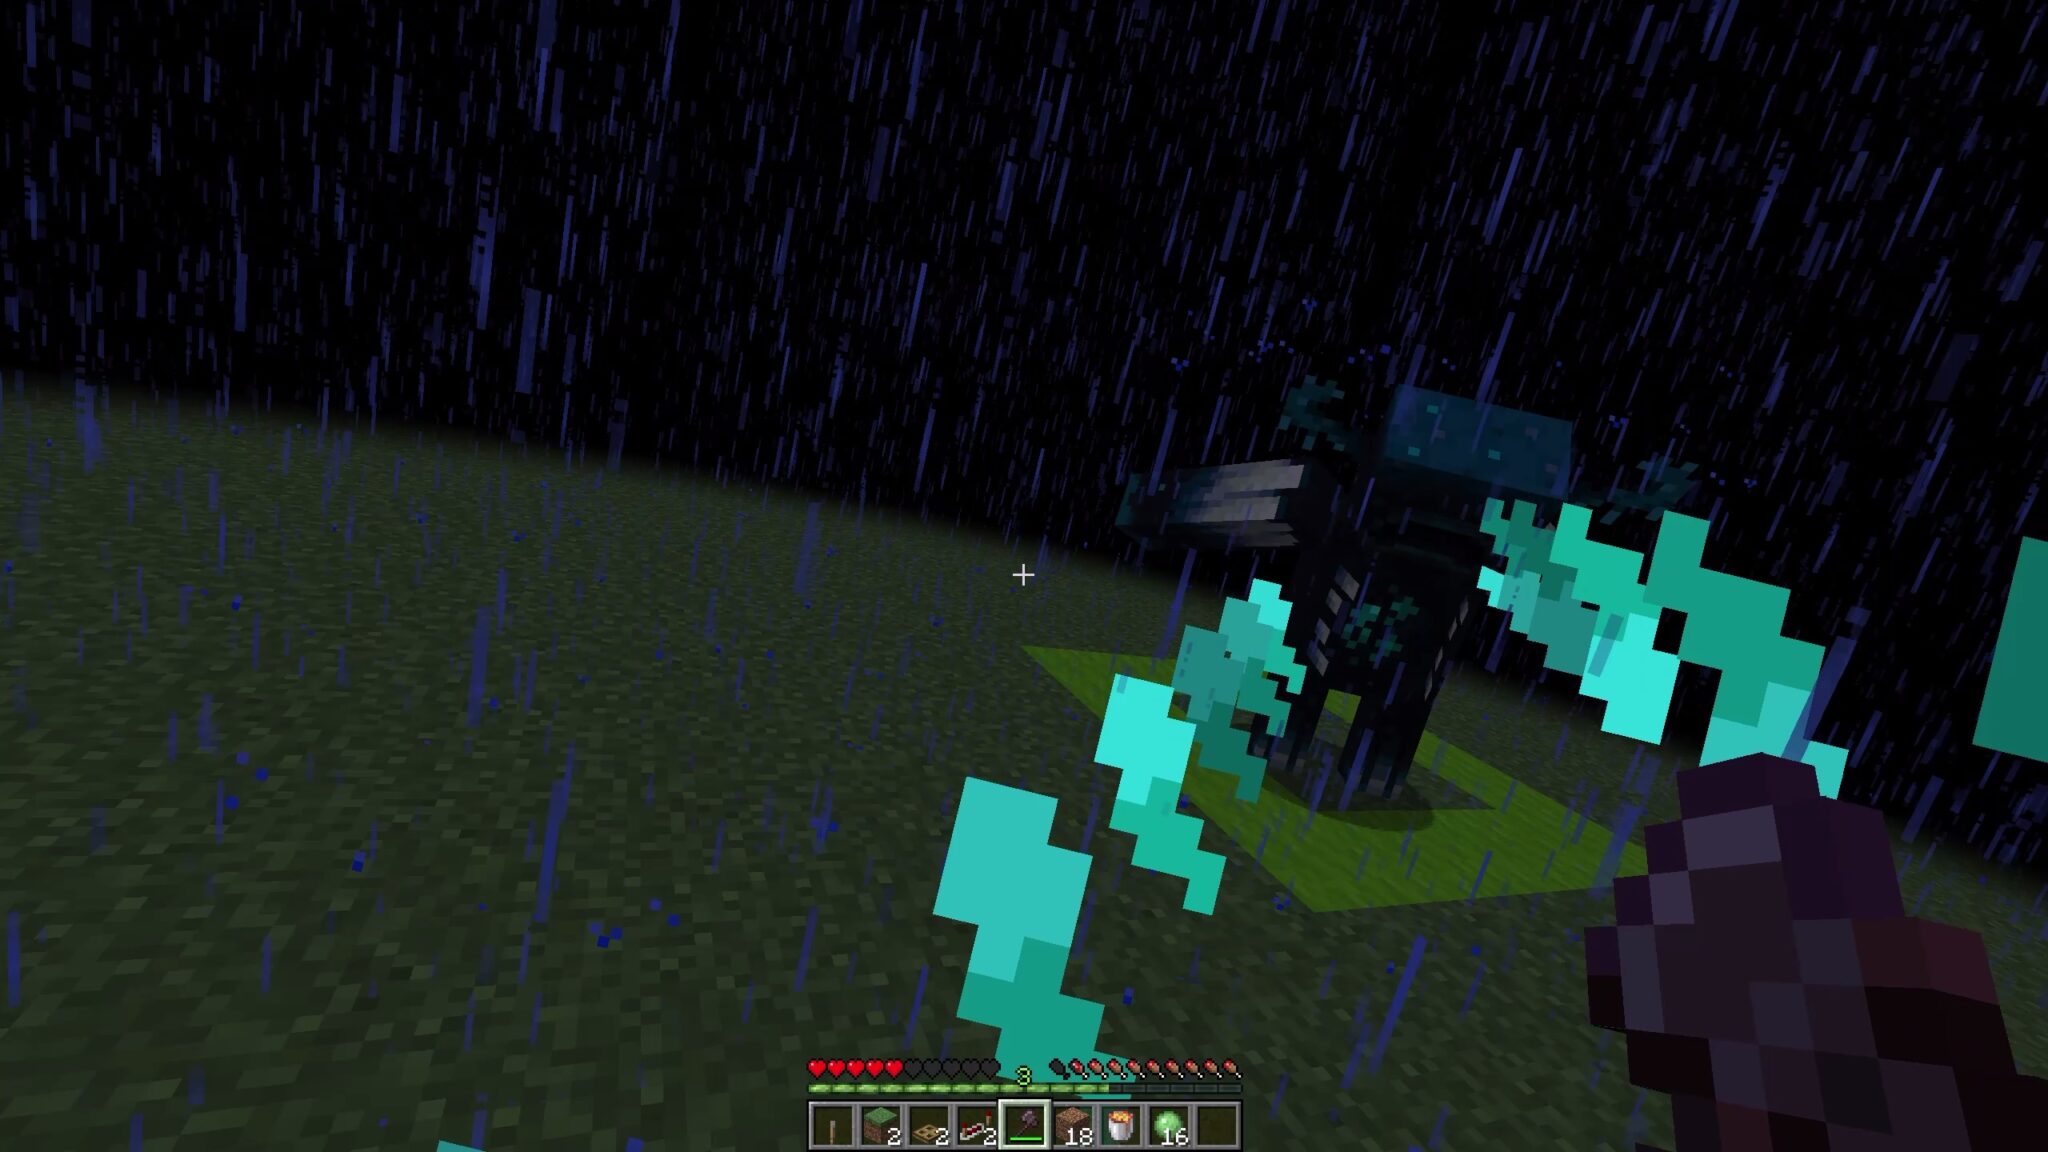
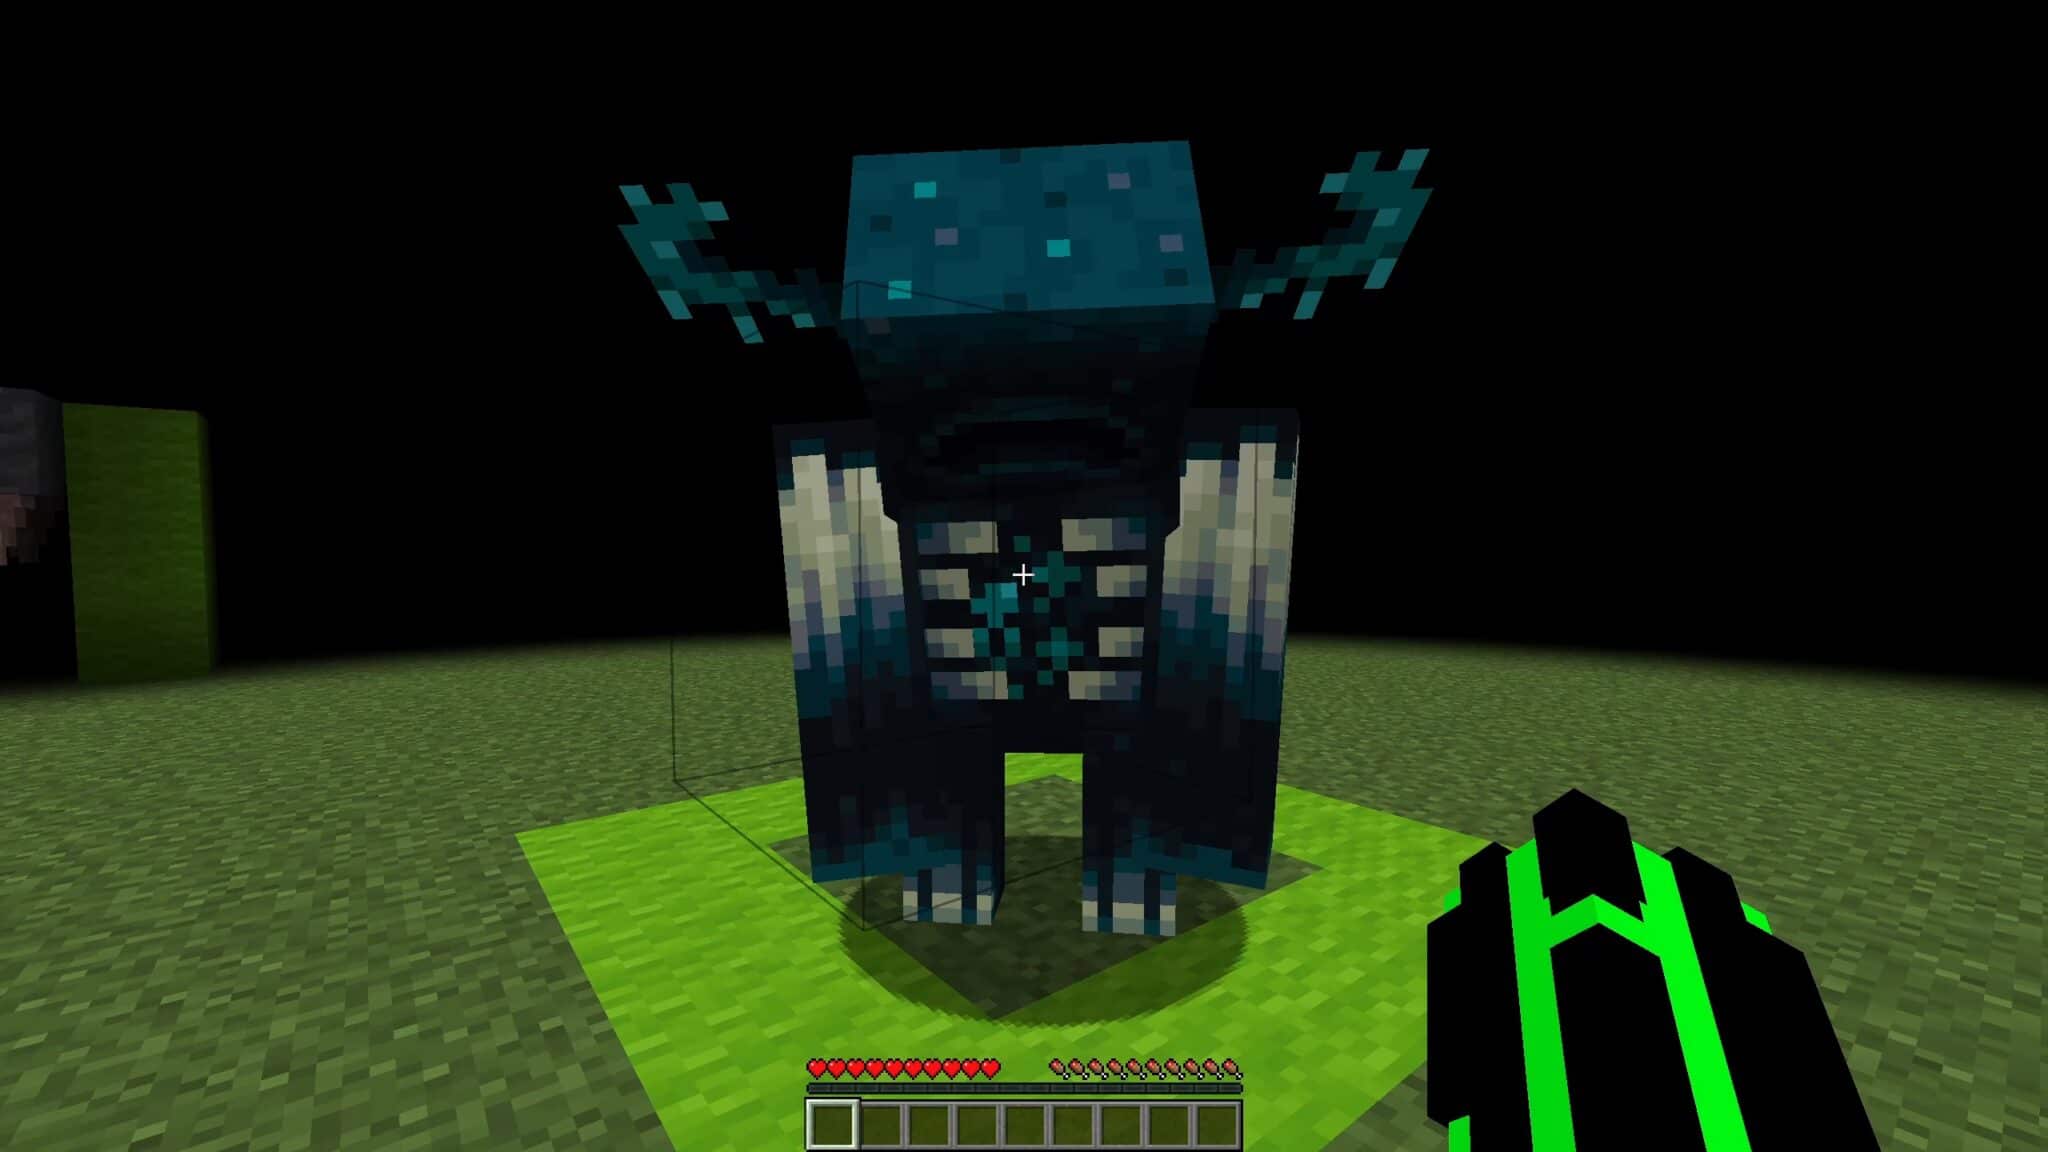
The Warden is a very strong opponent. Even with a Netherite armour he only needs a few blows to defeat the character. This mob is blind and uses its nose to locate other creatures. In addition to its sense of smell, it also uses sound detection.
If the guard cannot reach its target, it shoots sound waves at its victim. The sound waves penetrate other blocks (including wool). Unlike all other enemies, the player should flee from the guard and not fight him. If the player does manage to defeat the Warden, he leaves behind very little experience and a Sculk Catalyst.
One last tip
With version 1.19, the gamma value can no longer be set too high. Previously, you could achieve the same effect as with night vision. Now the game resets the value to the maximum of “1.0”.
(You can read our expert assessment of the latest update here)
How do you like the new content in version 1.19? Do you have any questions for our guide authors or any helpful tips of your own? Feel free to write them down in the comments!

