Welcome to the 101 for CS:GO. Here we explain the basics of the shooter in as much detail as possible to prepare you for your path to becoming a professional player. Today we have tips on the map Nuke.
Today it gets radioactive in our map guide series. We explore the bomb disposal map Nuke and the best tactics for both terrorists and counter-terrorists.
A classic among the CS:GO maps
Although Nuke looks quite modern, the nuclear power plant is one of the well-known and classic maps of the shooter. The area already belonged to the map pool of Counter-Strike 1.6, but at that time it was simpler both visually and in terms of gameplay. In the course of the various game versions, Nuke was always retained and strongly modified with regard to the original version. For example, it was first located in Germany, but was then moved to America. At the beginning, Nuke was clearly more playable for counter-terrorists, now the attacking side also has better chances. The map has been in the Active Duty Group for selection in official tournaments for over five years.
The A-side
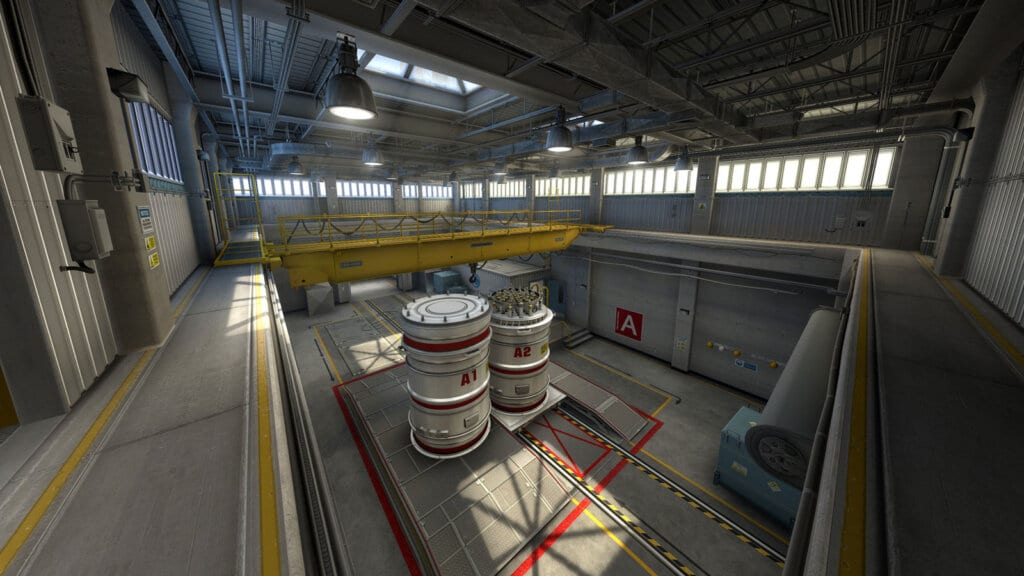
Nuke is composed of large above-ground and underground terrains. The bomb spot of the A-side is above ground, but around it is a spacious courtyard and various entrances to the building. The trick with Nuke, as a counter-terrorist, is to control and guard these places well.

The first task is to be optimally prepared and waiting for attacks from the terrorists. The terrorists could come via Outside – the large courtyard next to the building where various containers are located. One player should be placed in the small hut at the A-Spot – called Main. This player should listen for clues from Outside and give clues to his team.
If the terrorists come via Outside, a smoke screen with Smokes is often thrown there. This obscures the way via Secret in the direction of B-Spot. This frequently played tactic allows the terrorists to enter the complex underground.
Should the opponents not go via Outside, another access to the A-Spot is via Squeaky. This is the right access to the A spot when the terrorists run from their spawn into the first large antechamber (lobby). You can prepare for this, because the door has to be opened by the terrorists.
Often the attackers then throw glare or smoke grenades to make it difficult for CT players to rotate to the A spot. In addition, it can happen that a T-player drops into the ventilation shaft via the Squeaky access.
To defend the A-side, the second ventilation shaft behind it on the A-spot is suitable as a position for a CT-player. This way, the player can scout whether the enemies are attacking on A or B and counter an attack on A right away. For example, the player can attack the terrorists or delay the laying of the bomb, giving their own team members more time to rotate.
For terrorists there are many aspects to consider on the A side. An attack must be well planned. Moreover, one must always think of the positions the defenders can take. This is because the A-side can be occupied on two levels. Opponents can be either above the room at the level of the crane or on the hat (fries). On the ground, the silos in the middle of various corners are used as hiding places. Smokes and Flashes are good at taking the A spot. Otherwise, the Counter-Terrosites will have an easy time repelling your attack.
The B-Side
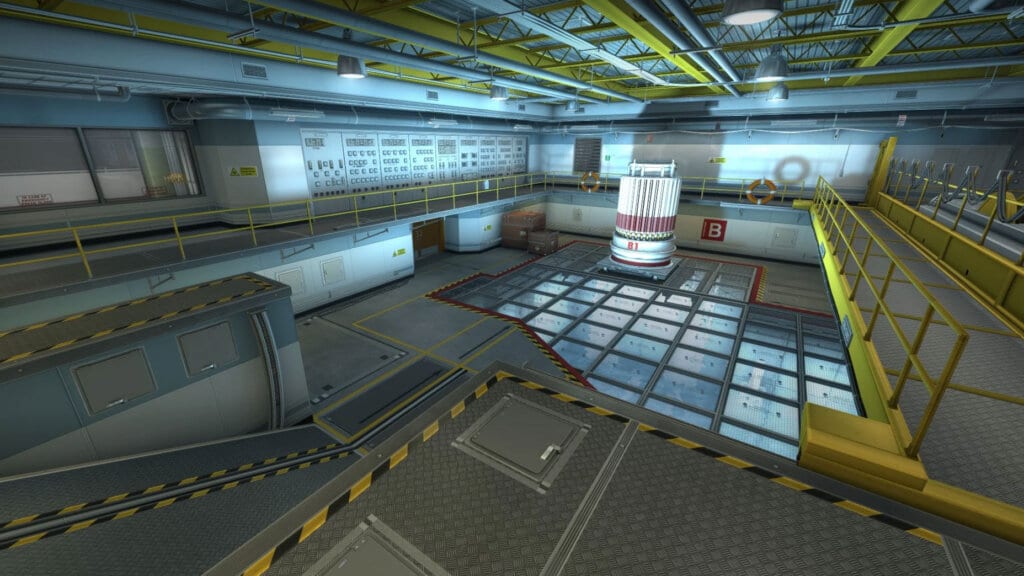
Deep underground, behind tunnels, windows, doors or a large ramp is the B-side. It is neither easy to defend nor easy to attack. Both sides have difficulties because there are seemingly endless ways to get to the B spot.

The defence has to control five different directions on the B-side. The CT side should definitely put a player on the ramp leading to the bomb side. This will allow the player to relay information as quickly as possible should the terrorists plan a quick B-push. If many opponents attack the ramp, the CT player should quickly drop towards the B and not engage in a hopeless fight.
The rotation of the defenders must then be quick. Always As always, you should use your utility well: An incendiary grenade can quickly stop the terrorists from charging unhindered. It also makes them easy targets. A Smoke on the bomb spot can also cause confusion – but be careful: this can also affect your own team.
The attack on the B-Spot always succeeds easier if you create an Entry-Frag. This makes it more difficult to split and rotate defenders. This makes it easier for two to three T-players to take the B-side. By using the utilities this is even easier. Smokes can either smoke the entrances or directly the laid bomb. The trick is to take over a quick bomb plan on the B-side. This gives you time to play out the enemies. This forces the CT side to investigate every nook and cranny before the bomb defusing can take place. The longer this takes, the further the timer is for the big bang that will secure you the round win.


