What is the difference between free and paid Minecraft servers and should you rent or create a server? We tell you what you need to consider and how to do it.
You want to play Minecraft in co-op or multiplayer but don’t want to rent a paid server? No problem, in our guide we explain how you can easily set up your own world for you and your friends – and what the differences are between the server types.
Rent a server vs. create a server: What’s the difference?
If you rent a server for Minecraft through an external provider, it is always online and can be visited by all members of the server at any time of the day or night. However, if one of you creates a server on your own computer, it will only be available when the corresponding server member is live and hosting it.
Free server vs. paid server: What is the difference?
There are also differences in the quality and features of the server. Providers like Aternos and Co. also offer free servers for rent, but with less performance than servers for which you pay monthly. Paid servers usually come with more RAM, full (S)FTP access, DDos protection, shorter waiting times and a free choice of server location.
However, if you just want to relax and play multiplayer with a few friends or two in co-op and are not planning a large project, a free self-hosted server is perfectly adequate. We explain how it works!
How to create and host a free server
Setting up the server
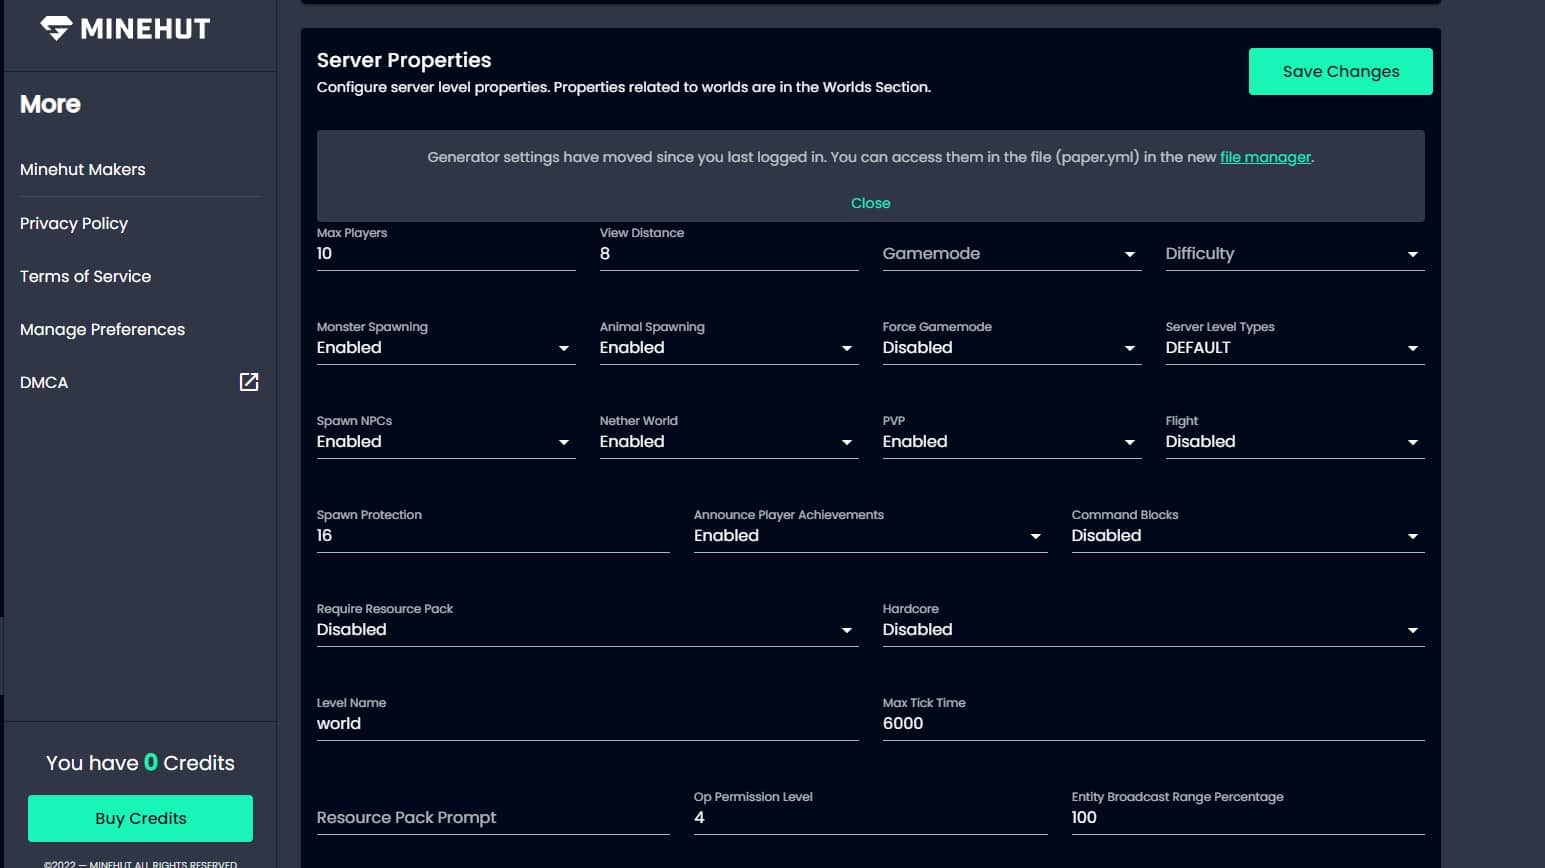
* Go to (minehut.com) and choose “start”.
- Create an account with your email address and confirm your verification email
- Click on “Create New Server “
- Choose a name for your server that will act as a domain
- Click on “Create “
- You will be redirected to the dashboard and click on “Activate Server “
next to your server name.
- Let the server dashboard open and launch Minecraft
- Select “Multiplayer “
- On the next screen, click on “Direct Connect “
- Here you and your friends enter the server address, which results from your chosen domain and the ending “.minehut.gg “
- Click on “Join Server” to play together in a world that will be permanently saved and the adventure can begin

Connect to the server
in the main menu.
Have you had any experience with multiplayer servers? Are you just getting into Minecraft for the first time or have you taken a long break? Tell us in the comments


